

Quick answer
To test for mould in your house, inspect instead of sampling. Health Canada does not recommend testing indoor air, because a result says nothing about your health or the cause. Check the coldest exterior walls, window reveals and closet backs with a torch, follow any musty smell to its source, and clean visible mould whatever its type.

Key Takeaways
- 1Health Canada does not recommend testing the air for mould. An air test gives you no health information and does not address the cause of the damage.
- 2Canada has no numerical exposure limit for mould in indoor air, so there is no lab number that can tell you your home is safe.
- 3The species does not change the job. Health Canada recommends cleaning up any visible mould regardless of the type present.
- 4The Canadian Centre for Occupational Health and Safety calls a visual inspection the most reliable method of identifying mould problems, and it costs nothing.
- 5Health Canada's size rule: three or fewer patches under 1 square metre in total is small, and a single patch larger than 3 square metres should be assessed by a qualified professional.
- 6Keep indoor relative humidity between 30 and 50 percent. A hygrometer is a small one-off purchase that keeps working for years and gives you a number you can act on.
- 7In coastal BC, mould starts on the coldest surfaces, which is why growth appears at window reveals, exterior-wall corners and behind furniture rather than in the middle of a room.
Do you actually need to test for mould in your house?
The honest answer from Canada's own health authority is usually no, and the reasoning is worth understanding before you spend anything.
Search this question and the first thing you are offered is a petri dish, a swab kit or an air pump. Health Canada takes the opposite position, in one flat sentence: it does not recommend testing the air for mould. The reason is not squeamishness about cost. An air test tells you nothing about your health, and it does nothing about the water that grew the mould in the first place.
The Canadian Centre for Occupational Health and Safety goes further and calls a visual inspection the most reliable method of identifying mould problems. That is a strong statement from a body whose whole job is measuring workplace hazards, and it exists for a practical reason. There is no numerical exposure limit for mould in Canadian indoor air. No regulator publishes a spore count that separates a safe home from an unsafe one, so a lab result arrives with nothing to compare it against.
The species question dissolves for the same reason. Health Canada recommends controlling dampness and cleaning up any visible mould regardless of the type of mould present. Whether the lab comes back with Cladosporium or the black-mould name everyone fears, the response is identical: find the water, stop it, clean the surface, and get a qualified professional in if the patch is large. Paying to learn the name changes none of those steps.
- Kits do not look for water. A leaking window gasket, a fan ducted into the attic, a cold wall behind a wardrobe: those are what you are actually hunting for, and no petri dish will name one.
- Nearly every kit grows something, because mould spores are a normal part of indoor and outdoor air. A positive result is close to guaranteed and close to meaningless without an outdoor control sample.
Pro Tip
If a company offers you a free mould test and then quotes remediation off the back of it, you are reading a sales document, not a diagnosis. Ask them instead to show you the moisture source and a moisture-meter reading next to a dry reference wall. If they cannot, there is nothing to remediate yet.
Where mould actually hides in Metro Vancouver homes
Coastal BC mould is condensation mould, so it grows where surfaces are coldest rather than where the room is dirtiest.
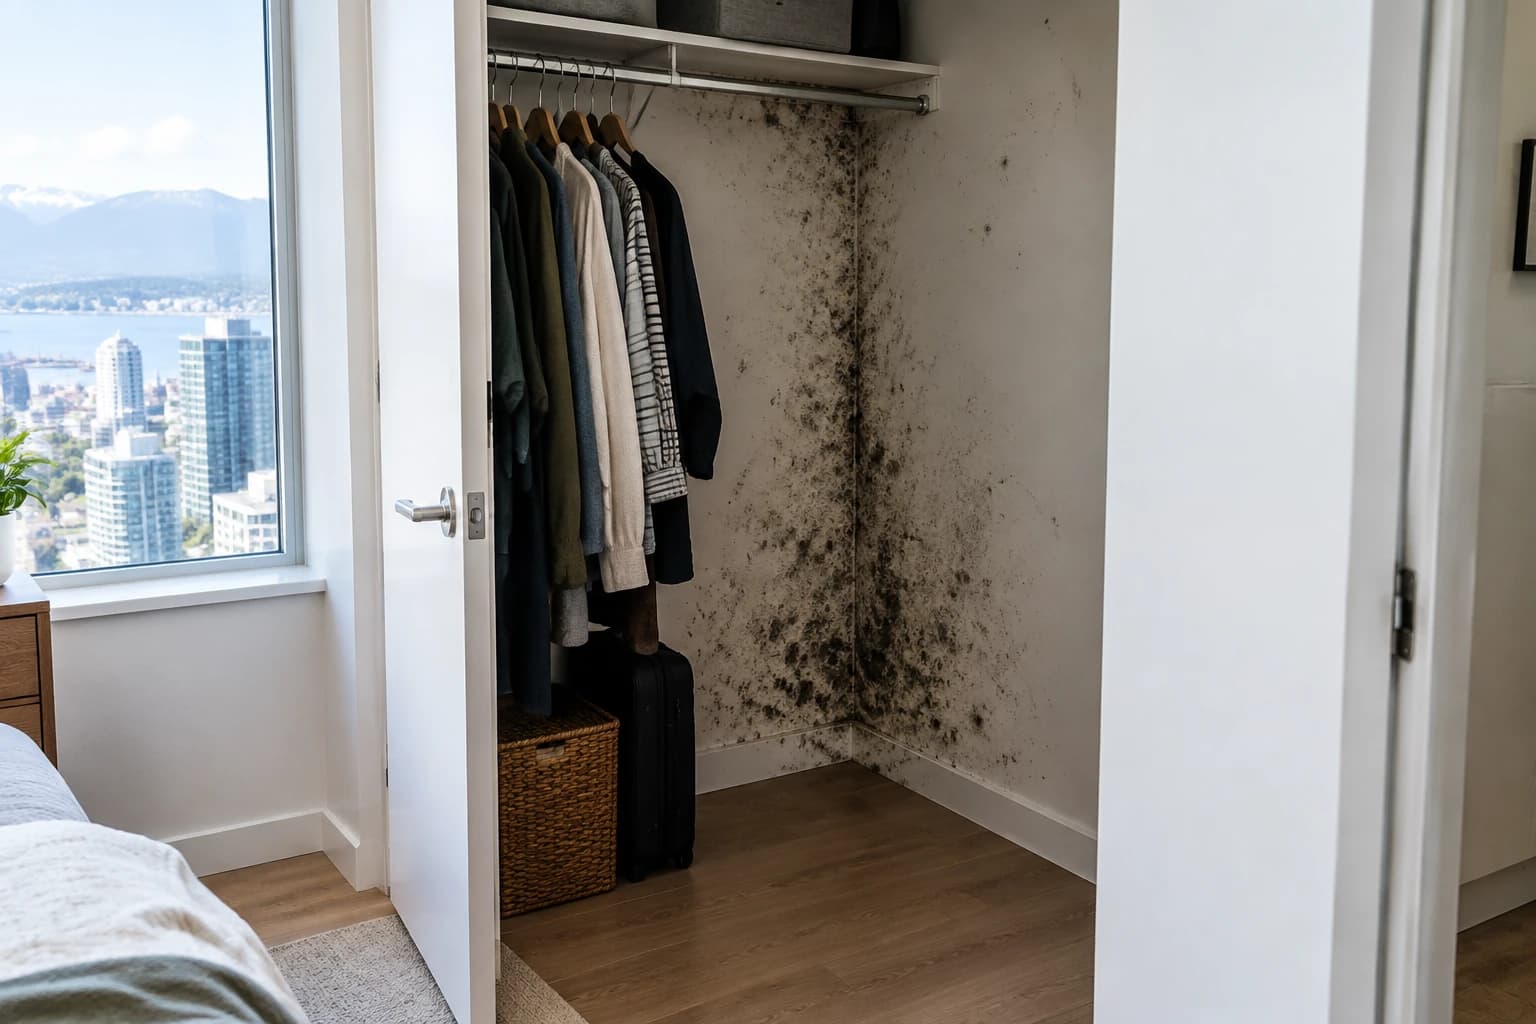
This is the part national guides cannot write for you. Warm indoor air holds moisture; cold surfaces make it let go. Through our wet season the coldest surfaces in a Metro Vancouver home are almost always at the perimeter of a room. That is why growth shows up as a band along an outside corner while the middle of the same wall stays perfectly clean. Once you know that, you stop searching randomly and start searching the envelope.
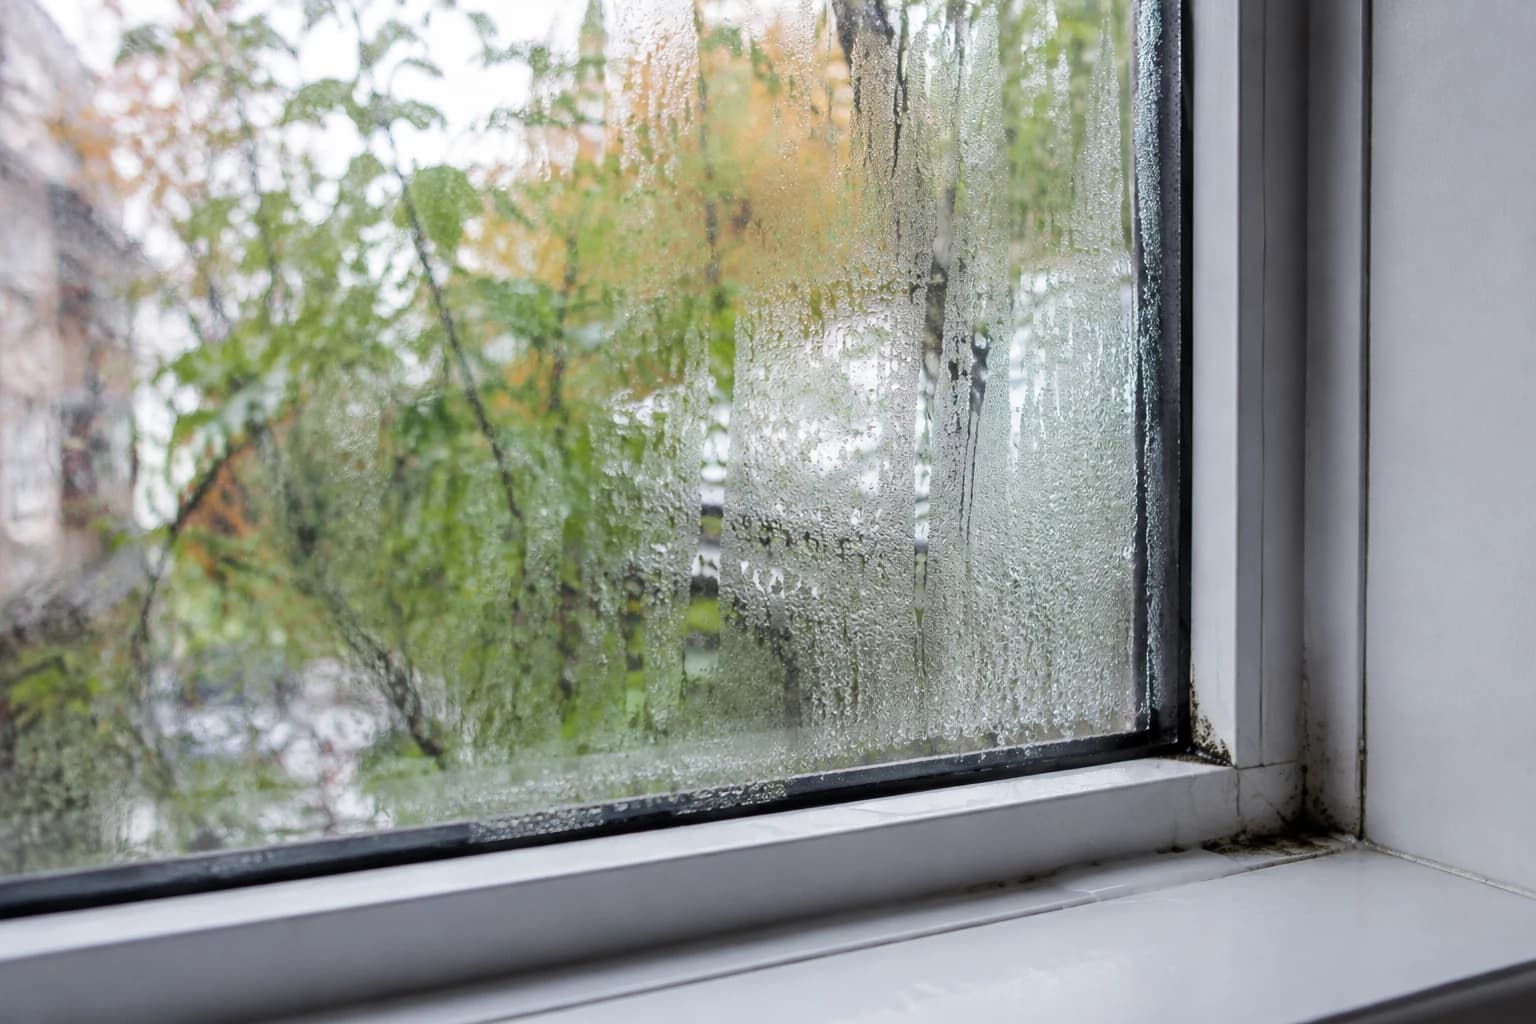
Older low-rise stock across East Vancouver and North Vancouver makes this easy to see. Aluminium window frames and single glazing conduct cold straight through to the indoor surface, so the reveal and the sill sit several degrees below the rest of the room and collect water every cold night. That is the same mechanism behind mould on window frames and sills, and it is why wiping the glass never fixes it.
Then add the things that block air movement. A wardrobe pushed flat against an exterior wall, a headboard against the same, a stack of storage boxes in a garden-level suite. The wall behind them stays colder and never dries, and because you cannot see it, growth gets months of undisturbed time. Most of the genuinely bad patches we find are not hidden inside a wall cavity at all. They are on the visible face of a wall that nobody has looked at since they moved in.
- Window reveals, sills and the bottom corners of frames, especially aluminium-framed or single-glazed units.
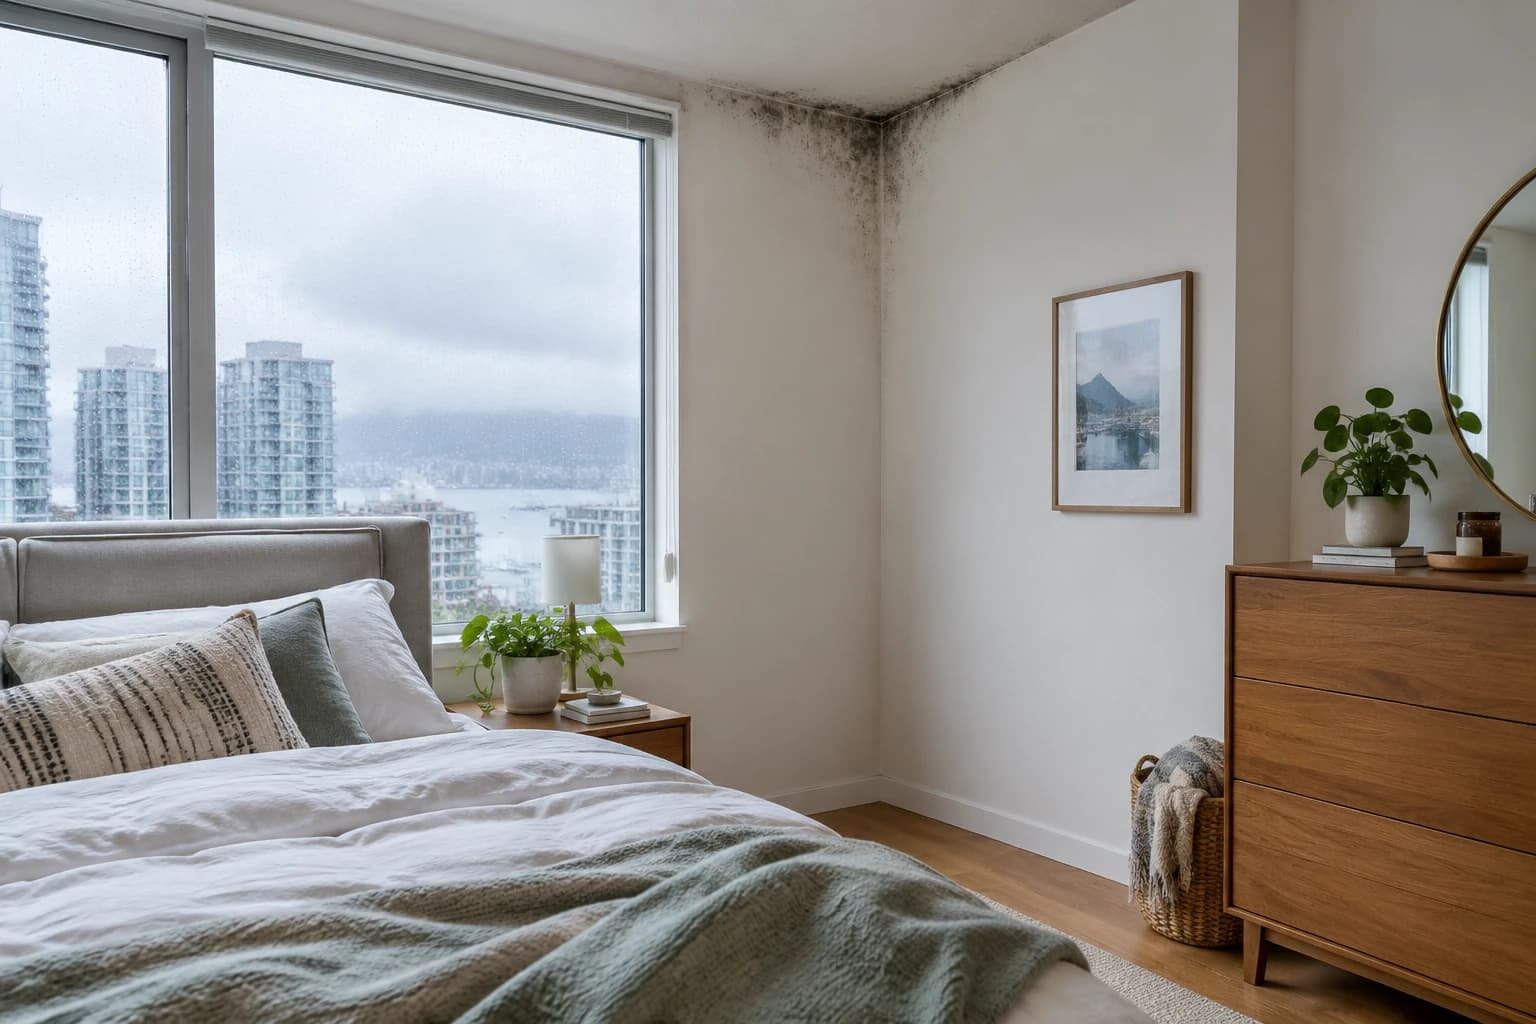
- Outside corners of exterior walls, floor level and ceiling level, in bedrooms that are kept cool and closed.
- The back wall of a closet or wardrobe built against an exterior wall. Empty it and look before you assume anything.
- Bathroom ceilings, and the wall directly above the shower surround, when the fan is weak or vented into the attic instead of outside.
- Below-grade walls in basement and garden-level suites, behind furniture and storage.
- Under the kitchen sink and behind the dishwasher, where a slow supply-line weep stays warm and dark.
- Window-adjacent curtain hems and blind slats, which hold the condensation that runs off the glass.
Pro Tip
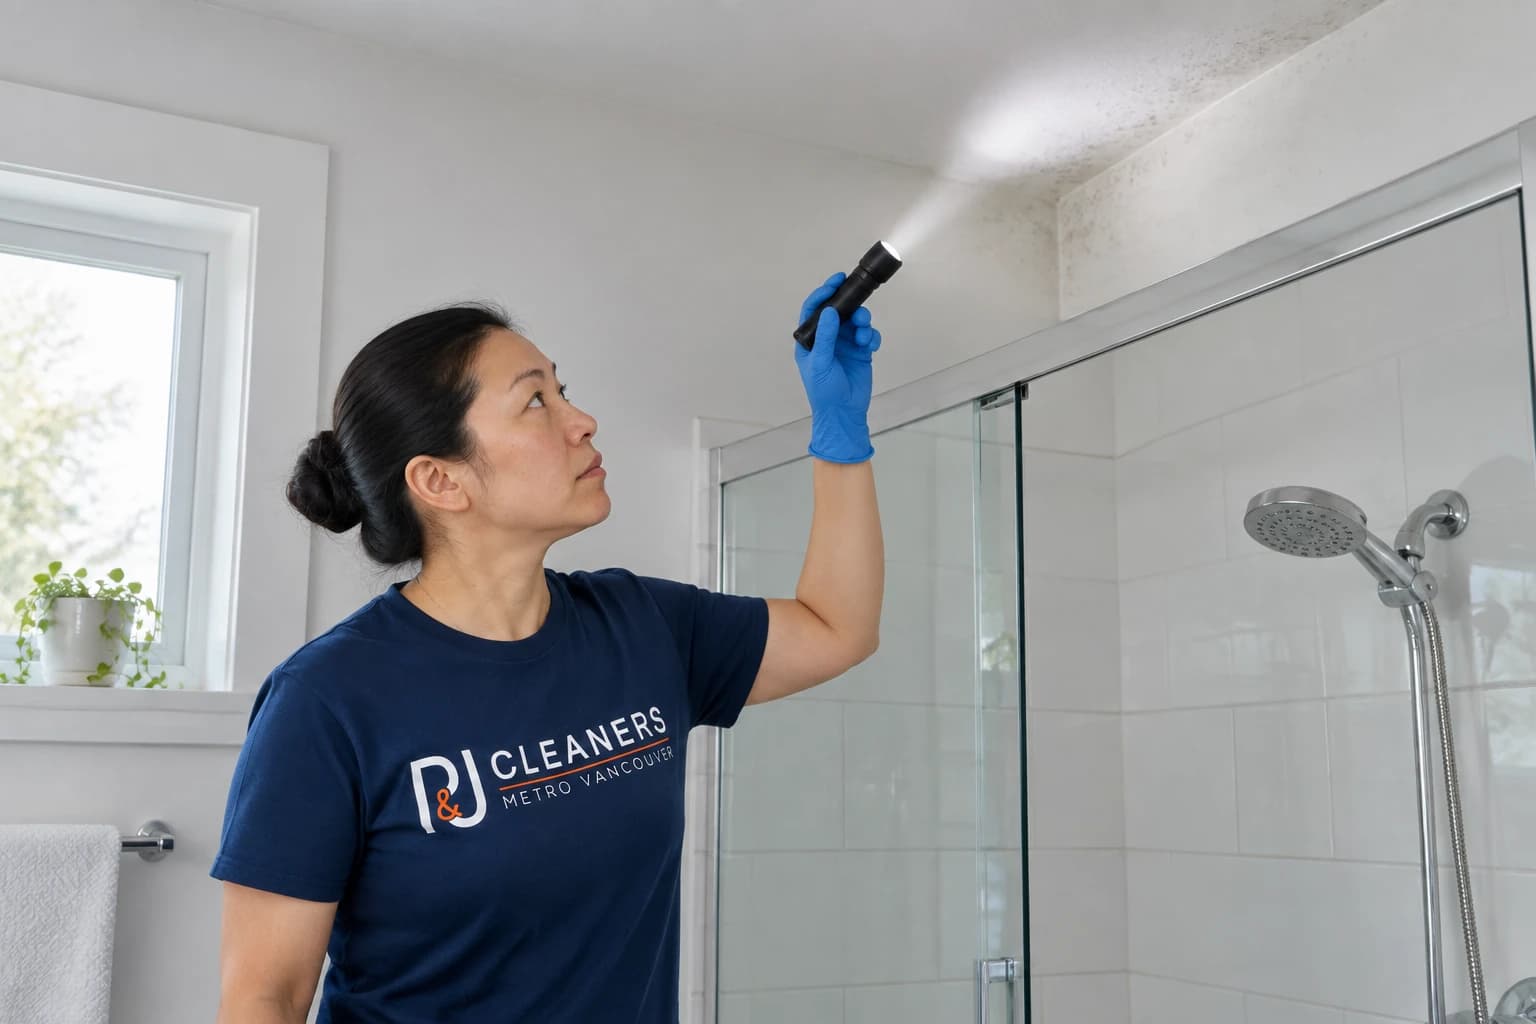
Turn the room light off and rake a torch beam across the wall almost parallel to the surface. Raking light throws a shadow off anything with texture, so early growth and the faint bloom under paint show up immediately. Under flat overhead light both are close to invisible.
What a musty smell means when you cannot see anything
Your nose detects active growth at levels your eyes will not catch, so treat the smell as evidence rather than a nuisance.
Mould that is actively growing gives off a musty, earthy, faintly sweet smell, and most people pick it up long before there is anything to point at. Do not dismiss it because a surface inspection came back clean. Dismissing it is how a small patch behind a wardrobe becomes a wall.
Use the smell as an instrument. Close the suspect room, with the window shut, for three or four hours. Then walk in and pay attention to the first two seconds before your nose adapts, because adaptation is fast and you get one clean read. Move around the room at floor level, then at head height, then inside the closet. The smell will be noticeably stronger within a metre or so of the source.
In apartments and condos, work out whether the smell belongs to your unit at all. If it arrives through a bathroom or laundry vent, or is strongest at a shared wall, the source may be in a neighbouring unit or in the building's own assembly. That makes it a strata matter rather than a cleaning one. Our guide to a musty smell in an apartment walks through separating those cases.
- Strongest at floor level: look at baseboards, below-grade walls and flooring.
- Strongest inside a closet: empty it and inspect the back wall and the ceiling of the closet.
- Strongest near a vent: the source may be outside your unit.
- Comes back within a day of airing out: growth is active, not a leftover odour.
- Only after rain: suspect water getting in rather than condensation.
Pro Tip
Do not run an air purifier while you are trying to locate a smell. It will reduce the odour enough to lose the trail without touching the growth producing it. Filters capture airborne spores; they do nothing to a colony feeding on a damp wall.
When a mould test is actually worth paying for
There are three real cases, and being clear about them is more useful than a blanket no.
Health Canada's position is about routine testing, not an absolute ban on ever sampling. Sampling earns its cost when a visual inspection has genuinely run out of road, or when someone other than you needs to be convinced.
The first case is a smell you cannot source. You have done the closed-room test, emptied the closets, checked behind the furniture, and if you own a meter, compared readings on the exterior walls against a known-dry interior wall. There is still a clear musty smell. At that point an inspection with thermal imaging and moisture mapping can find water inside an assembly that no amount of looking will reveal, and that is worth paying for.
The second is documentation. If you are in a tenancy or strata dispute, or buying a home, a dated report from an independent inspector carries weight that your own photographs do not. The third is verification after a large cleanup, where you want evidence that the area is genuinely clear before the wall goes back together. In all three, hire an inspector who does not also sell you the remediation, so the finding and the invoice are not written by the same hand.
- Worth it: a persistent musty smell with no source found after a thorough walkthrough.
- Worth it: a tenancy, strata or pre-purchase dispute where you need an independent dated report.
- Worth it: clearance verification after a large remediation, before anything gets closed up.
- Not worth it: mould you can already see, which gets cleaned regardless of species.
- Not worth it: general peace of mind, since there is no Canadian limit to compare your result against.
- Not worth it: a free test offered by the company hoping to quote the remediation.
How much mould can you clean yourself?
Health Canada gives a size rule, and it is a far more useful decision tool than any test result.
Instead of a spore count, use area. The federal guidance sorts mould into three sizes and gives a different answer for each. Small is three or fewer patches with a total area under 1 square metre. Medium is more than three patches, or patches totalling between 1 and 3 square metres. Large is a single patch bigger than 3 square metres, and for that Health Canada recommends a qualified professional assess and clean it.
Those numbers are easier to judge than they sound. One square metre is about a bath towel laid out flat. Three square metres is closer to two interior doors set side by side. So if the growth on your bathroom ceiling would sit inside a towel outline, you are in small territory. If it runs the length of a bedroom wall, you are not. The reason for the professional threshold is physical: a patch that size means water has been sitting in the assembly long enough that you are looking at a repair and a containment job, not a surface you can wipe.
There is a second, quieter test that matters as much as size: whether you have found and stopped the water. Clean growth off a cold corner while the humidity that fed it is still sitting above the 30 to 50 percent band and it simply comes back, because nothing about the conditions has changed.
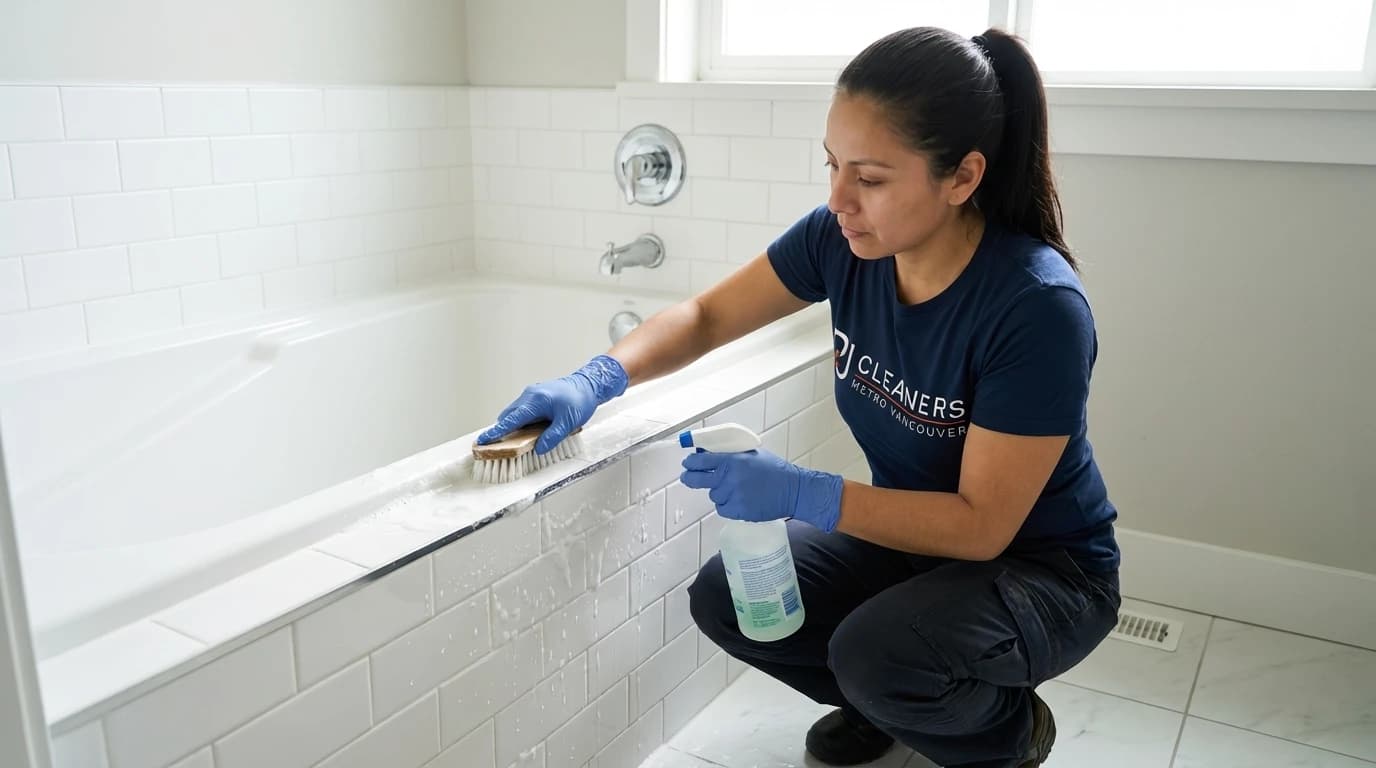
Once the moisture is genuinely fixed, the room is worth a proper reset. A deep clean goes after exactly the surfaces this walkthrough sends you to and ordinary cleaning skips: grout lines, shower doors and tracks, exhaust fans and vents. For the small patches you are handling yourself, our mould and mildew removal guide has the surface-by-surface method, and we have written separately on what baking soda actually does to mould.
- Small, three patches or fewer and under 1 square metre in total: reasonable to clean yourself with gloves, eye protection and a respirator.
- Use soap and water on hard surfaces. Bleach mostly lightens the stain, so the patch looks handled while the growth carries on underneath.
- Porous material that has been wet and grown mould generally needs replacing rather than treating.
- Medium, more than three patches or 1 to 3 square metres: get advice before you start, and expect to open something up.
- Large, a single patch over 3 square metres: this one goes to a qualified professional for assessment and cleanup, not to you.
- Any size on a surface that stays wet: fix the water first, or you are cleaning the same spot again next month.
- Soft or crumbling drywall, or a smell inside the cavity: this is a repair, not a clean.
Pro Tip
Do not dry-brush a patch and do not put a household vacuum near it. Disturbing dry growth throws far more spore into the air than wiping it damp does, and a domestic vacuum without a sealed HEPA path simply redistributes it through the house. Mist the patch with soapy water, leave it a minute so nothing lifts dry, then wipe in one direction straight into a bin bag rather than scrubbing back and forth.
Renting in BC? Put it in writing the day you find it
The single most valuable thing a tenant can do costs nothing and takes five minutes, and it is not a test.
A large share of Metro Vancouver households rent, and mould is one of the most common repair disputes here. The BC Residential Tenancy Branch sets out that landlords are responsible for most repairs to a rental unit and must comply with the health, housing and safety standards required by law, including local maintenance bylaws. Tenants handle minor upkeep, like changing a light bulb.
The mechanism matters. The Branch is explicit that tenants must request repairs in writing, describing the problem and allowing a reasonable amount of time for the repair. A text or an email counts, and a verbal mention in the hallway does not. If the landlord does not carry out the repair, a tenant may apply for dispute resolution and ask for an order that the repairs be made, or for money to cover the inconvenience.
So the useful move is a dated written record, not a petri dish. Photograph the patch with something in frame for scale, note the date, write down what you saw and where the water seems to be coming from, and send it. Keep doing the ordinary things that reduce the moisture load in the meantime: run the bathroom fan, and do not dry laundry indoors through the wet season. That early dated photo earns its keep again at the end of the tenancy, because the move-out condition inspection is where the state of the unit gets recorded and compared. Our move-out cleaning checklist covers the surfaces that inspection scores.
Pro Tip
Send the repair request from an email address you control, not a text thread on a phone you might replace. Dispute resolution runs on documents you can export and date, and a screenshot of a text is easier to argue with. One email, one photo attached, one clear date.
The one number worth measuring instead
If you want to spend money on a device, buy the one that measures the cause rather than the symptom.

Health Canada recommends maintaining indoor relative humidity between 30 and 50 percent, using a dehumidifier as necessary. That is the measurement worth taking, because unlike a spore count it comes with a target and an action. Too high, and you dehumidify or ventilate. A basic hygrometer is an inexpensive one-off purchase and keeps working for years, which is more than a single-use kit can say.
Place it where the problem is rather than where it is convenient. A hygrometer in the middle of a warm living room will read comfortably while the bedroom you keep cool and closed sits far higher. Put one in the coolest bedroom and one in the basement or garden level, and read them on a cold, wet evening rather than a dry afternoon, because that is when condensation actually happens.
Then work on the two moisture loads most Metro Vancouver homes underestimate. The first is the bathroom. Run the fan during the shower and for a good twenty minutes after, and check once that the duct actually terminates outdoors rather than into the attic space, which in older houses it often does not. You can usually confirm that from outside by finding the vent hood on the wall or roof, or with a look in from the attic hatch. Do not crawl across the joists or disturb old loose-fill insulation to chase it; that is a job to hand to a contractor. The second is laundry dried indoors, which puts litres of water into the air across the wet season. Fix those two and a cool, closed room usually settles back inside the 30 to 50 percent band, at which point mould has no reason to grow.
- Target 30 to 50 percent relative humidity, per the federal guidance.
- Measure in the coolest, most closed room, not the living room.
- Read it on a cold wet evening, which is when condensation forms.
- Run bathroom fans during and for twenty minutes after a shower, and check they vent outside.
- Stop drying laundry indoors through the wet season, or vent the room while you do.
- Leave a hand's width between furniture and exterior walls so air can move behind it.
Pro Tip
Open a window for five minutes on a cold, dry morning rather than an hour on a mild, damp one. Cold air holds very little moisture, so a short blast on a genuinely cold day removes more water from your home than a long airing on a grey, drizzly one, which can add moisture instead.
Step-by-Step
The mould walkthrough that beats a test kit
This is the inspection that CCOHS rates above sampling. Budget three or four hours of doing nothing while the rooms sit closed, then about an hour of real looking if you are going to pull furniture and empty closets properly. Do it once carefully and you will know more about your home than any lab report would tell you. Take a torch, a phone for photos, and if you own one, a cheap moisture meter.
Close the rooms first, then come back
Before you inspect anything, shut the doors and windows of the rooms you are suspicious about and leave them for three or four hours. Odour concentrates in still air, and you only get one uncontaminated read before your nose adapts.
- Shut bedroom, bathroom and basement doors and windows.
- Leave the house or work elsewhere for three to four hours.
- Walk into each room and note the first impression immediately, before you start looking.
- Write down which rooms smell and how strongly, in order.
Work the perimeter of every room, not the middle
Condensation mould grows on the coldest surfaces, so the outside walls are where the evidence is. Go along them systematically at floor level and at ceiling level, with the room light off and a torch raking across the surface.
- Check both bottom corners and both top corners of every exterior wall.
- Inspect window reveals, sills, and the bottom corners of each frame.
- Pull wardrobes, headboards, sofas and storage boxes away from exterior walls and look behind them.
- Empty any closet built against an exterior wall and inspect its back wall and ceiling.
- Lift curtain hems and check blind slats for spotting.
Press, do not just look
Drywall that has been wet behaves differently before it looks different. Your hand finds problems a photograph misses, and this is the step most people skip.
- Press firmly along the bottom 30 cm of exterior walls and feel for soft or spongy spots.
- Check whether baseboards are pulling away from the wall or cupping.
- Look for bubbled, blistered or tide-marked paint, which means water has been behind it.
- Open the cabinet under every sink, feel the back panel, and look for staining or a slow weep at the supply lines.
- If you have a moisture meter, take a reading on the suspect wall and on a known-dry interior wall, and compare.
Test the bathroom fan properly
A weak or wrongly vented fan is the most common cause of bathroom and ceiling mould we see in Metro Vancouver, and it takes thirty seconds to check.
- Hold a single sheet of toilet paper against the running fan grille. If the fan cannot hold it up, it is not moving enough air.
- Check the ceiling above and around the shower and the wall behind the shower head.
- Confirm the duct terminates outdoors by finding the vent hood on the wall or roof, or with a look in from the attic hatch. Do not crawl across the joists to chase it.
- Note whether the fan is on a timer or gets switched off with the light, which is usually too early.
Measure humidity, then decide the size
Finish with a number and a decision. The humidity reading tells you whether the conditions still favour growth, and the area of what you found tells you who should handle it.
- Put a hygrometer in the coolest closed room and check it on a cold, damp evening. Target 30 to 50 percent.
- Photograph each patch you found with an object for scale, and note the date.
- Estimate total area against Health Canada's rule: under 1 square metre across three or fewer patches is small.
- If any single patch exceeds 3 square metres, arrange a qualified professional assessment rather than cleaning it yourself.
- Fix the moisture source before you clean anything, and write down what the fix was, so that if the same corner blooms again you know which theory was wrong.
| Method | What it costs | What it tells you | What it cannot do |
|---|---|---|---|
| Visual and smell walkthrough | Nothing | Where growth is, how much of it there is, and which surface is staying wet. Rated the most reliable identification method by CCOHS. | Find water sealed inside a wall assembly that shows nothing on the surface. |
| Hygrometer | A small one-off purchase that keeps working for years | Whether conditions currently favour growth, measured against the 30 to 50 percent target. | Tell you whether growth has already started, or where it is. |
| DIY petri-dish or swab kit | A small purchase, single use, plus a mail-in lab fee on some kits | That mould spores exist in your home, which is true of every home. | Give a verdict that means anything, since Canada sets no exposure limit, and it never finds the moisture source. |
| Independent inspection with thermal imaging and moisture mapping | The most expensive option by a wide margin | Hidden moisture inside assemblies, plus a dated report that holds up in a dispute. | Justify its cost when the mould is already visible and the source is already known. |
Services mentioned in this article
Ready for help?
4.9 · 850+ Google reviewsFound the mould, fixed the moisture, and now you want the room properly cleaned?
Our deep clean covers the surfaces mould leaves behind: bathroom grout lines, shower doors and tracks, exhaust fans and vents, and accessible interior windows, with window sills and baseboards available as add-ons. Clear the furniture off an exterior wall before we arrive and we will clean the wall face behind it while it is accessible. If a single patch is bigger than about three square metres, the federal guidance says a qualified professional should assess and clean it, and we will tell you honestly when that is the call. Condos to character homes across Metro Vancouver, backed by 850 reviews and our 200% satisfaction guarantee.
778-720-2224Mould testing questions Vancouver homeowners ask
Can I test my home for mould myself?
You can, but a careful walkthrough will usually serve you better than a kit. Health Canada advises against air testing, and the Canadian Centre for Occupational Health and Safety calls visual inspection the most reliable way to identify a mould problem. Your eyes, your nose and a torch cost nothing and point straight at the moisture behind the growth.
Do DIY mould test kits actually work?
A petri-dish kit will almost always grow something, because mould spores are present in normal indoor and outdoor air everywhere. That is the problem with it. There is no Canadian exposure limit to compare a result against, so the kit cannot tell you whether your home is fine or not. It also cannot find the leak.
How do you detect mould behind a wall?
Follow moisture, not spores. Look for staining, bubbled paint, a soft or spongy feel when you press the drywall, and a baseboard that is pulling away or cupping. Then close the room for a few hours: a musty smell that gets stronger in still air is telling you something is growing. A moisture meter on the suspect wall, compared against a known-dry interior wall, will show a difference long before any air test would.
Do air purifiers help with mould?
No. A HEPA purifier captures airborne spores and can dull the musty smell, but it does nothing to a colony feeding on a damp wall and does not lower the humidity that put it there. Running one while you hunt for the source also masks your best evidence. Fix the moisture first.
When is a professional mould inspection worth paying for in Vancouver?
Three situations justify it. You can smell mould and cannot find the source after a proper walkthrough. You need an independent dated report for a strata, tenancy or pre-purchase dispute. Or you want verification after a large cleanup, before the wall goes back together. Outside those three, the money does more good spent on fixing the moisture and cleaning the growth.
What humidity level stops mould from growing?
Health Canada recommends keeping indoor relative humidity between 30 and 50 percent, using a dehumidifier as needed. Buy a hygrometer instead of a test kit: it keeps working for years, and unlike a spore count it comes with a target you can actually hit.
Sources & References
The facts in this guide come from the primary sources below. Links open in a new tab.
- 1Guide to addressing moisture and mould indoorsHealth Canada
- 2Indoor Air Quality: Moulds and FungiCanadian Centre for Occupational Health and Safety
- 3Repairs and maintenance during a tenancyBC Residential Tenancy Branch

Meet the Author
Pamela
Co-Founder
Pamela leads residential quality standards at P&J Cleaners, refining safe, detail-driven cleaning systems for Vancouver homes, condos, and move-out projects.
Keep Exploring