

Quick answer
Window mould cleaning starts with the right agent, and it is not bleach. Health Canada advises scrubbing visible mould with unscented dishwashing detergent and water, then drying completely. That handles glass, vinyl and tracks. It only stays gone if you also drop indoor humidity to between 30 and 50 percent, because condensation on cold glass is the real cause.

Key Takeaways
- 1Health Canada states it plainly: never use bleach to clean up mould. Its household guide prescribes scrubbing with unscented dishwashing detergent and water, then drying completely and quickly.
- 2A window is three surfaces, not one. Glass, vinyl and metal are non-porous and wipe clean. A bare wood sill or painted reveal is porous and holds growth that surface wiping cannot reach. Silicone seals are flexible and stain rather than clean.
- 3Three patches or fewer, totalling a square metre or less, is do-it-yourself territory by Health Canada's own sizing. A single patch bigger than three square metres needs professional assessment and cleanup.
- 4Thirty to fifty percent relative humidity is the band Health Canada asks you to hold, and a dehumidifier earns its keep the moment water is condensing on the panes or the reading passes 50 percent.
- 5Heavy curtains and blinds are a hidden cause. Health Canada notes they trap the cold and moisture against the glass, which is why the mould is usually worst behind the drapes you keep closed.
- 6In a BC rental, Residential Tenancy Policy Guideline 1 makes the tenant responsible for cleaning the inside windows and tracks, including removing mould, while the landlord cleans the outside at reasonable intervals.
- 7Drying window frames and sills on mornings when the glass has sweated is the single highest-return habit of the wet season, and it costs about ninety seconds a window.
Why do Vancouver windows grow mould every winter?
Almost nobody has a window mould problem in July. The growth arrives with the heating season, and the reason is physics rather than hygiene.
Mould needs three things: a spore, something to eat, and water. Spores are already in every home on earth, and the dust and skin cells that settle in a window track are food. The only variable you control is the water, and on a window that water is almost never a leak. It is condensation.
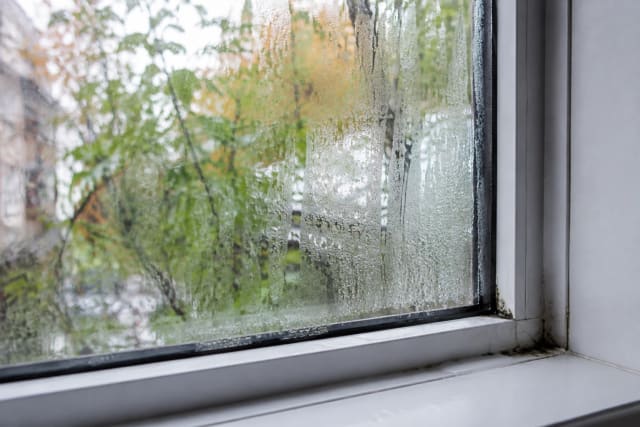
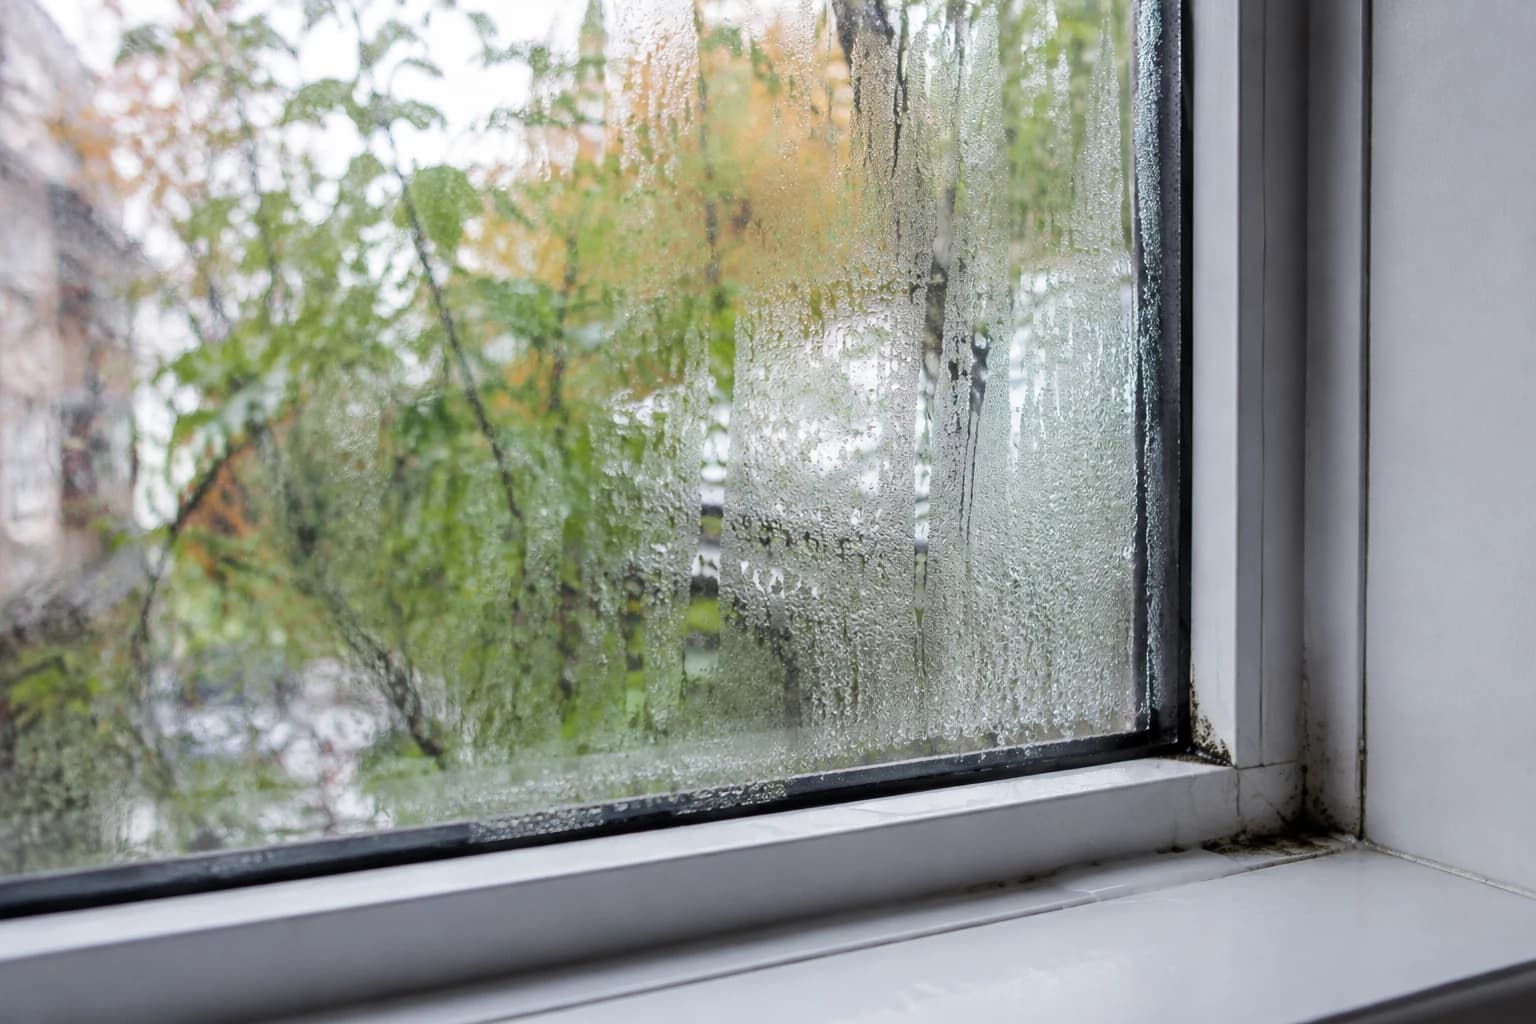
Here is the mechanism. Warm indoor air holds a lot of moisture. Your window glass is the coldest surface in the room, because it is a thin sheet separating you from the outdoors. When that warm, moist air touches cold glass, the air right at the surface cools past its dew point and gives up its water as droplets. Those droplets run down the pane and pool exactly where the glass meets the frame, which is why the black growth starts in the bottom corners and works outward rather than appearing in the middle of the pane.
Metro Vancouver makes this worse than most of Canada, and not for the reason people assume. Vancouver International Airport records precipitation on well over 160 days a year under Environment and Climate Change Canada's 1991 to 2020 climate normals. Our winters are wet rather than deeply cold, so the outdoor air stays close to saturated for months and homes get sealed up and heated without the hard freeze that would dry the air out. Then there is the housing stock. Plenty of the older inventory in North Vancouver and on the east side still runs single glazing or 1970s aluminum frames that conduct cold straight through, and the result is glass that sits below the room's dew point every night from October to March.
This is why replacing the cleaner never fixes it. You are not fighting dirt. You are fighting a surface that is wet for eight hours a night, every night, for half the year.
- Condensation mould starts low: bottom corners of the pane, the sill, then the reveal. A leak starts high and runs down in a line.
- Aluminum frames without a thermal break are the worst offenders. Touch the frame on a cold morning and you will feel why.
- Bedrooms mould before living rooms. Two people breathing for eight hours in a closed room with the door shut adds a surprising amount of moisture.
- If it is worst behind a closed blind or a heavy curtain, that is a confirmation, not a coincidence.
Pro Tip
Before you clean anything, check the window on a cold morning at about 6am with a flashlight held flat against the glass. If the pane is beaded with water, you have a condensation problem and any cleaning you do is temporary until the humidity comes down. If the pane is dry but the sill is wet, you may actually have a failed seal or a leak, which is a repair job, not a cleaning job.
Is mould on windows dangerous, and do you need it tested?
The internet is very keen to sell you a test kit. Health Canada's position is that in most situations you do not need one.
The first thing most people do when they see something black on a windowsill is search whether it is toxic black mould. It is a reasonable fear and a poor question. Health Canada's household guidance is explicit that its recommendations apply regardless of the species growing in the building, and that in most cases there is no need to measure concentrations in the air or identify which mould you have. The level of risk depends on how much growth there is and how long it has been damp.
Health Canada also does not recommend air testing for mould in most situations, on the grounds that an air test does not tell you anything useful about health and does not address the cause. Both statements point the same direction: skip the identification step, find the moisture, remove the growth.
That does not mean shrug it off. Damp indoor environments are associated with respiratory symptoms, and anyone in the home with asthma or an existing allergy will notice a mouldy room before the rest of the household does. The practical read is somewhere between panic and denial. A palm-sized patch on a vinyl sill is an ordinary Saturday-morning job. Growth that returns within two weeks of a proper clean, or that has crept past the frame into the drywall, is telling you the moisture source is still running.
- Colour is not a diagnosis. Black, green and grey growths all get the same treatment.
- A musty smell in a closed bedroom often shows up before visible growth does. Trust your nose.
- Growth that returns quickly after a thorough clean means the water source was never addressed.
- If someone in the home has asthma or is immune-compromised, hand the job to someone else and ventilate the room well while it is being done.
Why the bleach advice you found is wrong for a Canadian home
The best-ranked answers to this question are bleach methods. Our own national health authority tells you not to do that. Here is who is right and why.
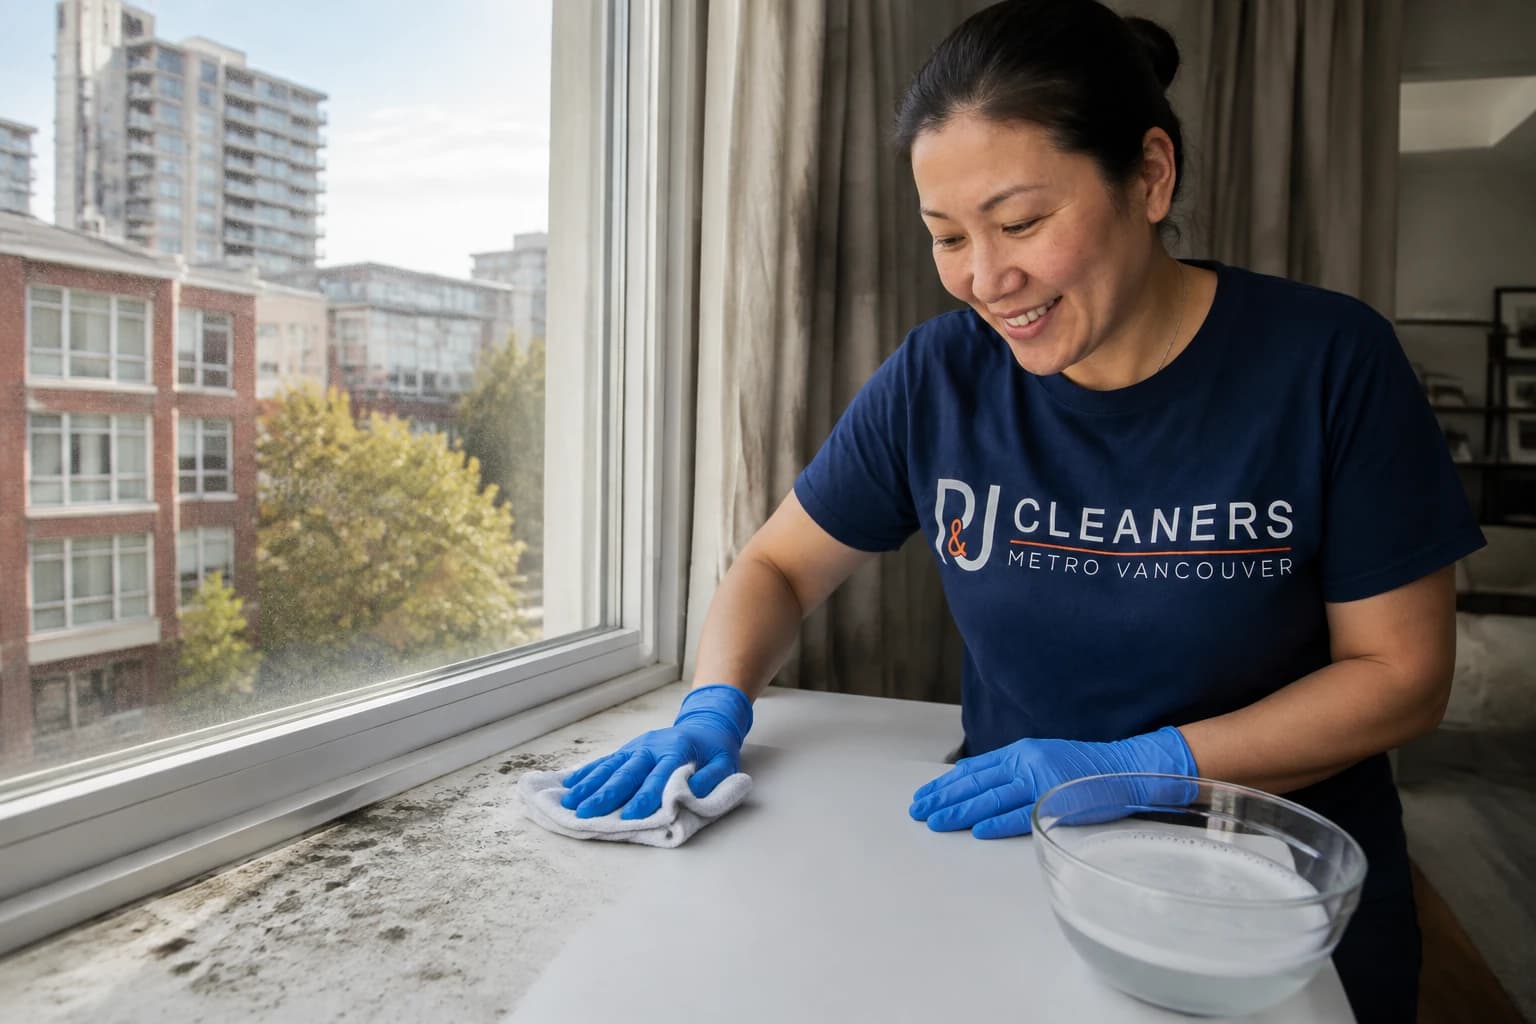
Most of the widely circulated advice on cleaning mould off windows opens with a bleach dilution. It is confident, it is specific, and for a Canadian reader it contradicts the most authoritative guidance available. Health Canada's guide to addressing moisture and mould indoors says it twice, once in the section on washable surfaces and once in the general prevention checklist: do not use bleach to clean up mould. What it recommends instead is scrubbing with an unscented soap or dishwashing detergent solution, then drying the surface completely and quickly.
The reasoning becomes obvious once you look at what household bleach actually is. It is a small amount of sodium hypochlorite dissolved in a great deal of water, which makes it mostly water. On glass, that is fine, because the growth is sitting on top of a surface it cannot penetrate. On a bare wood sill or a painted reveal, the chlorine reacts and spends itself at the surface while the water carries on soaking into the material, straight down to the part of the growth that is actually anchored there. You bleach the colour out, the patch looks clean, and three weeks later it is back looking exactly the same, because you fed it.
There is a second problem that matters more in a small condo than a house. Bleach is a respiratory irritant, and window cleaning tends to happen in the smallest, most closed-up room. Mixing it with anything ammonia-based, which includes a lot of glass sprays, produces chloramine gas. Detergent has none of these failure modes and does the job that actually matters, which is lifting the growth off the surface mechanically rather than trying to sterilize it in place.
For completeness, the other popular internet answer is a baking soda paste. It works reasonably well as a mild abrasive on non-porous surfaces, for much the same reason detergent does, and we have written about where baking soda genuinely helps and where it gets oversold. The short version is that any of these approaches beats bleach on a window, because none of them depends on soaking the surface.
Pro Tip
If you have already bleached a wooden sill and the stain lifted but the growth came back, do not escalate to a stronger product. Clean it with detergent and water first, then let the sill dry for two full days with the heat on and the blind open. Only once it is dry and the growth is off should you sand it, lightly, with a mask on and the window open, because dry sanding puts the same dust into the air that dry-brushing does. Then prime and paint. Sealing the wood converts a porous surface into a non-porous one, and non-porous surfaces are the ones that stay clean.
Your window is three surfaces, not one
This is the step every guide skips, and it is the reason most people's cleaning half-works. The same patch of mould needs three different treatments depending on what it is sitting on.
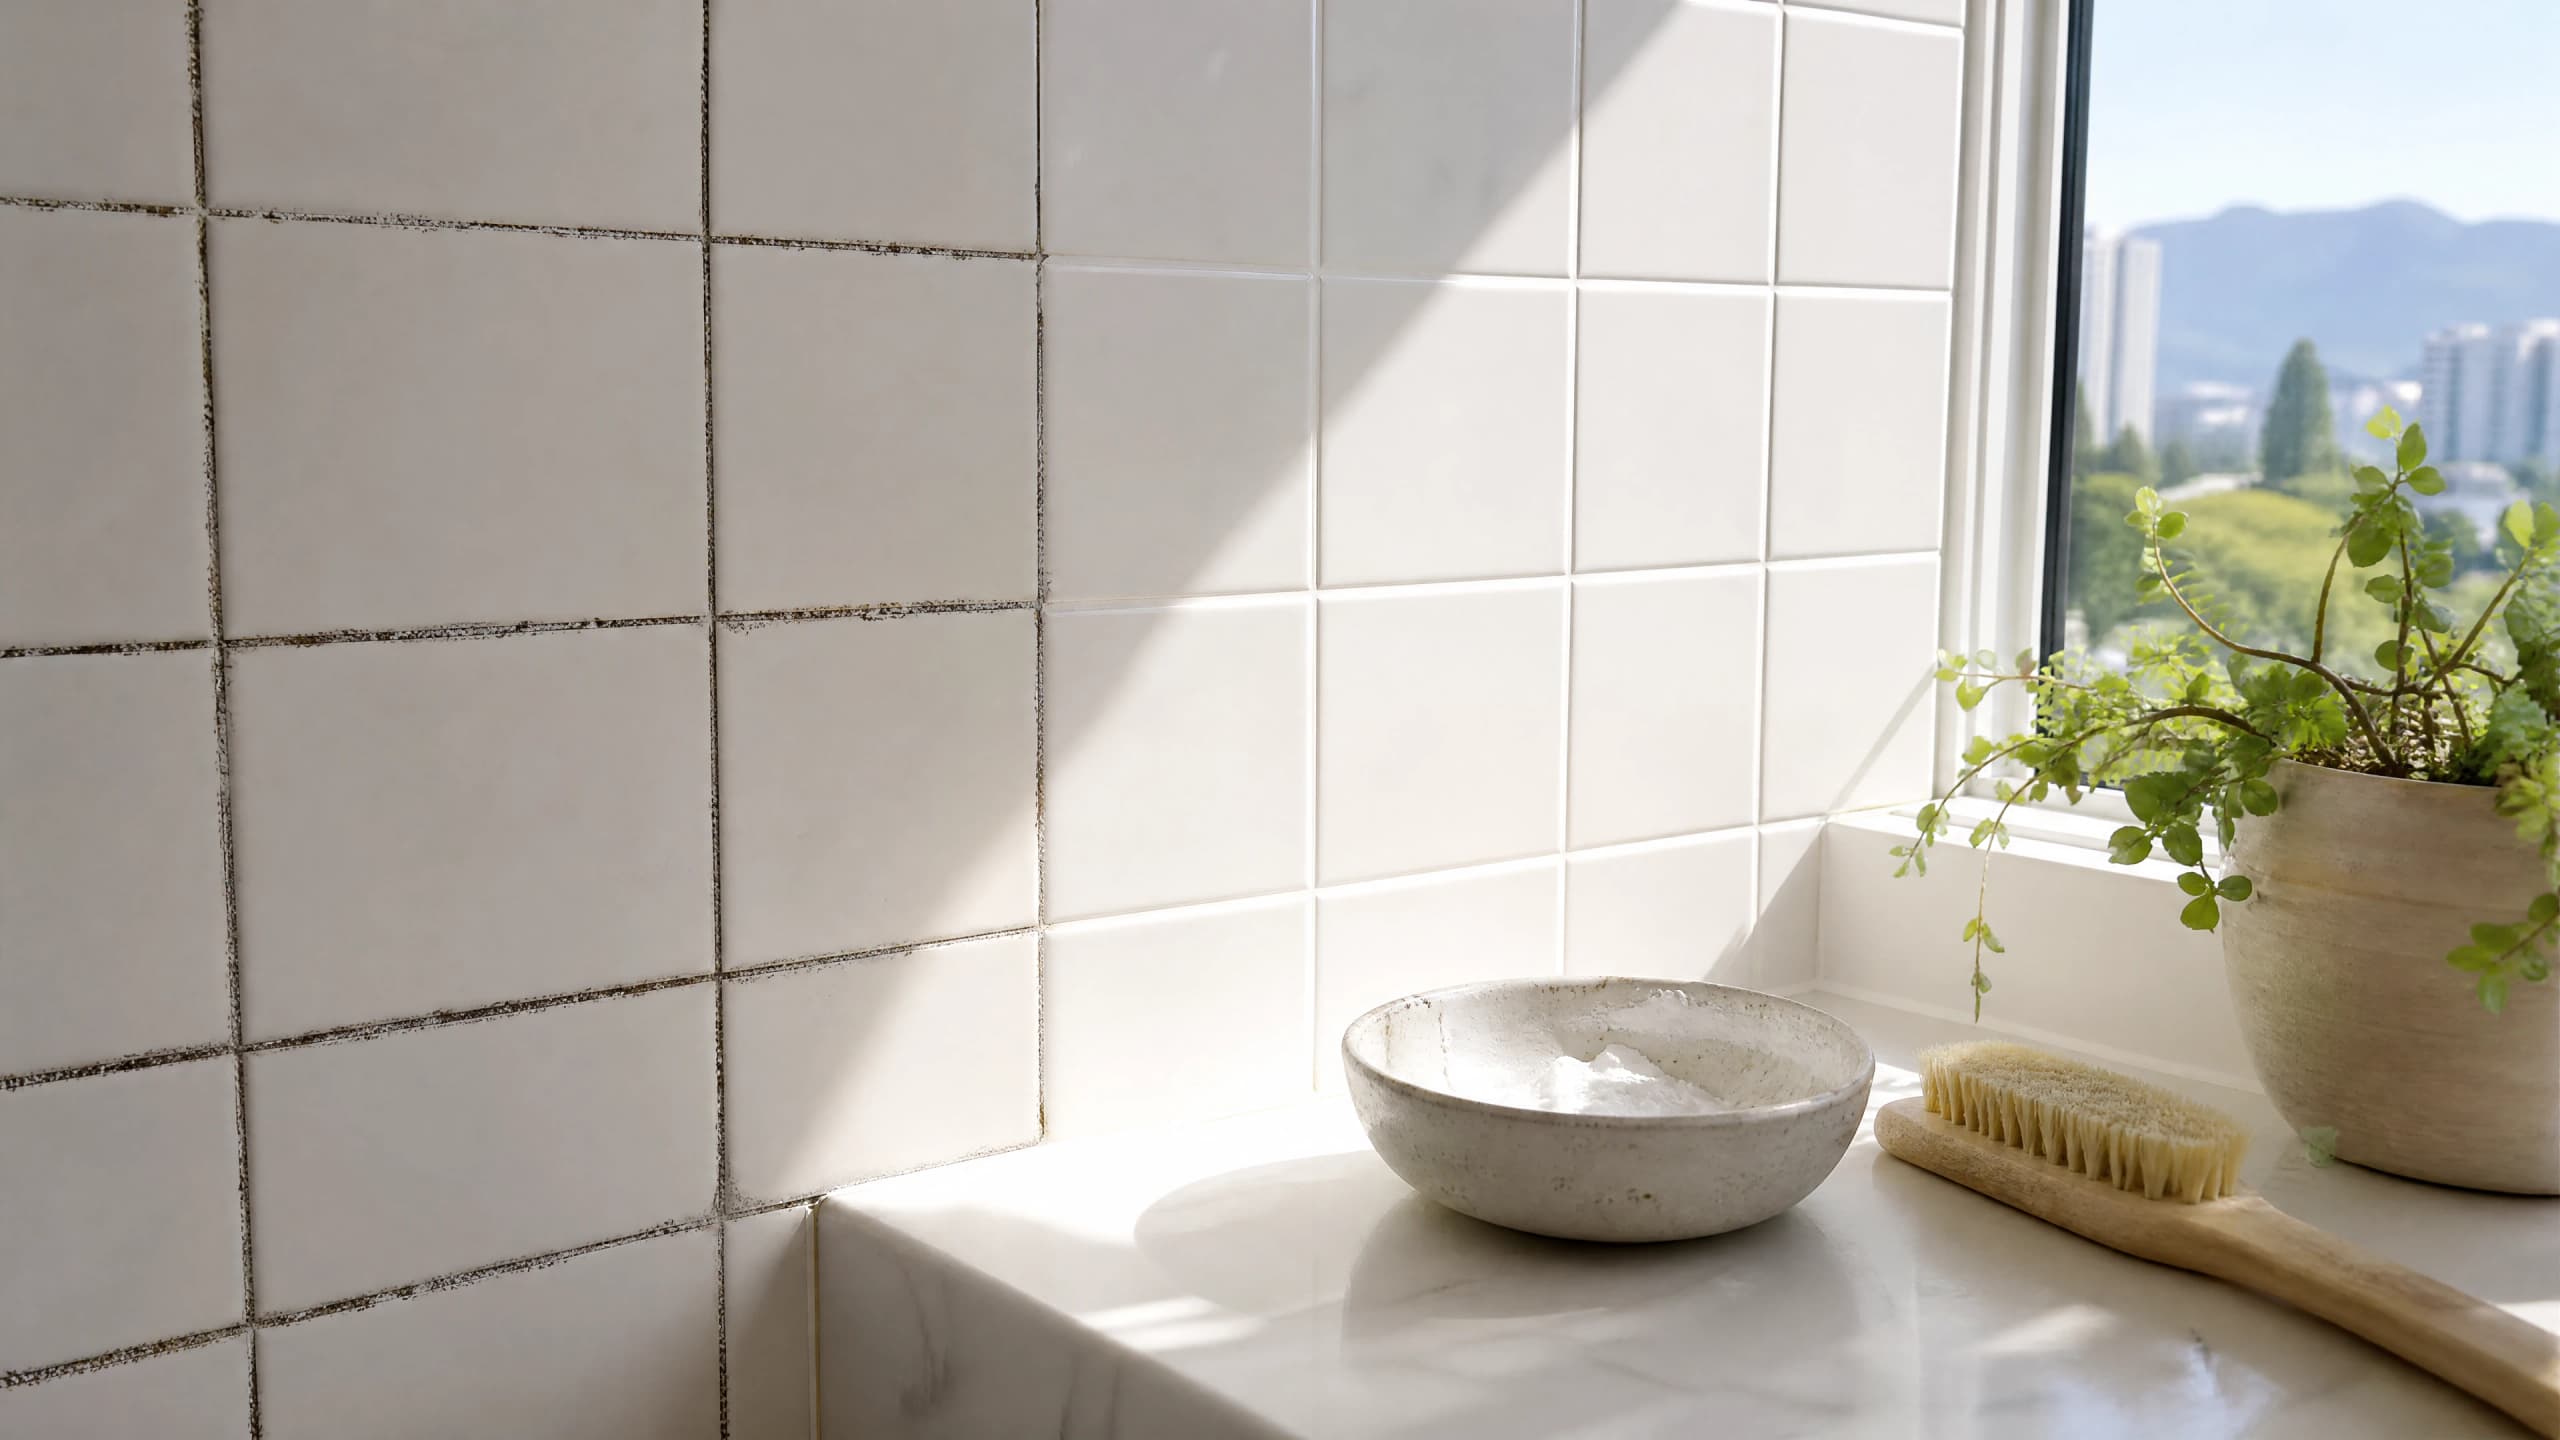
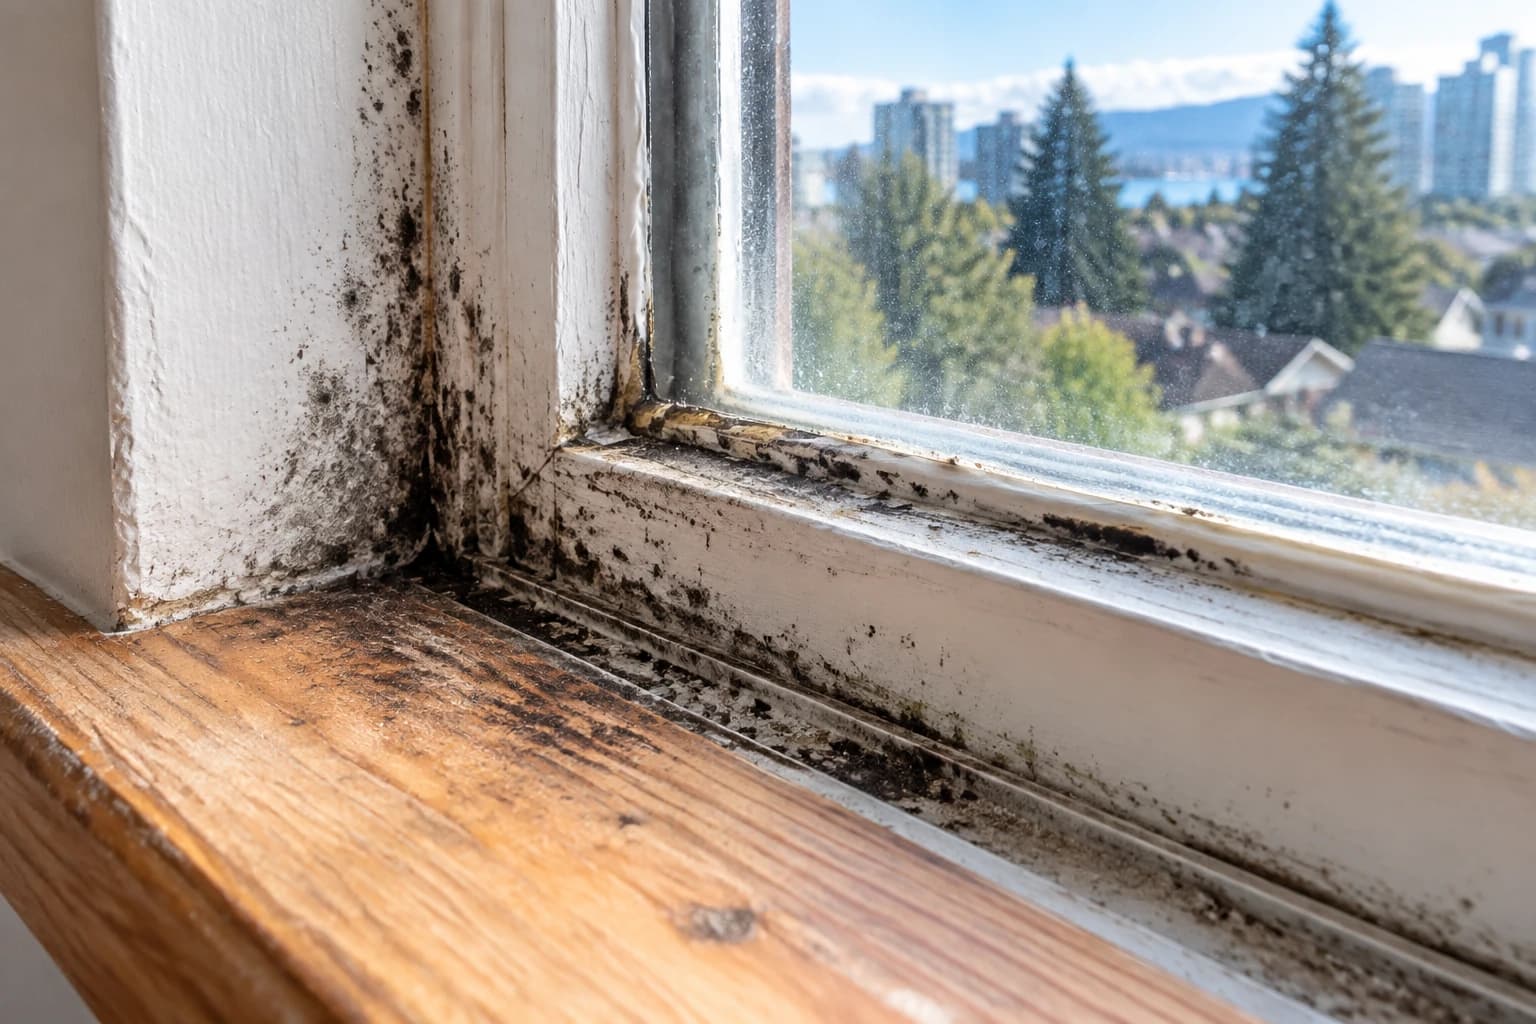
Look at a window from the inside and count the materials. There is glass. There is a frame, in vinyl, aluminum or wood. There is a sill, which may be vinyl-wrapped, painted MDF or bare timber. There is a track full of grit. There is a bead of silicone or a rubber gasket sealing the glass to the frame. And there is the reveal, the painted plaster or drywall returning into the room. Six materials, but only three ways of behaving once mould lands on them, and Health Canada draws the first line: materials that can be properly cleaned are the non-porous ones, and it lists glass, metals, plastics and vinyl by name.
Everything on the non-porous side of that line is genuinely fixable with a cloth and detergent. Everything on the porous side is a different conversation, because the growth has anchored into the material rather than sitting on it. You can remove what is on the surface, which is worth doing, but if the staining stays after the mould is gone, that is pigment in the grain and no amount of scrubbing will pull it out.
Silicone is its own category. It is flexible, slightly tacky, and mould gets into the micro-texture and into the seam where the bead meets the glass. Surface cleaning improves it. If the bead has gone properly black through its thickness, the honest answer is that it needs cutting out and re-running rather than cleaning, which is a tube of sealant and an afternoon.
- Non-porous and fully cleanable: glass, vinyl frames, aluminum frames, plastic tracks, sealed and painted sills in good condition.
- Porous and only surface-cleanable: bare or damaged wood sills, chipped paint, unpainted MDF, plaster reveals, drywall.
- Flexible and usually replaceable: silicone beads and rubber gaskets that have blackened right through.
- Grit in the track is not decoration. It holds water against the frame long after the glass has dried, so it is the first thing out.
How do you clean mould out of rubber window seals and painted reveals?
If your window mould keeps returning in the same two places, it is almost certainly one of these, and both have a fix that is not more scrubbing.
The silicone bead is where most people give up. It is the last centimetre of the job, it is soft, and the growth sits in the seam rather than on the face. Detergent and a soft brush worked along the bead, left to dwell for a few minutes and then rinsed and dried, will lift most of it. What will not work is a scraper or a stiff wire brush, because scoring the silicone gives the next generation of growth more texture to hold onto, and a nicked bead lets water behind the seal.
The reveal is the other one. That painted return between the frame and the room catches the water that runs off the pane, and because it is usually finished in a flat matte paint rather than a wipeable satin, it drinks it. This is the surface people scrub hardest and get the least out of. If your reveals go patchy every winter, the durable answer is not a better cleaner, it is a coat of a washable satin or semi-gloss finish, which turns a porous surface into a wipeable one.
Both of these are worth a moment of honesty about what a clean can achieve. We do a lot of windows across Metro Vancouver, and we tell every client the same thing. We can take the growth off. We can leave the glass, frames, tracks and sills genuinely clean. But if the silicone has gone black right through its thickness, no cleaner on the market is going to make it white again.
- Work along the silicone bead with a soft brush, never across it, and never with anything metal.
- Give detergent a few minutes of dwell time on seals and tracks. Most people wipe it off before it has done anything.
- Dry the seal properly afterwards. A damp bead in a cold room is where the next patch starts.
- Repaint chronically mouldy reveals in a washable satin rather than matte, and let the surface dry fully first or you will seal moisture in.
Pro Tip
Use a wooden or plastic barbecue skewer wrapped in a corner of a damp microfibre cloth to run the length of the window track and the seal seam. It reaches the full depth of the channel, it will not score vinyl or silicone the way a screwdriver or a scraper does, and you can rotate to a clean part of the cloth every foot or so instead of dragging the same dirt along the whole run.
How to stop window mould coming back through a wet winter
Cleaning is the easy half. This is the half that decides whether you are doing it again in March.
Everything above removes the growth. None of it changes the reason the growth appeared. Health Canada's answer to that is a number: keep the home's relative humidity between 30 and 50 percent, and run a dehumidifier whenever moisture is condensing on cold surfaces such as window panes or the reading goes above 50 percent. A basic hygrometer is a cheap hardware-store item and turns this from a guess into a measurement, which is worth doing before you buy a dehumidifier you may not need.
The prevention list Health Canada gives specifically for condensation on windows, frames and sills is short and unusually concrete, and one item on it surprises nearly everyone. Keep window coverings open so warm air can reach the glass, because heavy curtains and blinds trap the cold and moisture against the window. If you have ever pulled back a drape in a spare room in February and found a black frame behind it, that is the mechanism, and it also explains why the mould is always worst in the room nobody uses.
The rest of the list is about where the moisture comes from before it ever reaches the glass. A long shower puts a remarkable amount of water into the air, as does a pot boiling without the range hood on, as does a rack of laundry drying in the living room, which is a very Vancouver habit in a rainy month. Getting that moisture out at the source is far easier than pulling it back out of the air later.
- Hold indoor relative humidity between 30 and 50 percent, and check it with a hygrometer rather than by feel.
- Open blinds and curtains during the day so warm room air can reach the glass, and keep heating vents and baseboards clear of furniture.
- Run the bathroom fan through the shower and for a good while afterwards, and use the range hood on high whenever something is boiling.
- Dry the frames and sills on any morning the panes have sweated. Health Canada recommends doing this daily, and it takes about ninety seconds per window.
- Leave interior doors open where you can, so moist bedroom air is not sitting against a cold pane all night.
- Unplug portable humidifiers. In a Metro Vancouver winter they are solving a problem most local homes do not have.
Pro Tip
Move the furniture off the exterior wall in the coldest bedroom by even ten centimetres. Airflow behind a headboard or a wardrobe pressed flat against an outside wall is effectively zero, that surface runs colder than the rest of the room, and it is a very common place to find the growth you have been smelling but not seeing.

Who is responsible for window mould in a BC rental?
This comes up in almost every move-out inspection we attend, and the official guidance is more specific than most tenants or landlords expect.
The province publishes a policy guideline that divides up maintenance and cleaning between landlord and tenant, and it has a section devoted to windows. Residential Tenancy Policy Guideline 1 states that the tenant is responsible for cleaning the inside windows and tracks during and at the end of the tenancy, and it names removing mould specifically. The same section makes the landlord responsible for cleaning the outside of the windows at reasonable intervals, and for providing clean windows in a reasonable state of repair at the start of the tenancy.
There is a line worth knowing on the other side of the ledger too. In the section on window coverings, the guideline says the tenant is not responsible for water stains due to inadequate windows. That is the distinction the whole argument usually turns on. Cleaning the growth off the sill is a tenant job. A window unit that has failed, a seal that has gone, or a building envelope that is letting water in is a repair issue, and it belongs to the landlord. If you are renting and the mould reappears within weeks of a proper clean in a home you are ventilating sensibly, that is worth reporting to your landlord in writing, and the Residential Tenancy Branch is the place to take any question about who is responsible for what.
The practical consequence at the end of a tenancy is simple enough. Window tracks and sills are one of the most commonly failed items on a move-out inspection, partly because they are easy to overlook and partly because a whole winter of condensation is sitting in them. If you would rather not gamble a damage deposit on it, they are included as standard in our move-out cleaning scope. For anything beyond cleaning, the Residential Tenancy Branch is the right place to take the question, not a cleaning company.
When is window mould cleaning not enough?
There is a real line between a cleaning job and a remediation job, and both Health Canada and the US EPA draw it in roughly the same place.
Health Canada sorts mould by area. Three or fewer patches totalling one square metre or less counts as small, and that is a job you can do yourself with gloves, a mask and reasonable care. More than three patches, each under a square metre but adding up to less than three square metres, is medium: an expert assessment is recommended, though in most cases it can still be cleaned up with proper procedure. A single patch larger than three square metres is large, and Health Canada says a qualified professional should assess and clean it. The US EPA draws a comparable line at about ten square feet, roughly a three-foot by three-foot patch.
For a window, almost everything you can see falls on the small side of that line. The question is what you cannot see. Four signs say the water is inside the assembly rather than sitting on it. Growth pushing through the reveal into the wall. Drywall that feels soft under a thumb. A musty smell with no visible source. And the same patch back within two weeks of a thorough clean in a home whose humidity you already have under control. Any one of those and you are treating a symptom, not the cause. That is a building problem, and it needs an assessment rather than a cloth. Our wider guide to mould and mildew around the home covers how to tell the difference room by room.
The middle ground is where most people actually sit: the growth is surface-level, it is not structural, and there is simply more window than anyone wants to spend a Saturday on. That is ordinary work for us. A window cleaning visit takes the glass, frames, tracks, sills and seals as one job rather than the glass alone, which matters here because the corners and channels are exactly where the growth lives. If the damp season has left its mark beyond the windows, a deep clean is the visit that gets into the bathroom grout, the shower doors and their tracks, the vents and the accessible interior glass, which are the other places a wet Vancouver winter shows up first.
- Clean it yourself: a few patches on glass, vinyl or a sealed sill totalling under a square metre.
- Get an assessment: growth spreading into drywall or plaster, soft or bulging material, or a musty smell with no visible source.
- Fix the building, not the surface: mould returning within weeks despite humidity held at 30 to 50 percent.
- Call a cleaner: surface growth across a lot of windows, or a move-out inspection you would rather not fail.
Step-by-Step
How to clean mould off windows, step by step
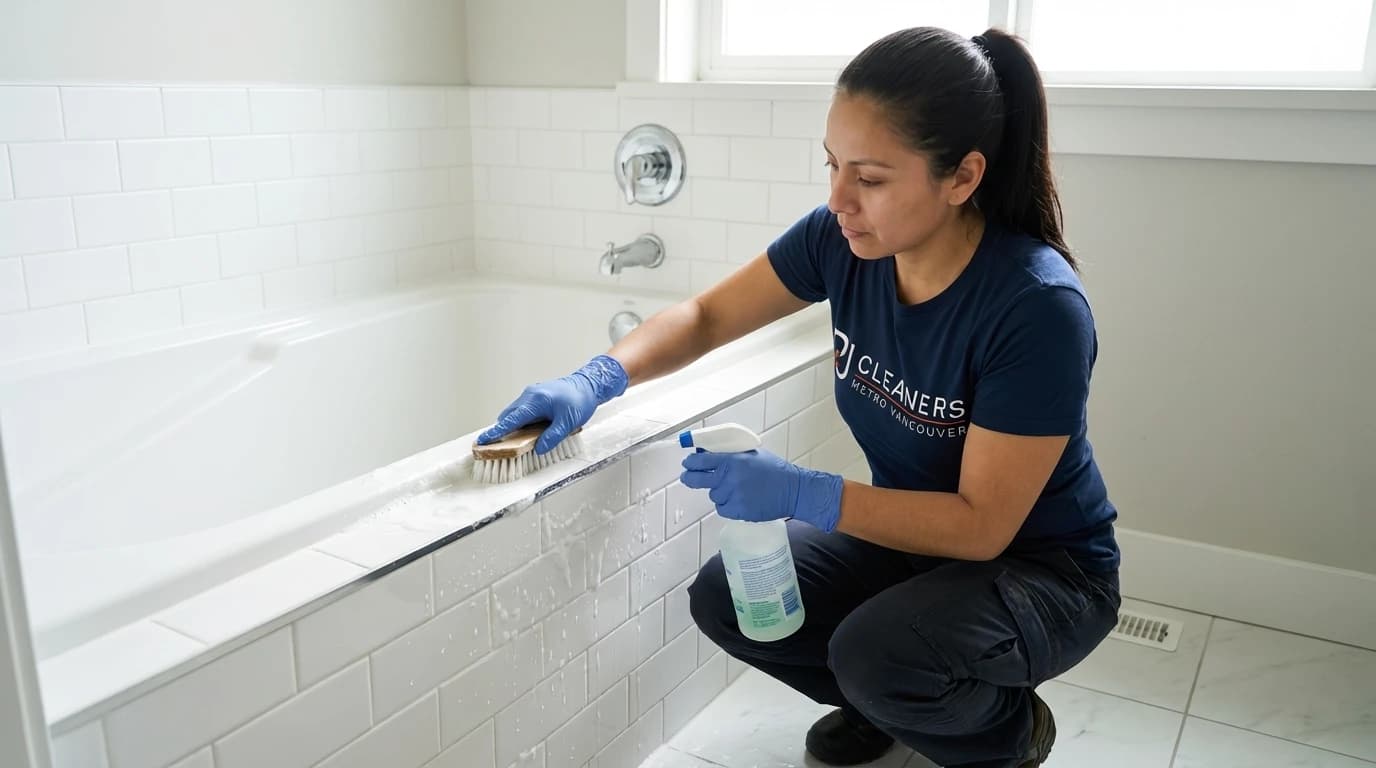
This is the method for a small area on a typical Metro Vancouver window: glass, a vinyl or aluminum frame, a sill and a track. Budget about fifteen minutes a window the first time and five thereafter.
Open the window and put the gear on
Ventilation first, always. Health Canada's cleanup guidance is to open windows and exterior doors for fresh air while you work. Gloves and a mask are not overkill on a job that involves disturbing growth at face height.
- Open the window you are working on, and a second window in the same room if there is one, so air moves across the work area rather than into the rest of the home.
- Close the door to the room so you are not moving spores through the house.
- Wear rubber or nitrile gloves, a mask, and eye protection if you are working overhead.
- Take anything soft off the sill first: plants, curtains, cushions on a window seat.
Vacuum the track before anything gets wet
The track is a gutter full of grit, dead insects and hair, and all of it holds water. If you wet it first you turn it into paste and spend twice as long. Dry debris out, then clean.
- Use a crevice tool or a narrow nozzle along the full length of the track.
- A HEPA-filtered vacuum is preferable if you have one, so the fine material is captured rather than blown back into the room.
- Do not dry-brush or dust the visible mould itself. Brushing dry growth is the one action that reliably puts spores into the air.
Mix unscented dish detergent and warm water
This is the whole product list. A few drops of unscented dishwashing detergent in a bowl of warm water is what Health Canada recommends for removing visible mould, and it is what we use.
- A few drops in a litre of warm water is plenty. More soap means more residue and more streaking on the glass.
- Choose unscented. Fragrance masks the musty smell that is your best signal for whether the job worked.
- Skip the bleach, and do not mix products. Nothing on a window needs a biocide.
Wet the growth and let it sit
Wetting the surface does two useful things at once: it stops spores becoming airborne, and it softens the growth so it releases instead of smearing. Dwell time is doing the work that scrubbing force otherwise has to.
- Apply with a cloth rather than a spray bottle where you can. A mist aerosolises what you are trying to keep down.
- Leave it for three to five minutes before touching it.
- Hold a dry cloth underneath vertical surfaces to catch the run-off before it reaches the wall below.
Scrub, working from clean toward dirty
Physical removal is the point. Take the glass first while your cloth is clean, then the frame, then the sill, then the track and the seal last, so you are never carrying growth from a dirty area onto a clean one.
- Glass and vinyl: a microfibre cloth is enough, no abrasive needed.
- Corners, tracks and the silicone seam: a soft brush or an old toothbrush, worked along the seam rather than across it.
- Turn or swap the cloth often. A loaded cloth just relocates the problem.
- Bag the used cloths or wash them hot and separately. Do not put a mouldy cloth back in the bucket.
Rinse, then dry completely and quickly
This is the step people skip and it is the one that determines whether you are back here next month. Health Canada's instruction is to dry completely and quickly. A damp surface in a cold room is where the next colony starts.
- Wipe over with clean water on a fresh cloth to lift the detergent residue.
- Dry with a separate dry cloth, and get right into the track and the corners.
- Leave the window open and the room door closed for another twenty minutes if the weather allows.
- Finish the glass with a proper technique if you want it streak-free. Our guide to cleaning windows like a pro covers why Vancouver's very soft tap water changes the method.
Check it again in two weeks
The clean is the test, not the cure. What happens over the next two weeks tells you whether you had a cleaning problem or a moisture problem, and it is the most useful diagnostic you have.
- Nothing back after two weeks: it was surface growth and the humidity is manageable.
- Faint return: keep going on ventilation and drying, and check your humidity reading.
- Full return in the same spot: the moisture source is still running, so stop cleaning and start measuring humidity and checking the seal.
| Part of the window | Porous? | What to use | What goes wrong |
|---|---|---|---|
| Glass pane | No | Detergent and water, microfibre, dried off | Too much soap leaves a haze that dries into streaks |
| Vinyl or aluminum frame | No | Detergent and water, soft brush in the corners | Abrasive pads scratch vinyl and the scratches hold growth |
| Window track | No, but it holds water | Vacuum dry first, then detergent and a soft brush | Wetting the grit first turns it to paste and pushes it into the drainage holes |
| Sealed or painted sill in good condition | No | Detergent and water, dried completely | Leaving it damp restarts the growth within days |
| Bare or damaged wood sill | Yes | Surface clean, then dry fully, sand and seal | Bleach soaks in, feeds the growth and lifts only the colour |
| Painted plaster reveal | Yes | Gentle surface clean, then repaint in washable satin | Hard scrubbing takes the matte paint off and exposes more porous material |
| Silicone bead or rubber gasket | Flexible, semi-porous | Detergent, soft brush along the seam, dwell time | Scrapers score the silicone and let water behind the seal |
Services mentioned in this article
Ready for help?
4.9 · 850+ Google reviewsWindows sweating, sills going black, and no time before the inspection?
Our crews clean glass, frames, tracks and sills as one job, plus screens removed, washed and reinstalled, so the corners and channels where mould starts do not get skipped. Condos to character homes across Metro Vancouver, backed by 850 reviews and our 200% satisfaction guarantee.
778-720-2224Window mould questions we get asked every October
How do you get rid of black mould on windows?
Scrub it with unscented dish detergent and warm water, then dry the surface completely and quickly. Health Canada's household guide recommends detergent and water rather than a biocide, and specifically advises against bleach. Wear gloves and a mask, work with the window open, and do not dry-brush the growth, because that pushes spores into the air.
Is mould on windows toxic?
Not in the way the phrase 'toxic black mould' implies. Health Canada's advice applies regardless of the species growing, so the colour of the growth tells you very little. What matters is how much there is and how long it has been damp. A palm-sized patch on a sill is a routine clean; growth that keeps returning or spreads past the frame into the wall is a moisture problem that needs investigating.
Should I use bleach on window mould?
No. Health Canada's household mould guidance says never use bleach to clean up mould. Bleach is mostly water, and on a porous wood sill or a painted reveal that water soaks in and feeds the growth you were trying to kill while the chlorine stays on the surface. Detergent and mechanical scrubbing do a better job on both porous and non-porous parts of a window.
What kills mould on windowsills?
Physical removal, not a spray. Scrubbing lifts the growth off the surface, and drying denies it the moisture it needs to return. If the sill is bare or damaged wood rather than sealed vinyl, expect the stain to remain after the mould is gone, because pigment has soaked into the grain.
How do you stop window mould coming back in a damp climate?
Bring the indoor relative humidity down into the 30 to 50 percent band Health Canada recommends, and stop trapping cold air against the glass. That means running bathroom and kitchen fans, opening curtains and blinds during the day, keeping heat vents clear of furniture, and wiping the sills dry on mornings when the panes have sweated.
Whose responsibility is window mould in a BC rental?
The Residential Tenancy Branch's policy guideline on landlord and tenant responsibilities puts cleaning the inside windows and tracks on the tenant, and it names removing mould specifically. The landlord is expected to hand over clean windows in reasonable repair at the start of the tenancy and to clean the outside at reasonable intervals. If the windows themselves are inadequate, that is a repair issue rather than a cleaning one.
Does cleaning mould off windows make it come back worse?
No, provided you wet the growth before you touch it and dry the surface afterwards. The one action that does spread it is dry-brushing or dusting visible mould, which puts spores into the air. Wetting first with detergent solution keeps them down, and drying completely and quickly removes the water the next colony would need. If growth returns within two weeks of a proper clean, that is the moisture source, not the cleaning.
Sources & References
The facts in this guide come from the primary sources below. Links open in a new tab.
- 1Guide to addressing moisture and mould indoorsHealth Canada
- 2Mold Cleanup in Your HomeUS Environmental Protection Agency
- 3Residential Tenancy Policy Guideline 1: Landlord & Tenant Responsibility for Residential Premises (July 2025)BC Residential Tenancy Branch
- 4Canadian Climate Normals 1991-2020, Vancouver International Airport (station 51442)Environment and Climate Change Canada

Meet the Author
Pamela
Co-Founder
Pamela leads residential quality standards at P&J Cleaners, refining safe, detail-driven cleaning systems for Vancouver homes, condos, and move-out projects.
Keep Exploring