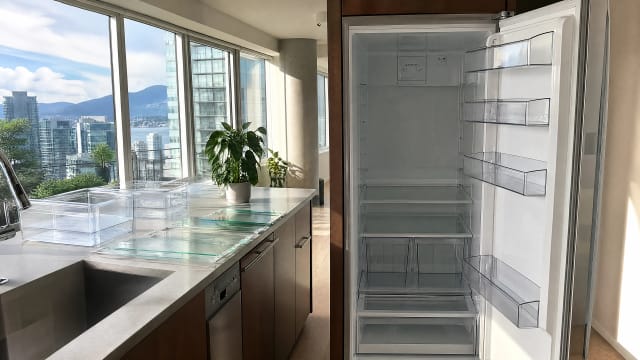
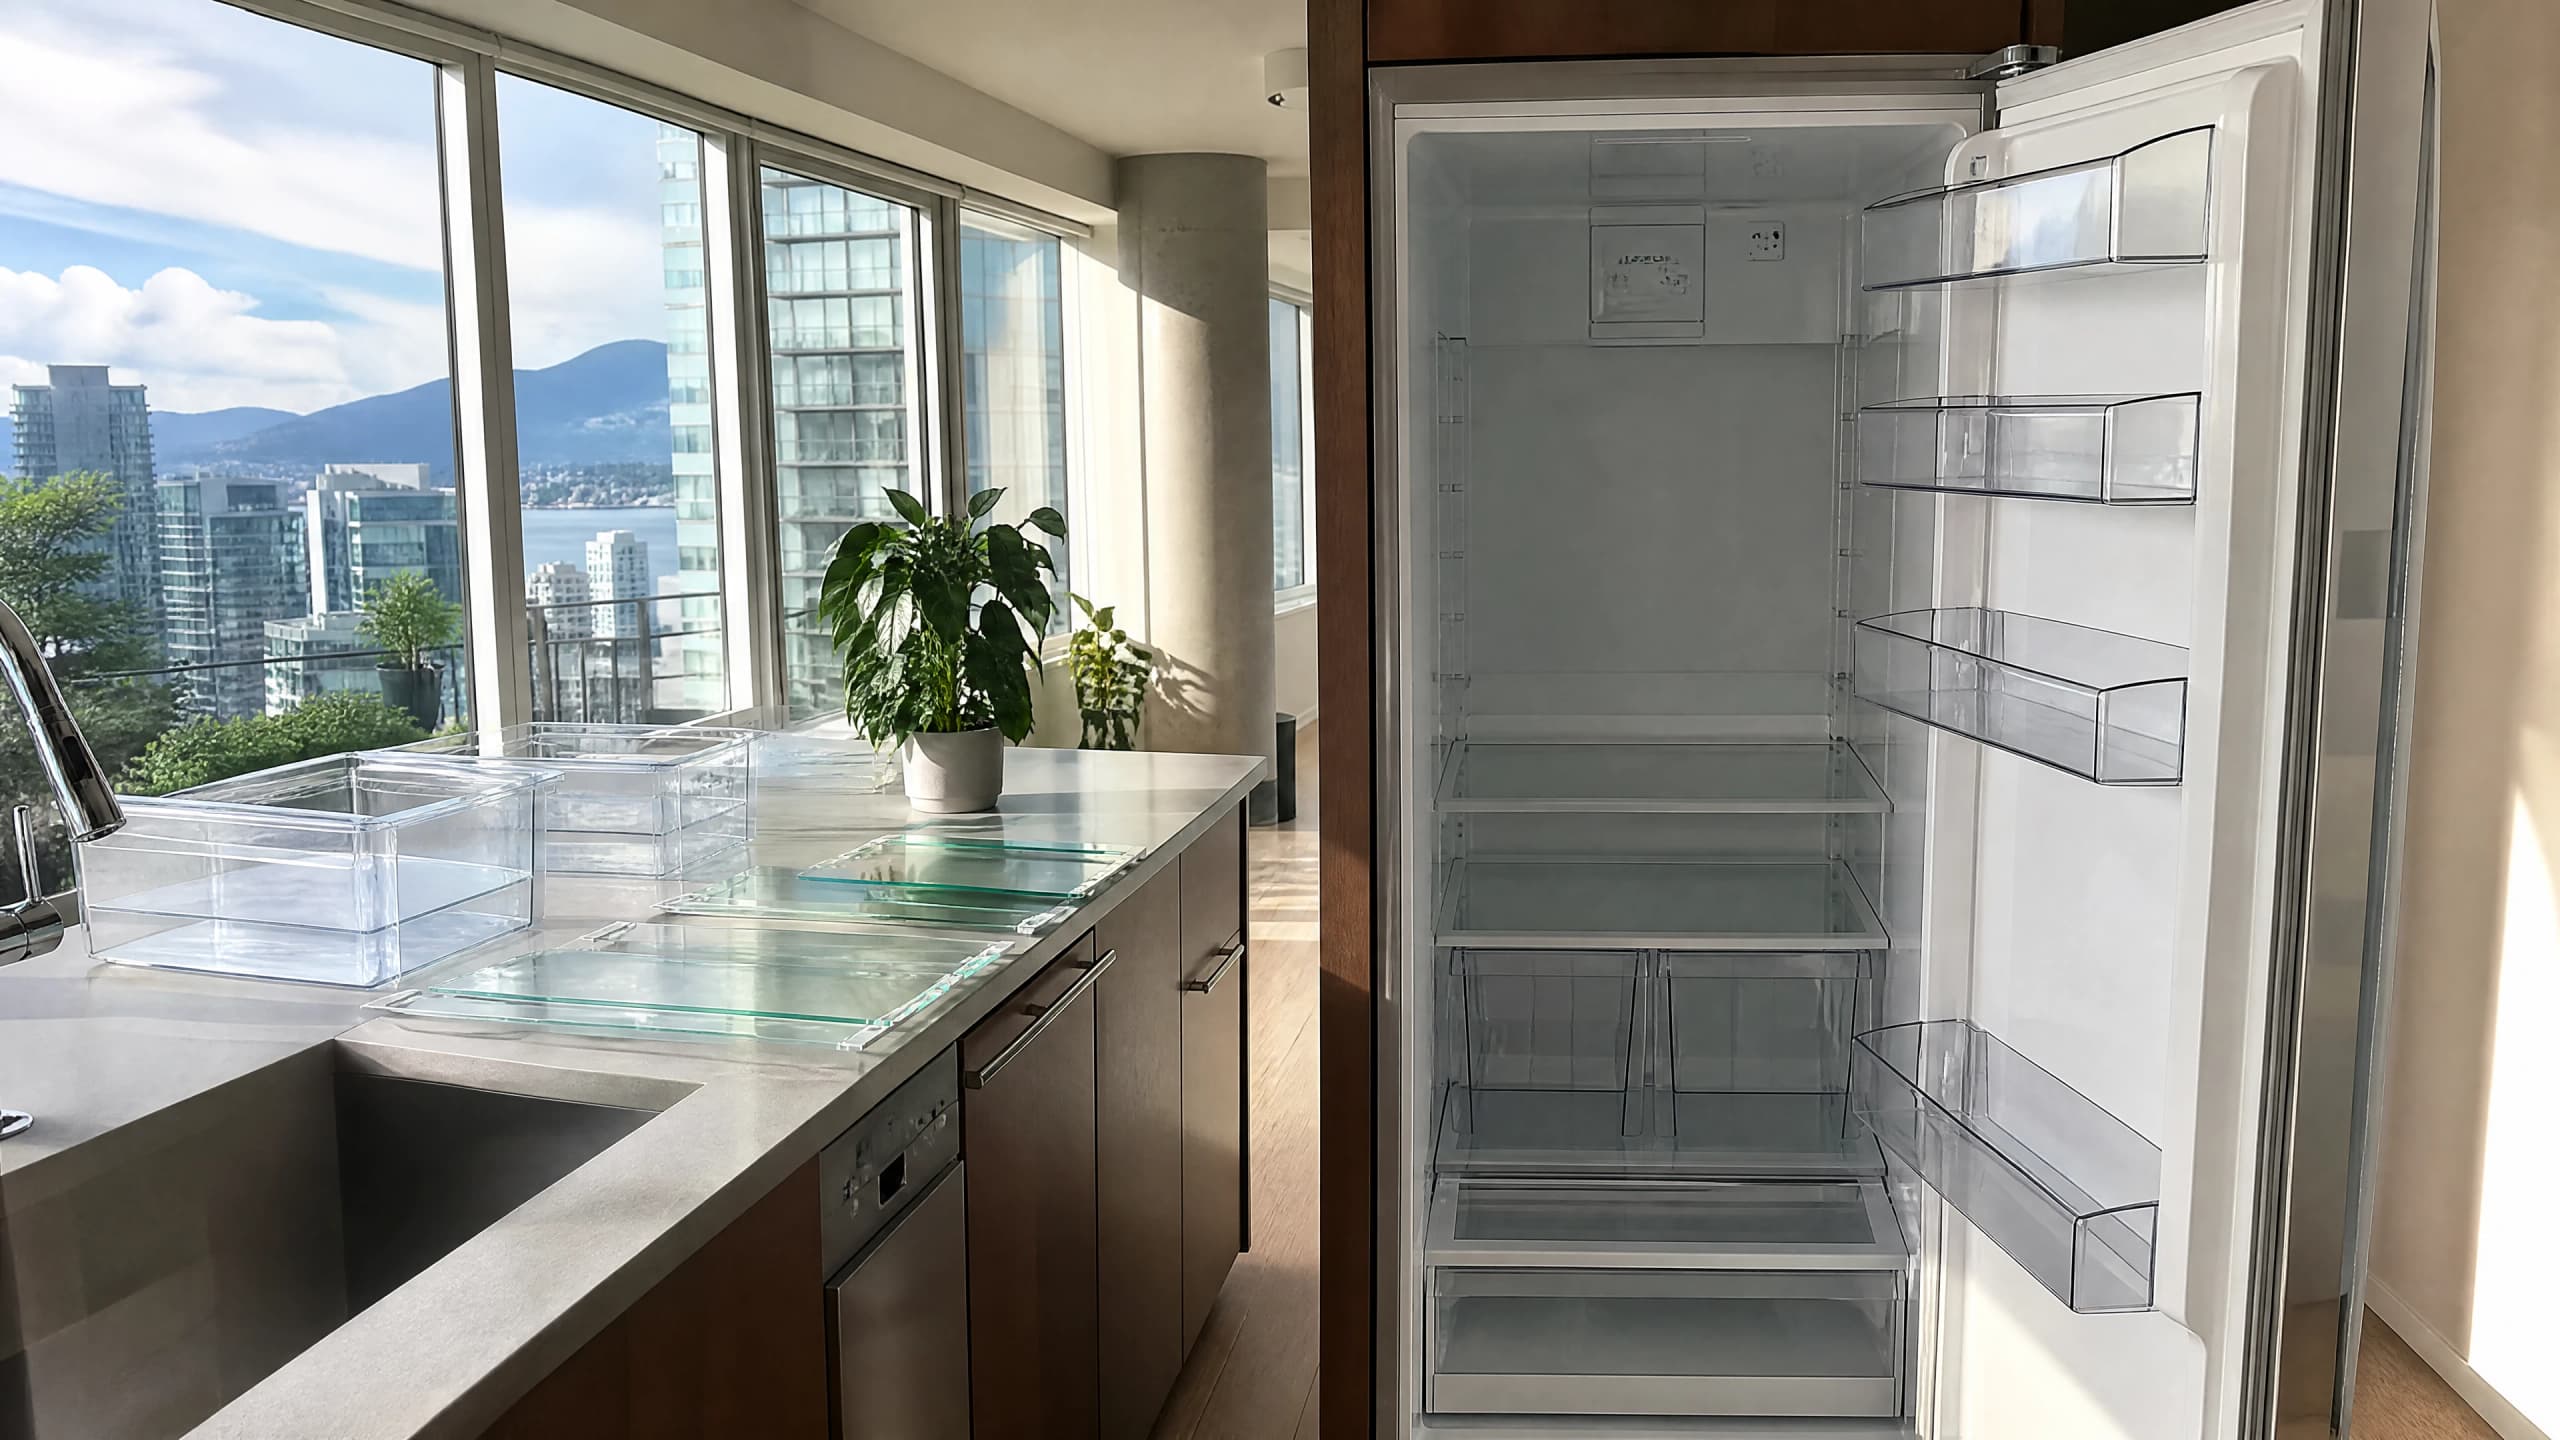


Quick answer
To clean a moldy fridge: unplug it, empty it, and take out every shelf and drawer. Wash all surfaces with warm water and mild dish soap, working the door gasket folds with a soft toothbrush. Rinse, dry completely, then air the cabinet before restocking. Skip bleach; appliance makers prohibit it.

Key Takeaways
- 1Warm water, mild dish soap and friction beat any spray on the shelf. The EPA notes that dead mold still triggers allergies, so removing it is what counts, not killing it.
- 2Do not use bleach inside a fridge. Whirlpool forbids bleaches and abrasive cleansers on interior and door liners, GE Appliances permits nothing but a mild detergent on the gaskets, and GE states that damage from prohibited products is not covered by the manufacturer's warranty.
- 3Never mix bleach with vinegar or with any ammonia-based cleaner. The combination releases toxic gas, and the EPA warns against it specifically in the context of mold cleanup.
- 4The door gasket is where fridge mold usually starts, and a flat cloth cannot reach into its folds. Work every fold with a soft toothbrush and warm soapy water, then dry the rubber before you shut the door on it.
- 5If the mold returns within a week of a thorough clean, the source is almost always the defrost drain tube or the drip pan under the unit, not the shelves you just scrubbed.
- 6USDA Food Safety and Inspection Service guidance: a closed refrigerator holds food safely for up to four hours without power. Past four hours, discard perishable meat, poultry, fish, eggs and leftovers rather than smelling or tasting them.
- 7HealthLink BC puts the DIY ceiling at a mold patch smaller than one square metre. A fridge interior sits well under that, so the trigger for calling someone is mold spreading past the appliance, not the appliance itself.
Is black mold in a refrigerator dangerous?
Worth taking seriously, not worth panicking over. The thing growing on your door bin is almost certainly not what people mean when they say black mold, and knowing the difference changes how you handle it.
The first thing most people do when they find dark speckling in a fridge is search the phrase black mold, and the results are alarming. That phrase usually refers to Stachybotrys chartarum, which needs constantly saturated cellulose to colonise. Think soaked drywall, wet paper backing, waterlogged ceiling tile. A cold, hard, non-porous plastic liner is close to the worst possible home for it.
What does grow in a fridge is a smaller and much more ordinary set of cold-tolerant molds. A 2012 study in the Brazilian Journal of Microbiology sampled the air inside 48 commercial food-storage refrigerators and found the dominant genera to be Penicillium at 29 percent, Aspergillus at 12 percent, Mucor at 9 percent and Cladosporium at 8 percent. Commercial units, not home kitchens, so treat it as a list of the genera that tolerate refrigeration. That is the useful part: these organisms keep working at fridge temperature, which is why a unit running perfectly cold can still grow something.
The real risks are smaller and more specific than the phrase suggests. Some people react allergically to mold spores whether the mold is alive or dead. Some molds produce mycotoxins, and the USDA's guidance on molds on food is that heavily moldy food should be discarded, not salvaged. A fridge is also a sealed box with a fan in it, so growth on one shelf gets circulated over everything else you are going to eat. None of which needs a contractor. It needs treating as a food-contact surface job: gloves on, food out, everything washed and rinsed, nothing left damp.
- Speckling on shelves, bins and the gasket is normal surface growth on non-porous material, and it comes off mechanically
- Growth that has spread onto the cabinet, the wall behind the unit, or the floor is a different problem and belongs in the escalation list further down
- Anyone in the household who is immunocompromised, pregnant, or asthmatic should not be the one doing the scrubbing
- Wear disposable gloves and open a window; you are disturbing spores, not just wiping a surface
- If the smell survives a genuinely thorough clean, something is still wet somewhere, and that is a clue rather than a mystery
Pro Tip
Bag the spoiled food inside the fridge and seal the bag before you carry it out, rather than at the bin. Walking an open bag of moldy produce through the kitchen is how a contained fridge problem becomes a whole-room one, and it is one of the most common mistakes we see on a first visit.
Will vinegar kill mold in the fridge, and should you ever use bleach?
Search how to disinfect fridge mold and the advice splits in two, with neither half telling you the whole story. Public-health pages recommend a dilute bleach sanitiser. Appliance manufacturers ban bleach outright. Both are right about their own concern.
Start with the manufacturers, because they are unambiguous. Whirlpool's own care instructions call for warm water mixed with mild dish soap on the interior, allow white vinegar diluted one to one with water for deodorising, and explicitly forbid bleaches, abrasive cleansers and anything containing petroleum products on interior and door liners. GE Appliances is blunter still: nothing but a mild detergent such as dish soap on the gaskets, and damage caused by prohibited products is not covered by the warranty. A cracked, hardened gasket is a real repair bill, and bleach is a known way to get one.
Now the health side. The EPA's position is that chemical biocides such as chlorine bleach are not recommended as a routine practice during mold cleanup. Its reasoning is the part people skip: dead mold still causes allergic reactions in some people, so killing it is not enough, it has to be removed. That reframes the whole job. You are not looking for a stronger disinfectant. You are looking for enough friction, in enough places, to physically lift the growth off the surface.
Which leaves the vinegar half of the question, and the honest answer is that it is the wrong question. Vinegar is a mild acid. The numbers you will see quoted for how much mold it kills do not trace back to a primary study, and it would not matter if they did. Bleach is a sanitiser, and a fridge interior does not have a sanitising problem, it has a residue problem. Warm water and dish soap, worked with a cloth and a brush, lift the biofilm the mold is sitting in. Vinegar earns its place afterwards, deodorising a surface that is already clean and leaving nothing behind you would not want near food.
One rule is not negotiable regardless of which side you lean toward. Never mix bleach with vinegar, and never mix it with an ammonia-based cleaner. The EPA warns about this specifically, and a fridge cavity with the door shut is a small, poorly ventilated space to make that mistake in. If you have used one, rinse and dry fully before the other comes anywhere near.
The disinfecting-wipe question comes up constantly, and the answer is printed on the canister rather than in any guide. Disinfecting wipes are registered for hard, non-porous surfaces, and the food-contact section of the label is where the rinse instruction lives: if your wipe calls for a potable water rinse on surfaces that touch food, a fridge shelf is one of those surfaces. Plenty of people skip that line because a wipe feels self-contained. If you want a sanitising step after the wash, the honest options are a rinse-after wipe used exactly as its own label instructs, or a food-safe sanitiser. Our guide to homemade cleaning solutions that actually work covers which pantry mixes hold up and which are folklore.
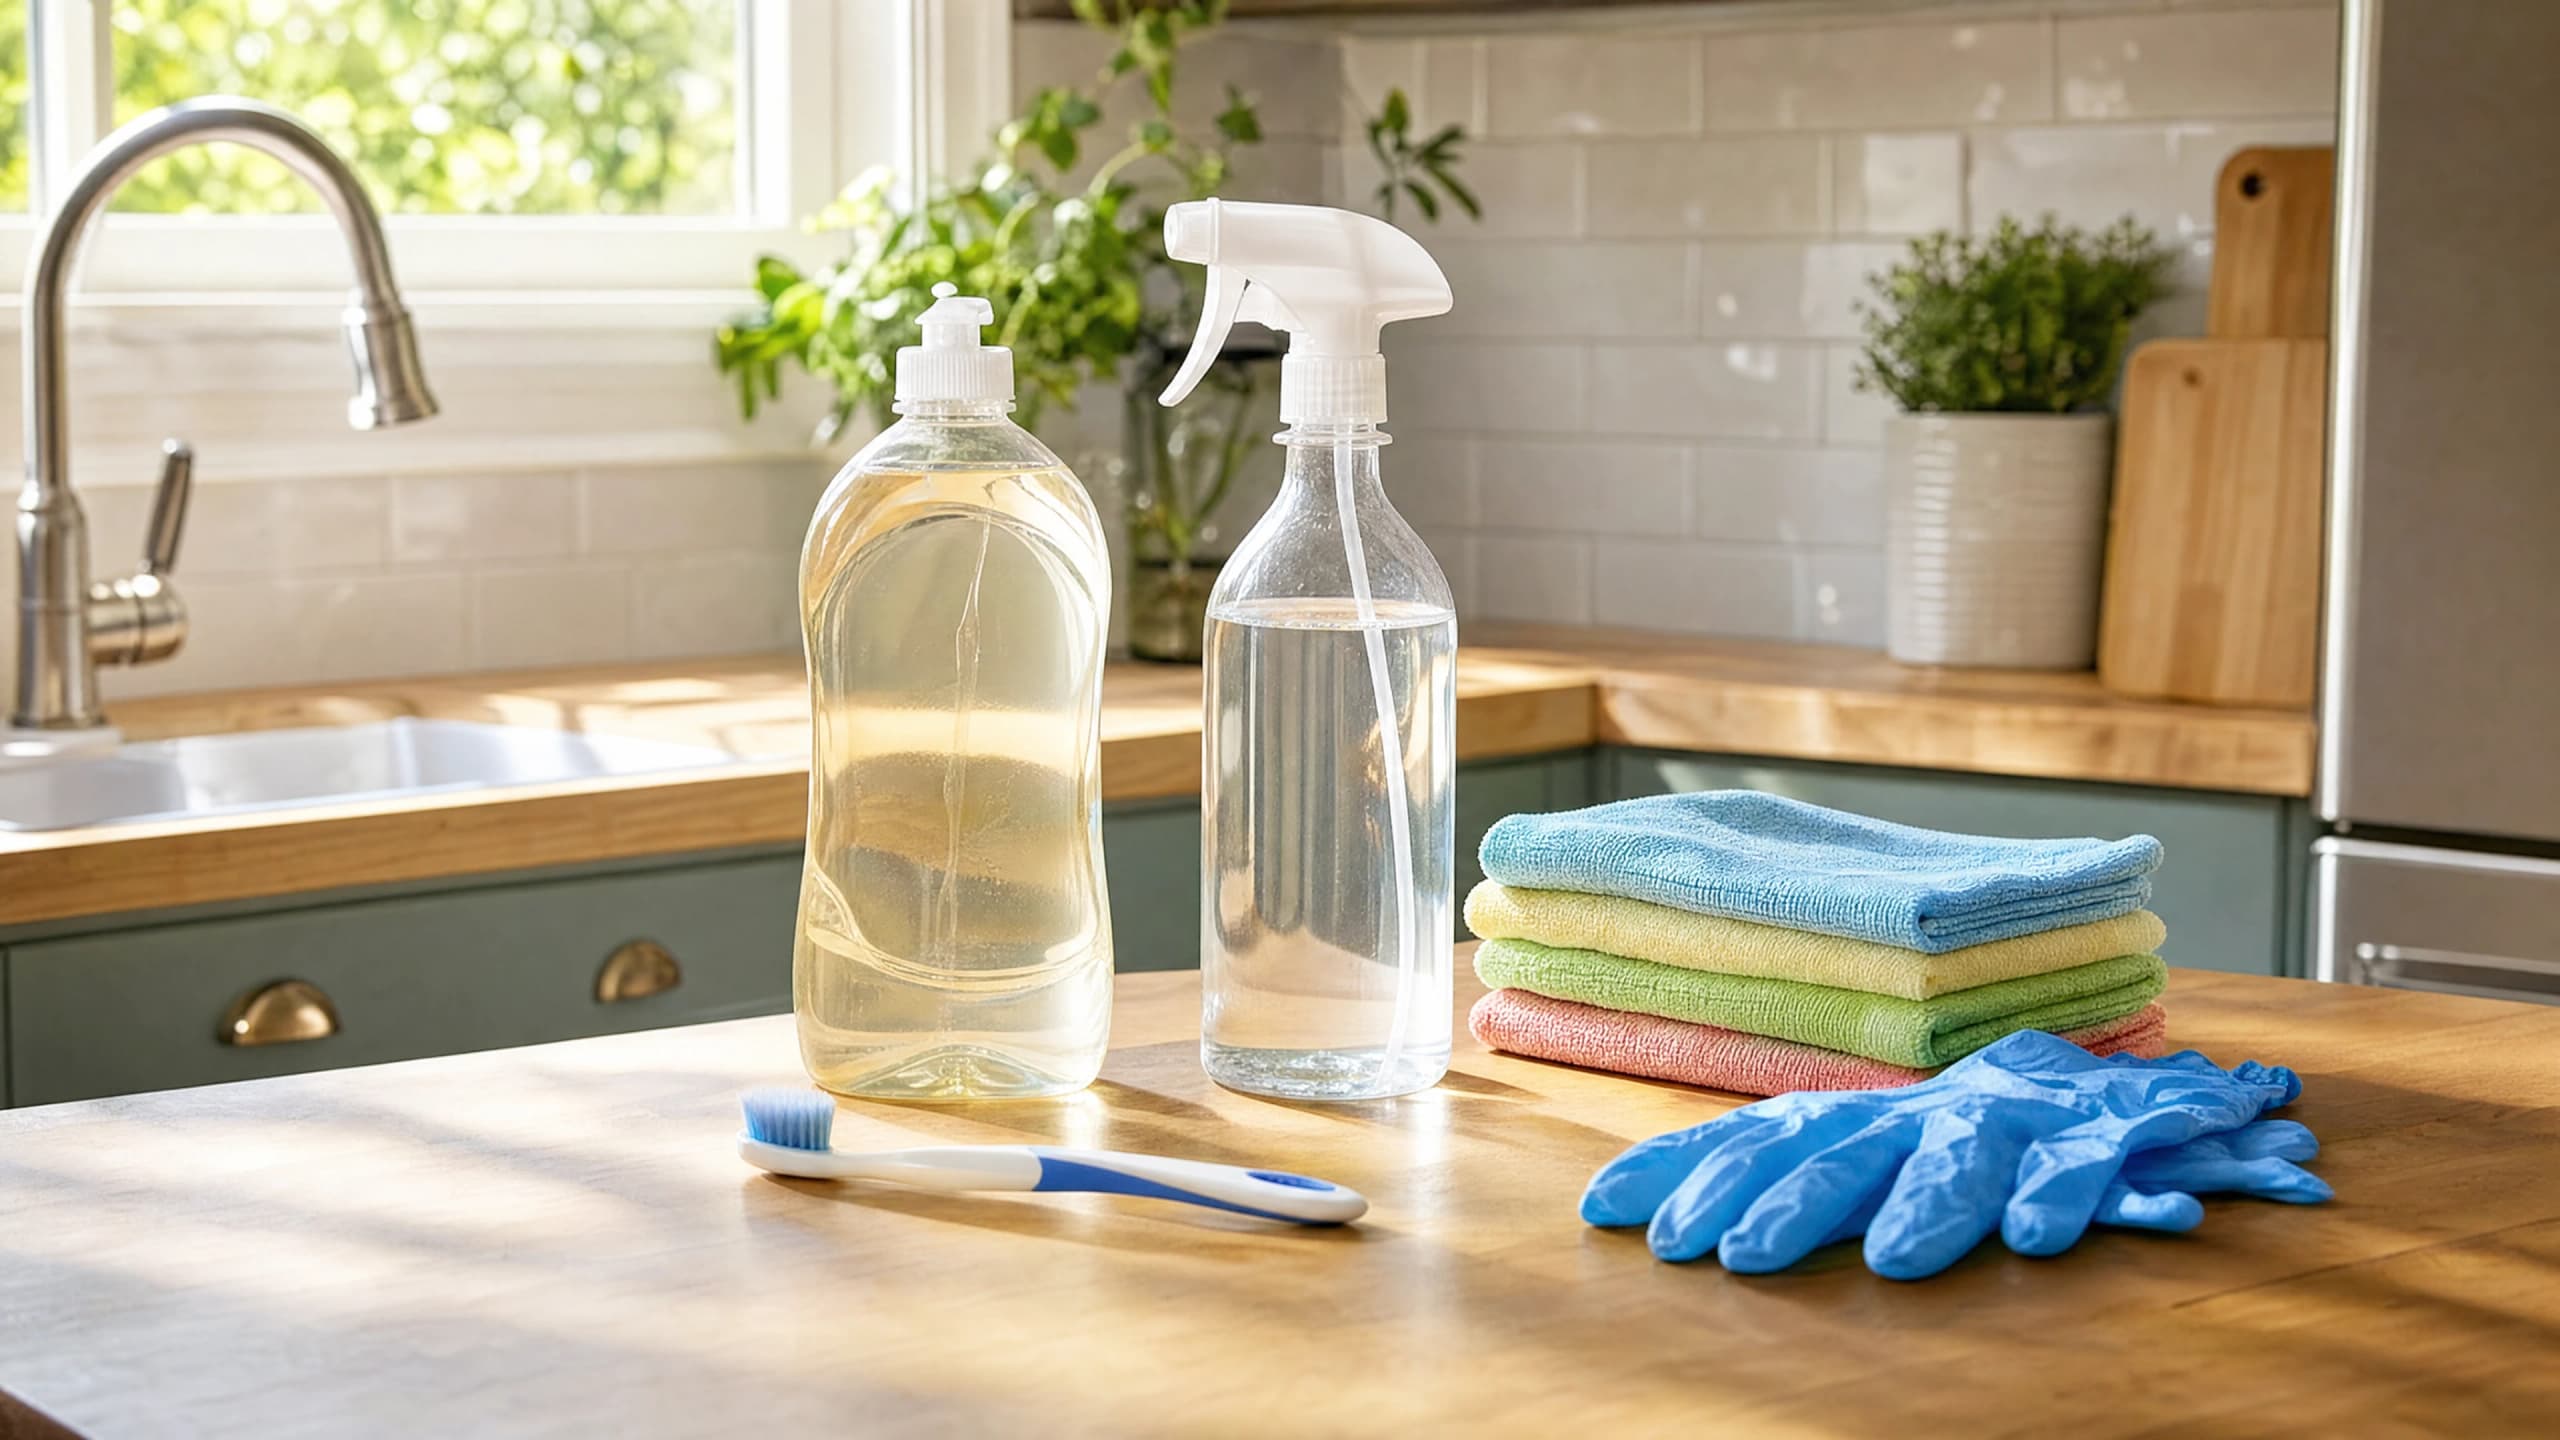
- Wash with warm water and mild dish soap, and accept that the scrubbing is the active ingredient
- Optional follow-up: a half-and-half mix of white vinegar and water, which Whirlpool permits for deodorising
- Skip bleach, ammonia, window sprays, scouring powders and anything petroleum-based on liners and gaskets
- Baking soda in warm water, about a tablespoon to a litre as a rule of thumb, is a safe odour treatment that leaves nothing behind on a food-contact surface
- If you use a disinfecting wipe, follow its own food-contact instructions, which usually means rinsing afterwards
Pro Tip
Spray the cloth, not the cabinet. Most people know that rule for streaks, but the reason it matters in a fridge is different. Liquid sprayed at the back wall runs down into the drain hole and the trim channels, the one part of the appliance you are trying to keep dry, and soaking them is a quiet contributor to the smell coming back a week later.
How to remove mold from fridge seals and gaskets
The gasket is the coldest, dampest, least-reachable surface on the appliance, and it is where nearly every recurring fridge mold problem starts. It also has the least margin for the wrong product.
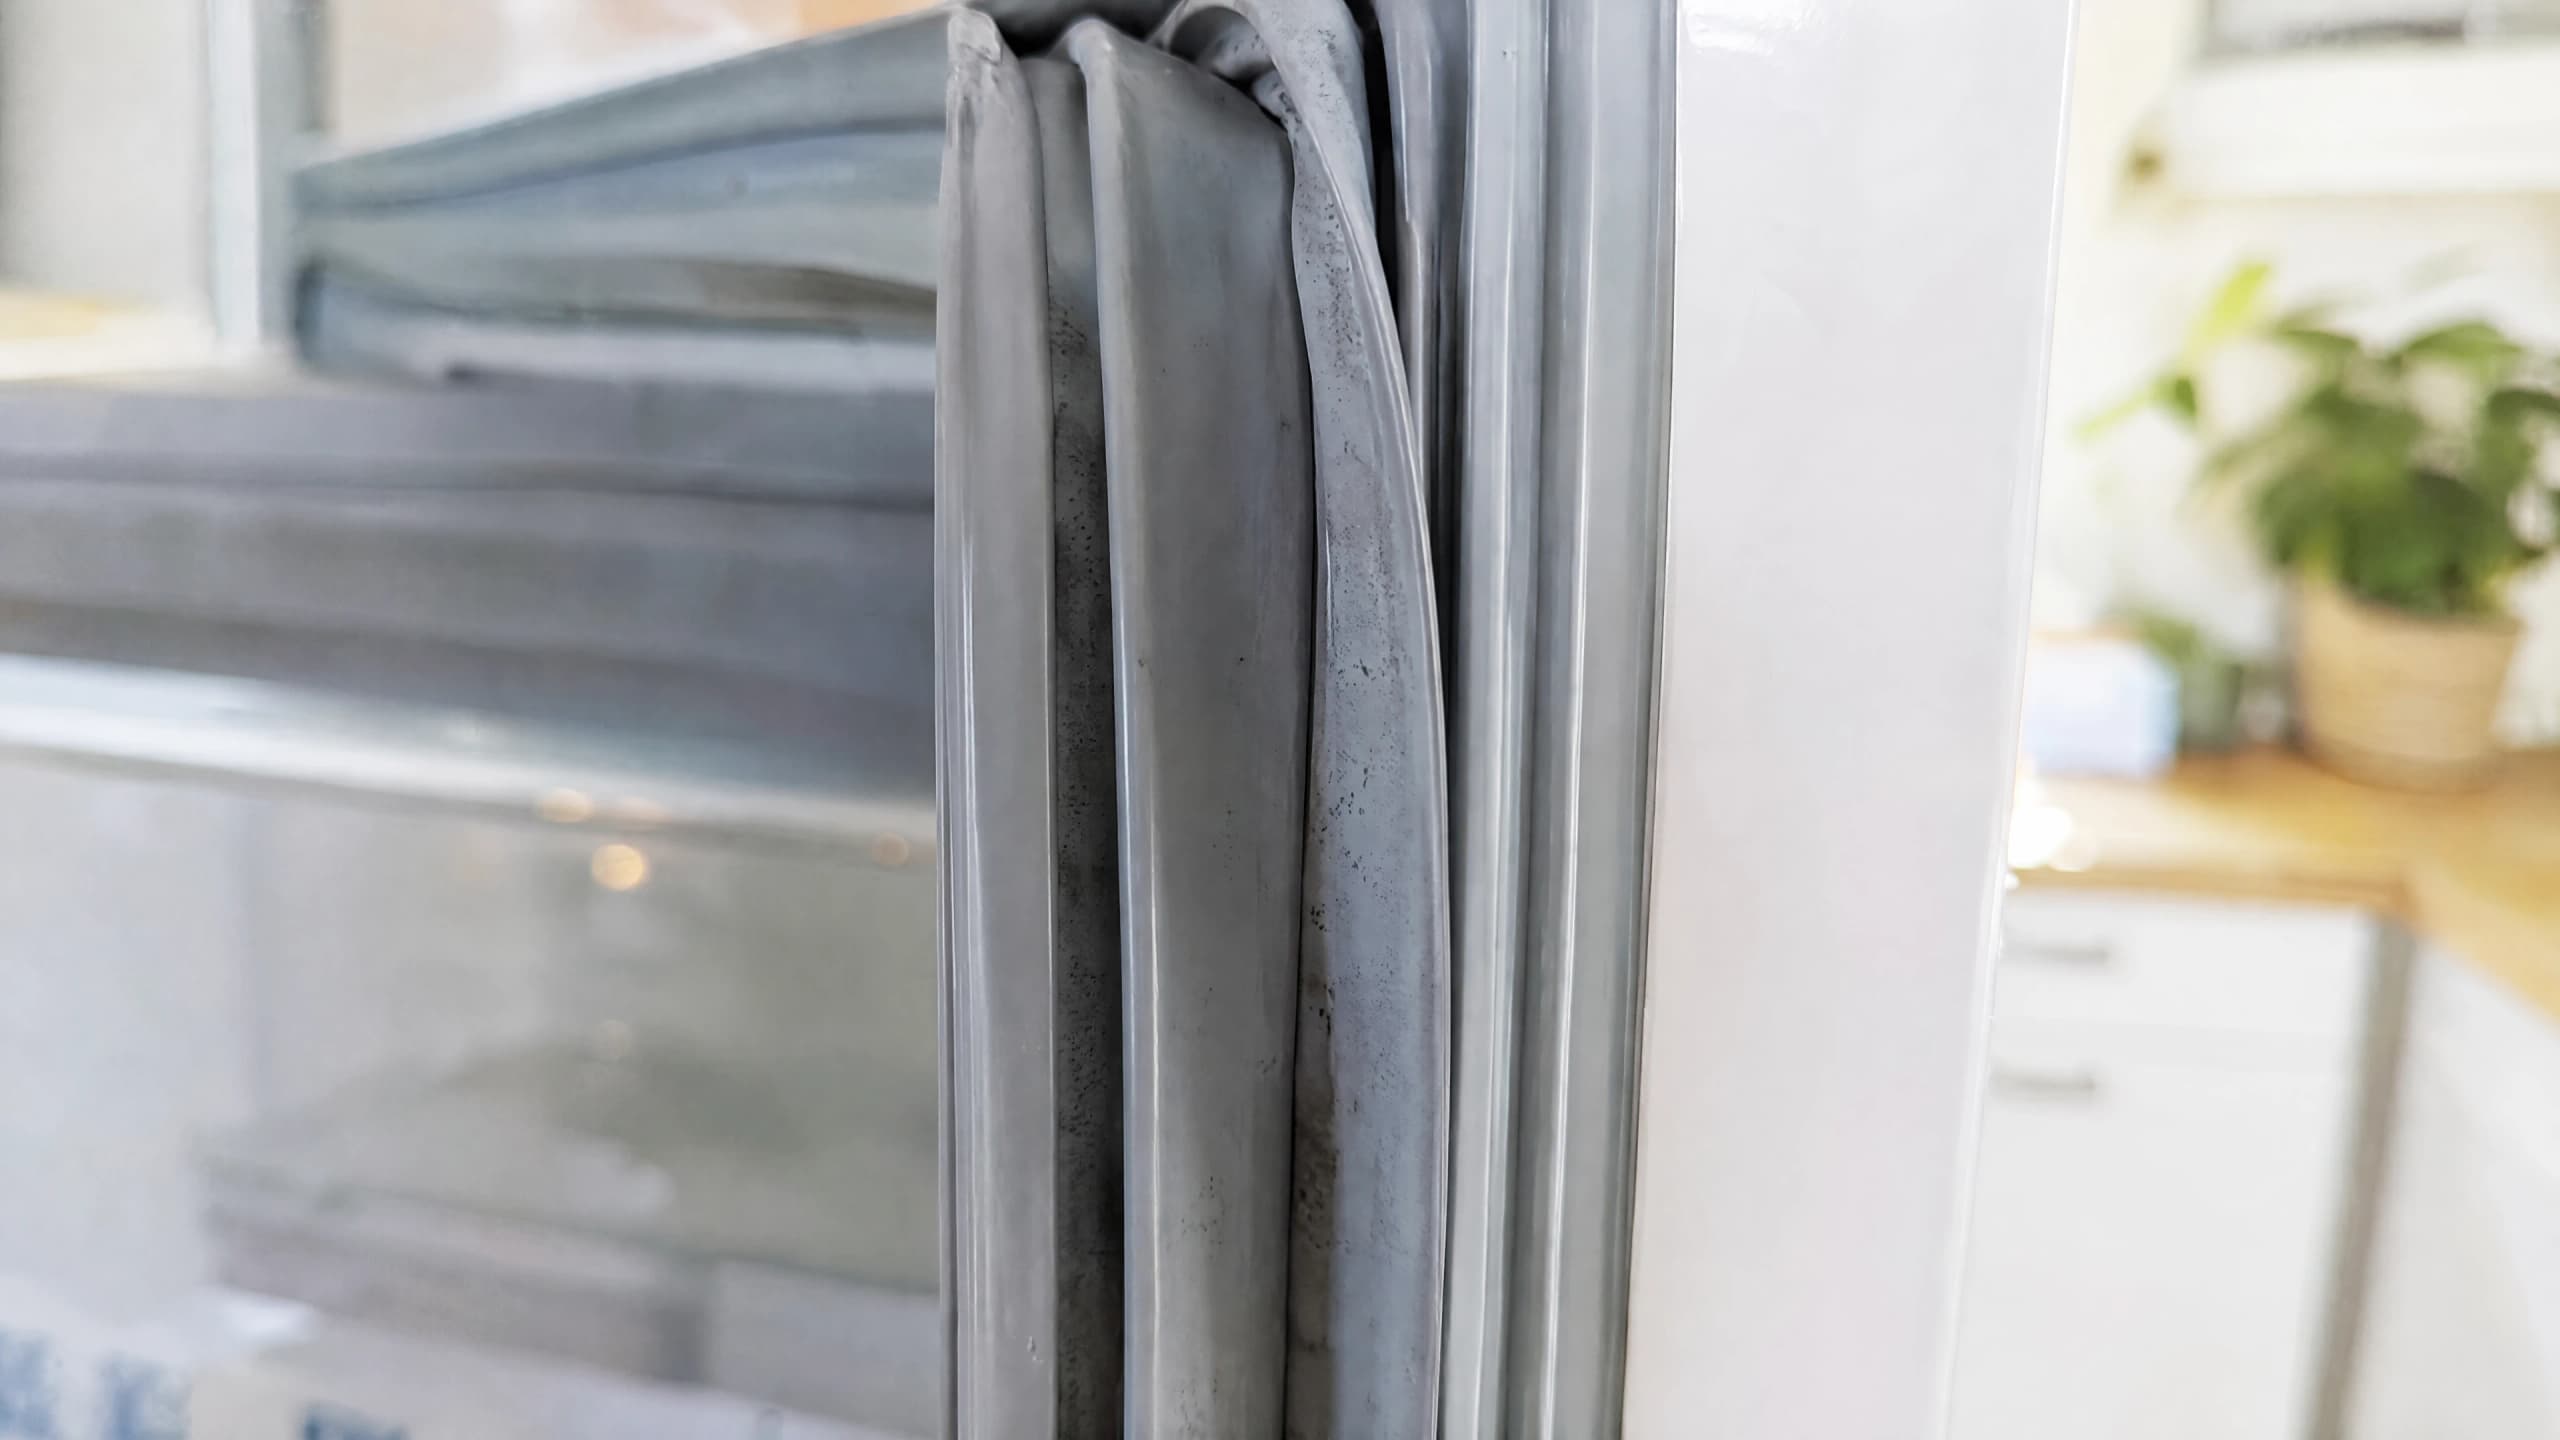
Look at the seal around your fridge door and you will see it is not a flat strip. It is a folded bellows, designed to compress and spring back, and each fold is a channel that traps crumbs, condensation and juice drips. A cloth run along the outside cleans the part you can see and none of the part that matters. That is why people clean a fridge properly and still find growth two weeks later.
The method is unglamorous and it works. Dip a soft toothbrush in warm soapy water, open each fold gently with your fingers, and brush along the length of the fold rather than across it. LG's own guidance is to wipe the gasket with a hot steamed towel first, which softens hardened residue and saves you scrubbing at cold rubber. Whirlpool says the same thing in different words: damp cloth, mild soap, gently lift the folds, dry fully.
Do the frame too. The gasket seals against a painted metal or plastic face on the cabinet, and growth transfers between the two every time the door shuts. Cleaning one and not the other means you have reinoculated the clean surface by dinner. While you are there, check the magnet strip channel that runs inside the gasket, which collects a surprising amount of grit.
Then dry it. A gasket left damp against a cold frame is a mold incubator with the lid on, and this is the step that separates a clean that holds from one that lasts a fortnight. Soft cloth, both surfaces, door propped open for a few minutes before you shut it.
One thing cleaning will not fix: a perished seal. Rubber hardens and shrinks with age, and a gasket that no longer compresses lets warm humid room air leak into the cabinet continuously, which grows mold faster than you can remove it. Test it by closing the door on a sheet of paper and pulling. If the paper slides out with almost no resistance, or if you can see daylight along a section of the seal, the gasket needs replacing rather than scrubbing, and that is an appliance technician's job.
- Brush along each fold, never across it, or you push the debris deeper into the channel
- Do the freezer door gasket in the same pass, not just the fridge one; it is colder, so it condenses more and gets checked less
- Clean the cabinet frame face the seal presses against, or you reinoculate the rubber by dinner
- Dry both surfaces, then run the paper test: if a sheet slides out of the closed door with no drag, you have a worn seal, not a dirty one
Pro Tip
Do the gasket last, after the cabinet and the shelves. It is the surface most likely to reinfect everything else, so cleaning it first and then splashing soapy water past it for another forty minutes wastes the only part of the job that actually stops the recurrence.
Why the mold comes back: the defrost drain and the drip pan
If you have cleaned the fridge properly and the smell returned inside a week, stop cleaning shelves. There is standing water somewhere in the appliance, and almost every guide on this topic leaves it out.
Nearly every modern fridge is self-defrosting. On a cycle, a heater briefly warms the evaporator coil behind the back wall, the frost that has built up there melts, and that meltwater has to go somewhere. It runs down to a small drain hole low on the back wall of the fresh-food compartment, through a rubber tube, and into a shallow drip pan that sits over the compressor at the bottom of the unit. Engine heat evaporates it. That is the design, and it works right up until something blocks it.
When the drain hole clogs with a food particle or a slick of biofilm, meltwater backs up. You get a puddle under the crisper drawers, or a sheet of ice across the floor of the cabinet, or just a persistent damp that nothing you wipe explains. That water is not clean, it does not drain, and it sits at fridge temperature feeding exactly the cold-tolerant molds that thrive there. Scrubbing the shelves above it is treating a symptom.
The drip pan is the second reservoir, and the one almost nobody has looked at. It collects everything the drain sends down, including whatever was dissolved in it, and in a fridge that has been in place for years it can hold a layer of sludge. If your kitchen smells faintly of mold with the fridge door closed, the pan is the first place to check.
Neither is difficult to deal with. Flush the drain hole with warm water from a turkey baster or a squeeze bottle. If it stays blocked, work a pipe cleaner or a length of soft wire gently down the tube, and do not force anything stiff into it. For the pan, unplug the unit, pull off the lower front grille, and slide the pan out if yours is removable. Wash it in hot soapy water and dry it before it goes back. Fixed pans need a long-handled brush and a wet vacuum instead. Our guide to deep cleaning kitchen appliances covers the same annual checks for the oven, dishwasher and range hood.
There is a caveat worth stating honestly. Getting to the pan usually means pulling the fridge forward, and in older kitchens across East Vancouver and New Westminster, where units are wedged into tight alcoves over soft vinyl or original hardwood, that is easy to do badly. If the fridge does not roll freely, get help rather than levering it. And if the drain keeps re-clogging after you have cleared it, that points at a defrost component failing rather than a cleaning issue, which is a technician's call.
- Puddles under the crisper drawers or ice on the cabinet floor mean the defrost drain is blocked, not that you spilled something
- Flush the drain hole with warm water first, then use a pipe cleaner only if it stays blocked
- Check the drip pan over the compressor behind the lower front grille, which most people have never opened
- A mold smell with the door closed points at the pan or the tube rather than the interior
- Repeated re-clogging after a proper clear-out is a failing defrost heater or thermostat, and that is an appliance repair
- Airflow matters too: an overpacked fridge and a unit shoved tight against a wall both raise interior humidity
Pro Tip
Once a year, pour about half a cup of warm water slowly into the drain hole and watch how fast it goes. A clear drain swallows it almost immediately. If it pools and creeps away, clear the tube that day, while it is a ten-minute job and not a smell you will be hunting in February.
A moldy fridge after a power outage: what to throw out, and the one thing you can save
This is how a lot of Metro Vancouver fridge-mold jobs actually begin. Not neglect, but a December windstorm, a full fridge, and nobody home to keep the door shut while the power was off.
BC Hydro's December 17 to 18, 2025 windstorm left about 120,000 customers without power across the south coast, 11,200 of them in Vancouver and 10,000 in North Vancouver. About 99 percent were back on by six the next morning. That reads like a quick recovery, and it is, unless your fridge was full and nobody was home to keep the door shut.
The rule that governs everything afterwards is a clock, not a smell test. USDA Food Safety and Inspection Service guidance is that an unopened refrigerator keeps food safe for up to four hours without power, and that past four hours you discard perishable items: meat, poultry, fish, eggs and leftovers. The threshold temperature is 40F, about 4C. FSIS is also explicit that you should never taste food to work out whether it is safe.
For anything that grew visible mold rather than simply warmed up, the USDA's separate guidance on molds on food draws the line by texture. Hard cheese can be salvaged by cutting at least an inch around and below the spot, because mold does not usually penetrate deeply into dense product. Soft cheeses go in the bin. Anything porous, and anything heavily covered, goes in the bin. Yoghurt, sour cream, cooked leftovers, soft fruit and bread are not worth the gamble on a mycotoxin.
Cleaning after an outage is the same method as any other fridge clean with one addition: check underneath and behind. Spoilage liquid finds the drain first and the floor second, and in a unit that sat warm for a day or more, the smell that survives your clean is often coming from a puddle under the appliance rather than anything inside it.
Keep an appliance thermometer in the fridge permanently. It costs almost nothing, and after an outage it is the difference between knowing the cabinet held at 3C and guessing. If you were away and cannot say how long the power was off, a container of water frozen solid with a coin resting on top will tell you afterwards: coin at the bottom means it thawed and refroze while you were gone.
- Four hours is the FSIS limit for an unopened fridge, and every hour of door-opening shortens it
- 40F, about 4C, is the threshold; anything held above it for four hours or more gets discarded
- Hard cheese: cut at least one inch around and below the mold. Soft cheese and porous foods: discard
- Never taste food to assess whether it is safe, and never rely on smell alone
- Check the floor and wall behind the unit for spoilage liquid, which is the usual source of a smell that outlives a clean
- An appliance thermometer plus the frozen-water-and-coin trick tells you what happened while you were out
Pro Tip
During an outage, put a folded towel along the bottom of the fridge door before you open it for the first time afterwards. On a unit that sat warm and full, condensation and spoilage liquid pool inside the door channel, and it runs straight onto the floor the moment the seal breaks. Catching it there saves you cleaning the grout line under the appliance.
When to stop cleaning and call a pro
There is a defensible line here, and it is not about how unpleasant the job is. It is about whether the appliance is still the source.
HealthLink BC sets the do-it-yourself ceiling at an area smaller than one square metre, with detergent and water for smooth surfaces and porous contaminated materials thrown out rather than cleaned. The EPA draws a similar line at roughly ten square feet. A fridge interior is comfortably inside both, so for most versions of this question the honest answer is that ninety minutes of your own time will do it.
The threshold that matters is different. It is not the size of the patch inside the appliance, it is whether growth has moved outward. Once you find it on the cabinetry beside the fridge, on the wall behind it, or on the flooring underneath, the appliance is no longer the problem. The room is. Same if a fridge sat warm and full for days and spoilage ran under the unit, because the part you cannot reach is now the part that smells.
That is the point where a kitchen deep clean earns its keep, because the job is now cabinet fronts, backsplash, floor edges and the surfaces around the appliance, not the appliance. Inside-fridge detail is an add-on to that clean, alongside the oven interior and the range hood. On a move-out clean it is included as standard, because the fridge is one of the first things a landlord opens.
Two limits you should hear from us before you book. Standard recurring house cleaning covers appliance exteriors, not interiors, so a fortnightly visit will not quietly solve a fridge problem. And we do not pull out large appliances, for the same reason we would tell you to be careful doing it: floors and water lines. If you want the space behind the fridge cleaned, slide the unit forward before the crew arrives and push it back afterwards.
Some things are not a cleaning job at all. Mold inside drywall, in a subfloor, or in a ventilation system is remediation work and belongs with a licensed contractor who can open up the assembly and dry it properly. Our guide to mold removal in BC homes covers where that line sits across the rest of the house.
- Photograph the growth before you touch it; a question ten days later is easier to settle with a before shot than a memory
- Ask whoever you book whether the fridge interior is quoted as an add-on or included, because the two words are different money
- Slide the unit forward yourself if you want the space behind it cleaned, and slide it back after the crew leaves
Pro Tip
If you are booking around a move-out inspection, ask for the fridge to be cleaned and then left switched off with the doors propped open. A sealed fridge sitting unpowered in an empty unit for a week grows more mold than the one you just cleaned ever had, and that is how a spotless move-out clean collects a complaint ten days later.

Step-by-Step
How to clean a moldy fridge, step by step
Allow about ninety minutes for a full fridge and freezer, less if you are only dealing with the fresh-food side. The order matters more than the products: everything out, everything washed, everything dry before anything goes back.
Unplug it and open a window
Pull the plug rather than turning the temperature down. You will be working with a damp cloth around a lit interior and a fan. Ventilation matters too, because scrubbing lifts spores into the air of a small room.
- Unplug at the wall, or switch off the breaker if the outlet is unreachable behind the unit
- Open a window and, if you have one, run the range hood on low to pull air out of the kitchen
- Put on disposable gloves before you touch anything inside
Empty it completely and triage as you go
Nothing gets cleaned around. Every jar, bottle and container comes out onto the counter, and anything questionable goes straight into a bag you can seal. Working fridge-to-counter-to-bag in one pass stops you handling the same doubtful yoghurt three times.
- Seal spoiled items in a bag inside the fridge, then knot it before carrying it out
- Wipe the outside of every jar and bottle that is staying before it goes back on the counter
- Discard anything porous with visible mold; the power-outage section above has the full keep-or-bin rules
Remove every shelf, bin and drawer, and let the glass warm up
This is the step most people shortcut, and it is the reason mold survives a clean. Growth accumulates in the shelf trim channels and under the drawer runners, neither of which you can reach with the parts in place. Glass shelves need one extra courtesy: let them reach room temperature before they meet warm water.
- Lift out shelves, door bins, crisper drawers and any wire racks
- Stand glass shelves on a towel for fifteen to twenty minutes so hot water does not thermally shock cold glass
- Check the underside of every drawer runner, which is a reliable hiding spot
Wash the removable parts in the sink
Hot water, mild dish soap, a soft cloth or non-scratch sponge. Take your time on the trim strips along the front edge of glass shelves, where liquid wicks in and sits. Rinse everything in clean water so no soap film is left on a food-contact surface.
- Wash, rinse, then stand parts on a rack or towel to air-dry completely
- Run a soft brush along the plastic trim seam on shelf edges
- Do not put fridge parts through a dishwasher on a hot cycle unless the manual says they are dishwasher safe
Wash the cabinet from the top down
Work top to bottom so drips land on surfaces you have not done yet. Warm soapy water on one cloth, clean water on a second to rinse. The ceiling of the cabinet, the light housing surround and the vertical rails all get skipped by muscle memory.
- Wipe the ceiling, back wall, side walls and floor of the cabinet in that order
- Rinse with a clean damp cloth so no detergent residue remains
- Find the small drain hole at the base of the back wall and note whether it is clear
Work the door gasket folds with a soft toothbrush
The seal earns its own step because it is where the recurrence starts. Open the folds gently, brush along the length of each one with warm soapy water, then dry the rubber fully so it is not left sitting damp against a cold frame.
- Run a soft toothbrush along every fold on both the fridge and freezer doors
- Clean the frame face the gasket presses against, not just the gasket itself
- Dry the rubber and the frame with a soft cloth before you close the door
Dry everything, deodorise, then restock
Dry is the step that decides whether the mold comes back. Leave the doors open for twenty to thirty minutes with the unit still unplugged, then plug in and give it an hour before food goes back. A shallow dish of baking soda handles any residual odour.
- Towel-dry every surface, then air the cabinet with the doors open
- Plug in and wait until the fridge is back at or below 4C before restocking
- Set a phone reminder to check the gasket in a month, which is when a recurrence would first show
| What you are looking at | Best move | Why | Roughly how long |
|---|---|---|---|
| Spots on shelves and door bins, fridge still running cold | Clean it yourself | Non-porous surfaces, well under any professional threshold, and the fix is mechanical | 45 to 90 minutes |
| Dark speckling in the gasket folds only | Clean it yourself with a soft toothbrush | Surface growth on rubber; the folds just need friction and drying | 20 to 30 minutes |
| The smell returns within a week of a proper clean | Clear the defrost drain and check the drip pan | A hidden reservoir is re-seeding the cabinet, and scrubbing shelves cannot reach it | 30 minutes, plus pulling the unit out |
| Fridge sat warm and full for more than a day | Discard first, then deep clean the kitchen | Spoilage liquid runs under and behind the unit where you cannot see or reach it | Half a day |
| Growth on the sealed surfaces around the fridge: cabinet fronts, backsplash, floor edges | Book a kitchen deep clean | The appliance has stopped being the source; the room is, and these are surfaces a cleaning crew can reset | One crew visit |
| Mold in drywall, subfloor, or the ventilation system | Call a remediation contractor | That is building work, and no cleaning company should be touching it | Assessment first |
Services mentioned in this article
Ready for help?
4.9 · 800+ Google reviewsWould you rather hand the kitchen over than spend Saturday on it?
Inside-fridge detail is available as an add-on with a kitchen deep clean, and it comes included as standard with every move-out and move-in clean, alongside the oven, the range hood and the areas the inspection actually checks. Backed by 800 reviews and our satisfaction guarantee.
778-720-2224Moldy fridges: the questions we get asked
Is it safe to clean a moldy refrigerator yourself?
Yes, for a normal fridge interior. HealthLink BC puts the ceiling for do-it-yourself mold cleaning at an area smaller than one square metre, and a fridge cabinet sits well under that. Wear disposable gloves, open a window while you work, and let someone else handle it if you are immunocompromised, pregnant or asthmatic.
Will vinegar kill mold in the fridge?
Only partly, and never as the main step. A half-and-half white vinegar and water mix is a reasonable follow-up, and Whirlpool permits it for deodorising fridge interiors, but the EPA's point is that killing mold is not enough because dead spores still trigger allergic reactions. What actually resolves it is physically removing the growth with warm soapy water and friction, then using vinegar afterwards on an already-clean surface.
Can Clorox or Lysol wipes kill mold in a fridge?
Not reliably, and never as the first step. Disinfecting wipes are registered for hard, non-porous surfaces, so they can sanitise a shelf you have already washed, but a wipe does not lift growth off a surface the way a soapy cloth and a soft brush do. Wash with warm soapy water first, then use the wipe exactly as its own label instructs, including the potable water rinse if the label calls for one on food-contact surfaces.
How do you clean mold out of fridge door seals and gaskets?
Open each fold of the rubber gently with your fingers and brush along it with a soft toothbrush dipped in warm soapy water. LG recommends wiping the gasket with a hot steamed towel first, which softens the residue. Clean the frame face the seal presses against as well, then dry both surfaces completely before closing the door.
Why does my fridge still smell moldy after I cleaned it?
Because the source is usually not in the part you cleaned. A self-defrosting fridge sends meltwater through a small opening low on the rear wall, down a tube, into a drip pan sitting over the compressor. If the tube clogs or the pan holds stagnant water, that reservoir keeps re-seeding the cabinet no matter how well you scrub the shelves.
When should you call a professional instead of cleaning fridge mold yourself?
When the mold has spread past the appliance onto cabinetry, walls or flooring, when the fridge sat warm and full for more than a day and spoilage has run underneath it, or when you have a move-out inspection and cannot afford to get it wrong. Mold inside drywall, subfloor or ventilation is a remediation contractor's job rather than a cleaning company's.
Sources & References
The facts in this guide come from the primary sources below. Links open in a new tab.
- 1Should I use bleach to clean up mold?US Environmental Protection Agency
- 2Mold Cleanup in Your HomeUS Environmental Protection Agency
- 3Indoor air quality: Mould and other biological contaminants (HealthLinkBC File 65b)HealthLink BC
- 4Cleaning the Interior of the RefrigeratorWhirlpool
- 5Refrigerator, Freezer and Standalone Ice Maker: Care and Cleaning of Interior and GasketGE Appliances
- 6LG Refrigerator: How to Remove Mold Buildup from the Door GasketLG
- 7Keep Your Food Safe During Emergencies: Power Outages, Floods and FiresUSDA Food Safety and Inspection Service
- 8Molds on Food: Are They Dangerous?USDA Food Safety and Inspection Service
- 9Strong wind and heavy rain leave about 120,000 BC Hydro customers without powerBC Hydro
- 10Detection of airborne psychrotrophic bacteria and fungi in food storage refrigerators (Brazilian Journal of Microbiology, 2012)Brazilian Journal of Microbiology

Meet the Author
Pamela
Co-Founder
Pamela leads residential quality standards at P&J Cleaners, refining safe, detail-driven cleaning systems for Vancouver homes, condos, and move-out projects.
Keep Exploring