

Quick answer
Deep clean kitchen appliances by using eco-friendly solutions like baking soda, vinegar, and lemon juice applied systematically to each appliance. Clean your refrigerator quarterly, oven every 3-6 months, dishwasher monthly, and microwave weekly for optimal performance, hygiene, and longevity.

Key Takeaways
- 1Deep cleaning kitchen appliances prevents bacterial growth, improves efficiency, and extends appliance lifespan by 3-5 years according to appliance manufacturers.
- 2Eco-friendly solutions like baking soda, vinegar, and lemon juice are as effective as commercial cleaners without toxic fumes or health risks to your family.
- 3Refrigerators should be deep cleaned every 3-4 months, including removing all shelves and wiping with baking soda solution to deodorize and sanitize.
- 4Monthly dishwasher maintenance — cleaning the filter, running a vinegar cycle, and wiping seals — prevents 89% of odour-causing bacteria buildup.
- 5The steam cleaning method for microwaves (bowl of water with vinegar or lemon, heated 3-5 minutes) loosens all grime for effortless wipe-down.
- 6Oven cleaning with overnight baking soda paste followed by vinegar spray removes 95% of baked-on grease without scratching enamel surfaces.
- 7Small appliances like blenders, toasters, and coffee makers harbour bacteria when not cleaned regularly — monthly descaling and disassembly prevents this.
- 8Establishing a cleaning schedule (daily wipe-downs, weekly microwave cleaning, monthly deep cleans, seasonal full kitchen resets) prevents heavy buildup.
The Importance of Deep Cleaning Kitchen Appliances
Regular deep cleaning removes hidden contaminants that affect appliance performance, family health, and kitchen hygiene.
Deep cleaning kitchen appliances removes stubborn grease, grime, and food particles that accumulate over time through daily cooking and food preparation. This accumulation doesn't just look unsightly — it directly affects appliance efficiency and poses genuine health risks through bacterial and mould growth in hidden crevices. The Canadian Food Inspection Agency notes that kitchen surfaces and appliances are among the most common sites for foodborne pathogen contamination in residential settings. Regular deep cleaning ensures a sanitary cooking environment that protects your family's health while maintaining the professional appearance of your kitchen.
Beyond health concerns, deep cleaning extends appliance lifespan by preventing mechanical issues and costly repairs. Grease buildup on oven heating elements reduces efficiency and can create fire hazards. Clogged dishwasher filters force motors to work harder, shortening component life. Dirty refrigerator coils increase energy consumption by up to 25%. Most manufacturers recommend regular deep cleans to maintain warranty coverage and ensure optimal performance. Vancouver homeowners who maintain consistent appliance cleaning schedules report saving an average of $300-500 annually in repair costs and energy bills.
Consistent and thorough cleaning of kitchen appliances also enhances overall kitchen aesthetics and your cooking experience. Clean appliances heat more evenly, cool more efficiently, and produce better results. A well-maintained kitchen creates a more pleasant environment for meal preparation and family gatherings. Whether you handle cleaning yourself or rely on professional services like P&J Cleaners, establishing a regular deep cleaning routine is one of the most valuable investments you can make in your home.
- Improved efficiency — clean appliances operate more effectively, saving time and reducing energy consumption by up to 25%
- Odour prevention — regular cleaning eliminates odours from food spills, bacterial growth, and residue before they become established
- Food safety — ensures appliances are free from harmful bacteria and mould, promoting healthier food preparation environments
- Cost savings — prevents breakdowns and extends appliance life by 3-5 years, saving hundreds in repair and replacement costs
- Peace of mind — knowing your kitchen is clean and appliances are well-maintained provides confidence in your cooking environment
Pro Tip
Set calendar reminders for your deep cleaning schedule — quarterly for the refrigerator, monthly for the dishwasher, and weekly for the microwave. Consistent timing prevents the heavy buildup that makes cleaning feel overwhelming.
Essential Tools and Supplies for Kitchen Appliance Cleaning
Gathering the right supplies before you begin ensures efficient cleaning without interruptions or surface damage.
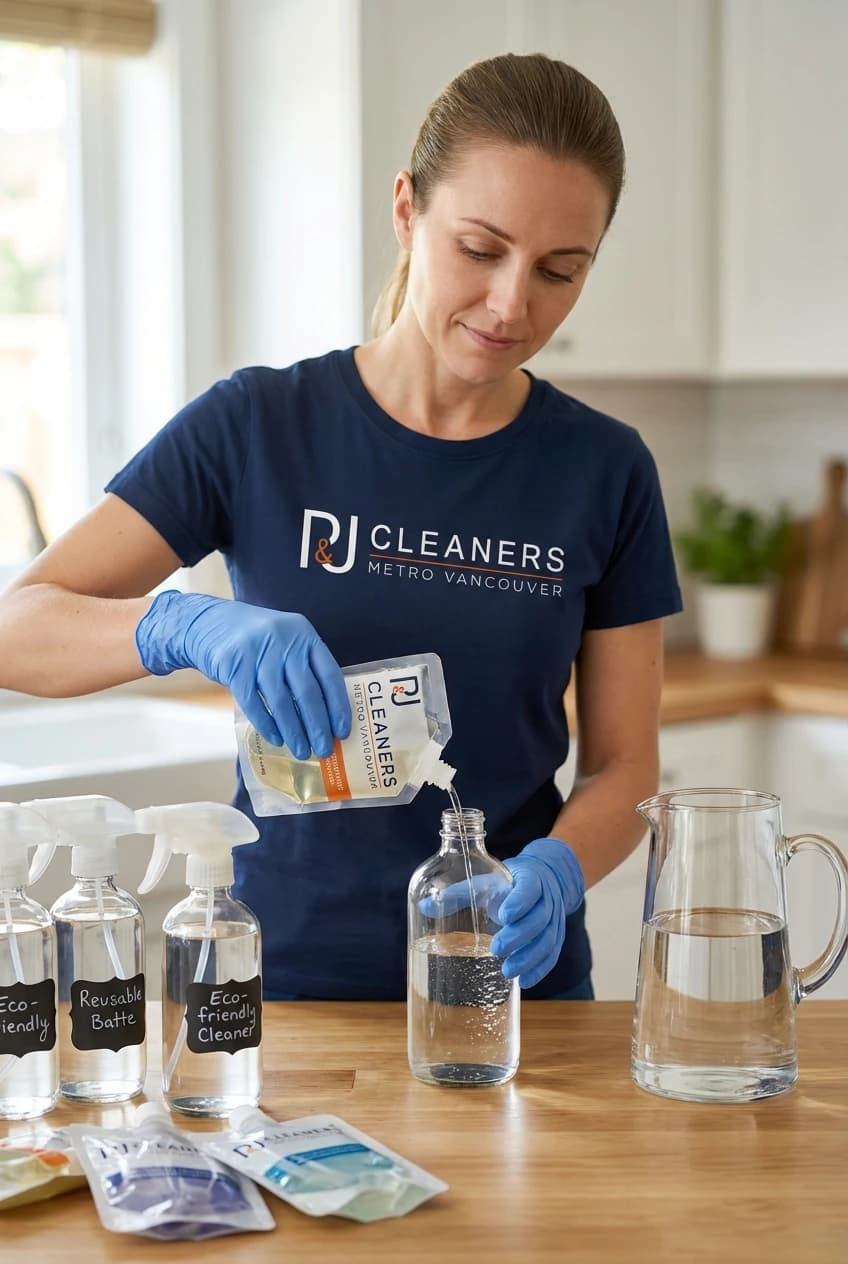
Before beginning any appliance deep clean, assemble all necessary supplies in one location. Having everything at hand prevents interruptions that allow cleaning solutions to dry prematurely or lose effectiveness. Essential tools include microfiber cloths for streak-free wiping without scratching, sponges in varying textures for different surfaces, scrub brushes in multiple sizes for reaching into crevices and tight spaces, an all-purpose spray bottle, mild dish soap for grease cutting, baking soda for abrasive scrubbing and deodorizing, white vinegar as a natural disinfectant and descaler, rubber gloves for hand protection, and a bucket for mixing solutions and rinsing cloths.
For those who prioritize sustainability and family safety, eco-friendly cleaning solutions deliver professional results without harsh chemicals. Mix equal parts white vinegar and water for an effective all-purpose cleaner that kills 99% of bacteria. Create a baking soda paste with water for scrubbing tough stains on any appliance surface. Lemon juice cuts through grease naturally and leaves a fresh citrus scent. Castile soap provides excellent biodegradable cleaning power for general tasks. A few drops of essential oils like tea tree or lavender add pleasant aroma and additional antimicrobial properties. P&J Cleaners commits to using eco-friendly cleaning solutions across all our services, prioritizing both health and environmental responsibility.
Safety should always come first when cleaning kitchen appliances. Read instructions and warnings on any commercial cleaning product labels before use. Ensure your kitchen is well-ventilated by opening windows and running exhaust fans to avoid inhaling fumes. Store all cleaning supplies out of reach of children and pets. Always wear rubber gloves to protect skin from prolonged contact with cleaning solutions and hot water. Unplug electrical appliances before cleaning to prevent electric shocks. Test any new cleaning solution on a small, inconspicuous area first to ensure it won't damage the surface finish.
- Microfiber cloths — essential for wiping surfaces without leaving streaks or scratching delicate finishes
- Baking soda — versatile natural abrasive for scrubbing and powerful deodorizer for refrigerators and dishwashers
- White vinegar — effective natural disinfectant that kills bacteria, removes mineral deposits, and cuts through grease
- Lemon juice — natural degreaser with pleasant scent, especially effective for microwave steam cleaning
- Rubber gloves — protect hands from chemicals, hot water, and prolonged contact with cleaning solutions
- Scrub brushes — different sizes and shapes help tackle grime in hard-to-reach areas like dishwasher filters and oven corners
Deep Cleaning the Refrigerator
A quarterly refrigerator deep clean prevents bacterial contamination, eliminates odours, and maintains optimal cooling efficiency.
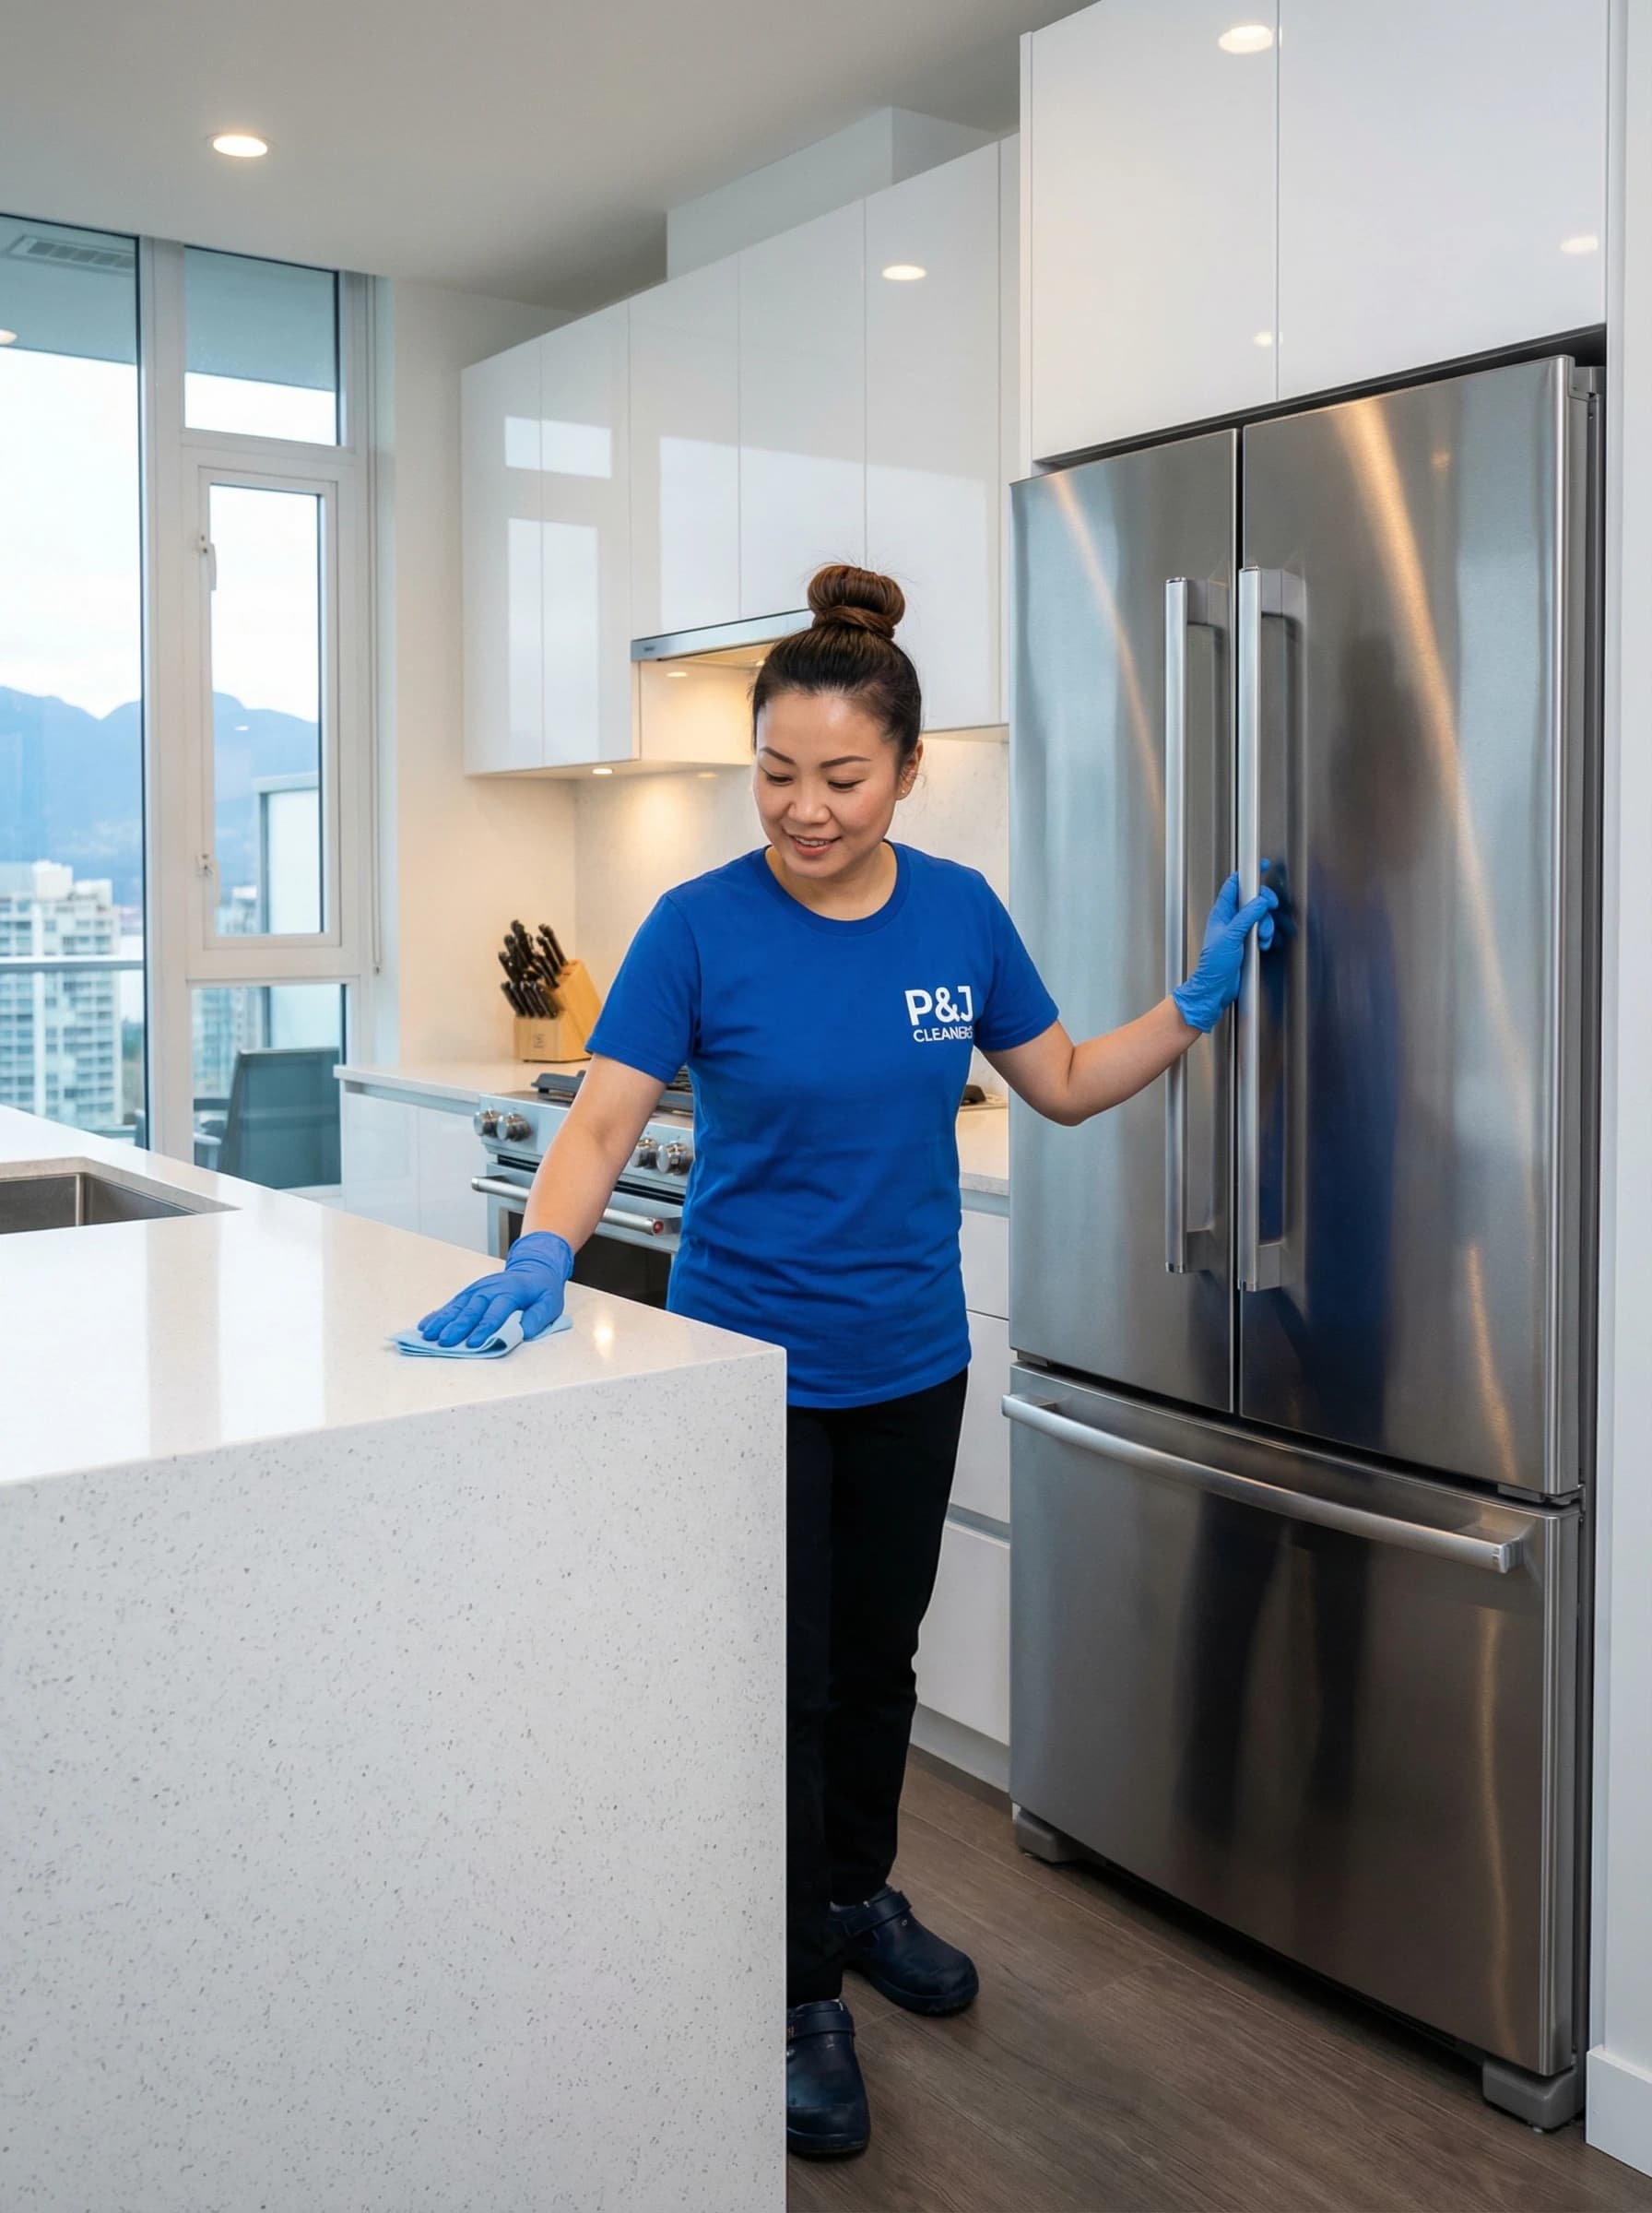
Start by emptying the entire refrigerator, removing all food items, shelves, drawers, and door bins. Take this opportunity to check expiration dates and discard any spoiled or expired items. Remove all detachable shelves and drawers and wash them separately in warm soapy water, then rinse thoroughly and let them air dry completely. Glass shelves can be soaked in the sink, while plastic drawers benefit from a baking soda scrub to remove stains and odours. Never place cold glass shelves directly under hot water, as the temperature shock can cause cracking.
Clean the interior walls, ceiling, and floor of the refrigerator using a mixture of one cup of water and one tablespoon of baking soda applied with a microfiber cloth. This solution effectively deodorizes and cleans without introducing harsh chemicals that could contaminate food. Pay special attention to corners, door seal grooves, and the area around the temperature controls where grime tends to accumulate. For the exterior, wipe down doors and handles with a mix of water and mild dish soap, paying special attention to the handle where hand oils and fingerprints concentrate. Stainless steel exteriors benefit from a dedicated stainless steel cleaner applied in the direction of the grain.
Once all surfaces are clean and dry, reassemble shelves and drawers and organize food items as you restock. Use clear containers so contents are easily visible, which reduces food waste by helping you quickly identify items needing consumption soon. Label and date items to track storage duration. Designate specific areas for different food types — keep raw meats on the bottom shelf to prevent drips contaminating other foods, dairy products in the middle where temperature is most consistent, and condiments in the door where slight temperature fluctuations matter least. Keep fruits and vegetables in separate drawers to maintain optimal humidity levels for each type.
To maintain freshness between deep cleans, place an open box of baking soda on a shelf to absorb odours continuously, replacing it every three months. Natural alternatives like coffee grounds or activated charcoal also absorb odours effectively. Wipe any spills immediately to prevent bacterial growth and sticky residue. After cleaning, sanitize surfaces with a solution of equal parts water and white vinegar, which kills bacteria and removes lingering odours. Conduct regular deep cleans every three to four months to maintain efficiency and hygiene.
Pro Tip
Regularly check and rotate food items at least once a week, moving older items to the front so they get used first. This FIFO (First In, First Out) approach reduces food waste and keeps your fridge organized between deep cleans.
Related resources
Deep Cleaning the Dishwasher
Monthly dishwasher maintenance prevents odours, removes mineral buildup, and ensures consistently clean dishes every cycle.
Begin by removing all removable parts — racks, utensil holders, and especially the filter at the bottom of the dishwasher. The filter is the most critical component to clean, as it collects food particles and grease that cause odours and reduce cleaning effectiveness. Wash the filter under hot running water, using a small brush or old toothbrush to scrub away trapped debris. Soak stubborn buildup in warm soapy water for 10 minutes before scrubbing. Wash racks and utensil holders separately with warm soapy water and inspect spray arm holes for clogs, clearing any blockages with a toothpick to ensure water flows freely during cycles.
After cleaning removable parts, wipe down all interior surfaces with a damp cloth, paying special attention to the door seal, edges, and the area around the drain where mould and mildew tend to develop. For a thorough interior clean, sprinkle baking soda across the bottom of the dishwasher, then place a cup of white vinegar on the top rack and run a hot water cycle. This powerful combination dissolves mineral deposits, cuts through grease buildup, deodorizes the entire interior, and kills odour-causing bacteria. The fizzing reaction between baking soda and vinegar reaches areas that everyday cleaning cannot access.
To prevent recurring odour and buildup, scrape leftover food from dishes before loading — never rely on the dishwasher to handle large food particles. Run a hot water cycle with a cup of vinegar once a month as preventive maintenance. Periodically check and clean door seals, examining the rubber gasket for trapped food particles and black mould spots. For deeper cleaning, consider using a professional dishwasher cleaner quarterly to break down mineral deposits and limescale that accumulate in Vancouver's moderately hard water. Using high-quality dishwasher detergent also makes a significant difference in maintaining internal cleanliness.
Regular maintenance ensures your dishwasher runs efficiently, using less energy and water while delivering spotlessly clean dishes. A clean dishwasher can last 10-15 years compared to 7-9 years for a neglected one. If you notice persistent odours, cloudy glassware, or dishes that aren't coming clean after maintenance, the problem is likely mechanical, and it is worth calling an appliance technician.
- Clean the dishwasher filter weekly under hot water to prevent food particle accumulation and odour
- Run a monthly empty cycle with vinegar and baking soda to dissolve mineral deposits and kill bacteria
- Clear spray arm holes with a toothpick regularly to ensure optimal water pressure and coverage
- Wipe door seals every 2 weeks to prevent mould growth in the rubber gasket grooves
- Scrape food from dishes before loading to reduce filter clogging and improve cleaning results
Microwave Maintenance and Deep Cleaning
Weekly microwave cleaning with steam and natural solutions prevents grease hardening and maintains food safety standards.
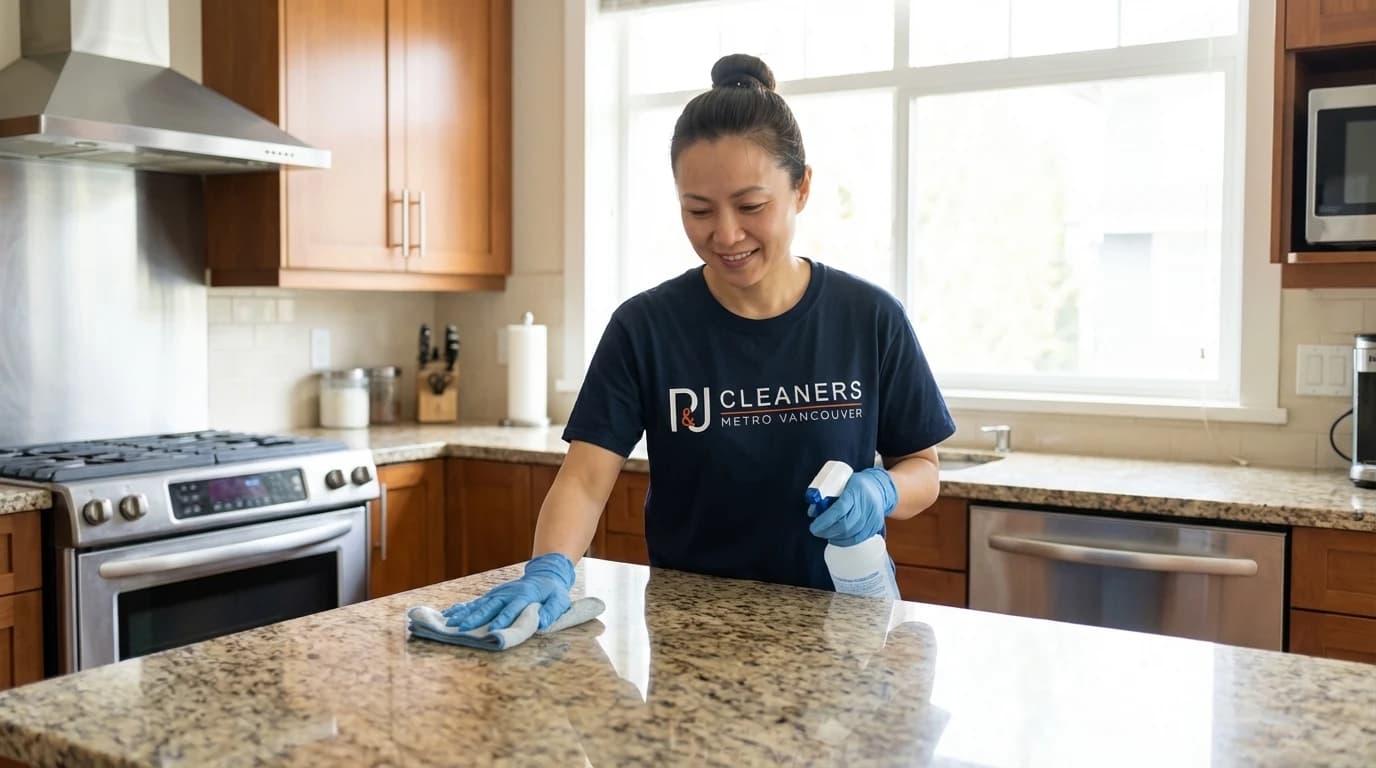
Keeping your microwave clean enhances efficiency and ensures food safety by preventing cross-contamination from splattered food particles. The most effective technique is the steam cleaning method: fill a microwave-safe bowl with water and add a tablespoon of white vinegar or several slices of lemon. Microwave on high for 3-5 minutes until steam coats the interior walls and ceiling. Let the bowl sit inside with the door closed for an additional 2 minutes — the steam continues loosening grime while the surface cools enough to handle safely. Then carefully remove the bowl and wipe all interior surfaces with a damp microfiber cloth. The loosened grime comes off effortlessly without scrubbing.
Remove the turntable and wash it separately with warm, soapy water, drying completely before replacing. Wipe the interior walls, ceiling, and door with a sponge soaked in the vinegar solution, paying attention to corners and vents where grease accumulates. For stubborn, hardened food splatters, apply a paste of baking soda mixed with a small amount of water directly to the stain. Let it sit for 5 minutes, then scrub gently with a sponge and wipe clean. Don't forget the exterior — wipe down the door, handle, and control panel with a damp cloth to remove fingerprints and grease splatters from cooking.
Prevention is always easier than deep cleaning. Cover food with a microwave-safe lid, plate, or paper towel every time you heat something to prevent splatters. Make it a habit to wipe down the interior after each use — this 30-second task prevents food particles from hardening into stubborn stains that require intensive cleaning later. For ongoing freshness, place a bowl of baking soda or a few activated charcoal briquettes inside the microwave when not in use to absorb odours. These simple preventive measures reduce the need for deep cleaning from weekly to monthly while keeping your microwave fresh and ready for use.
Pro Tip
The lemon steam method does double duty — the citric acid breaks down grease more effectively than plain water, and it leaves your microwave smelling fresh and clean without any artificial fragrances.
Cleaning the Stove and Oven
Deep cleaning your stove and oven every 3-6 months prevents grease fires, improves heat distribution, and ensures efficient cooking performance.
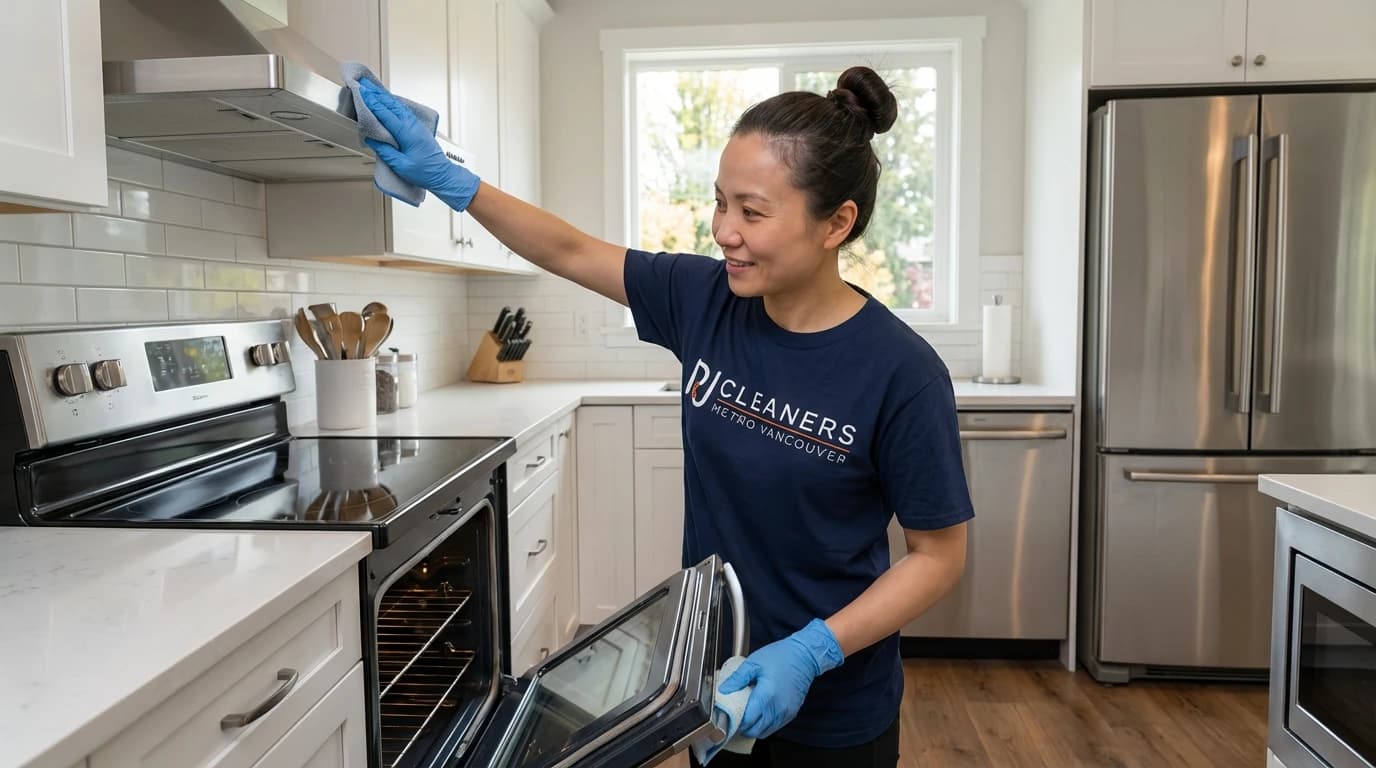
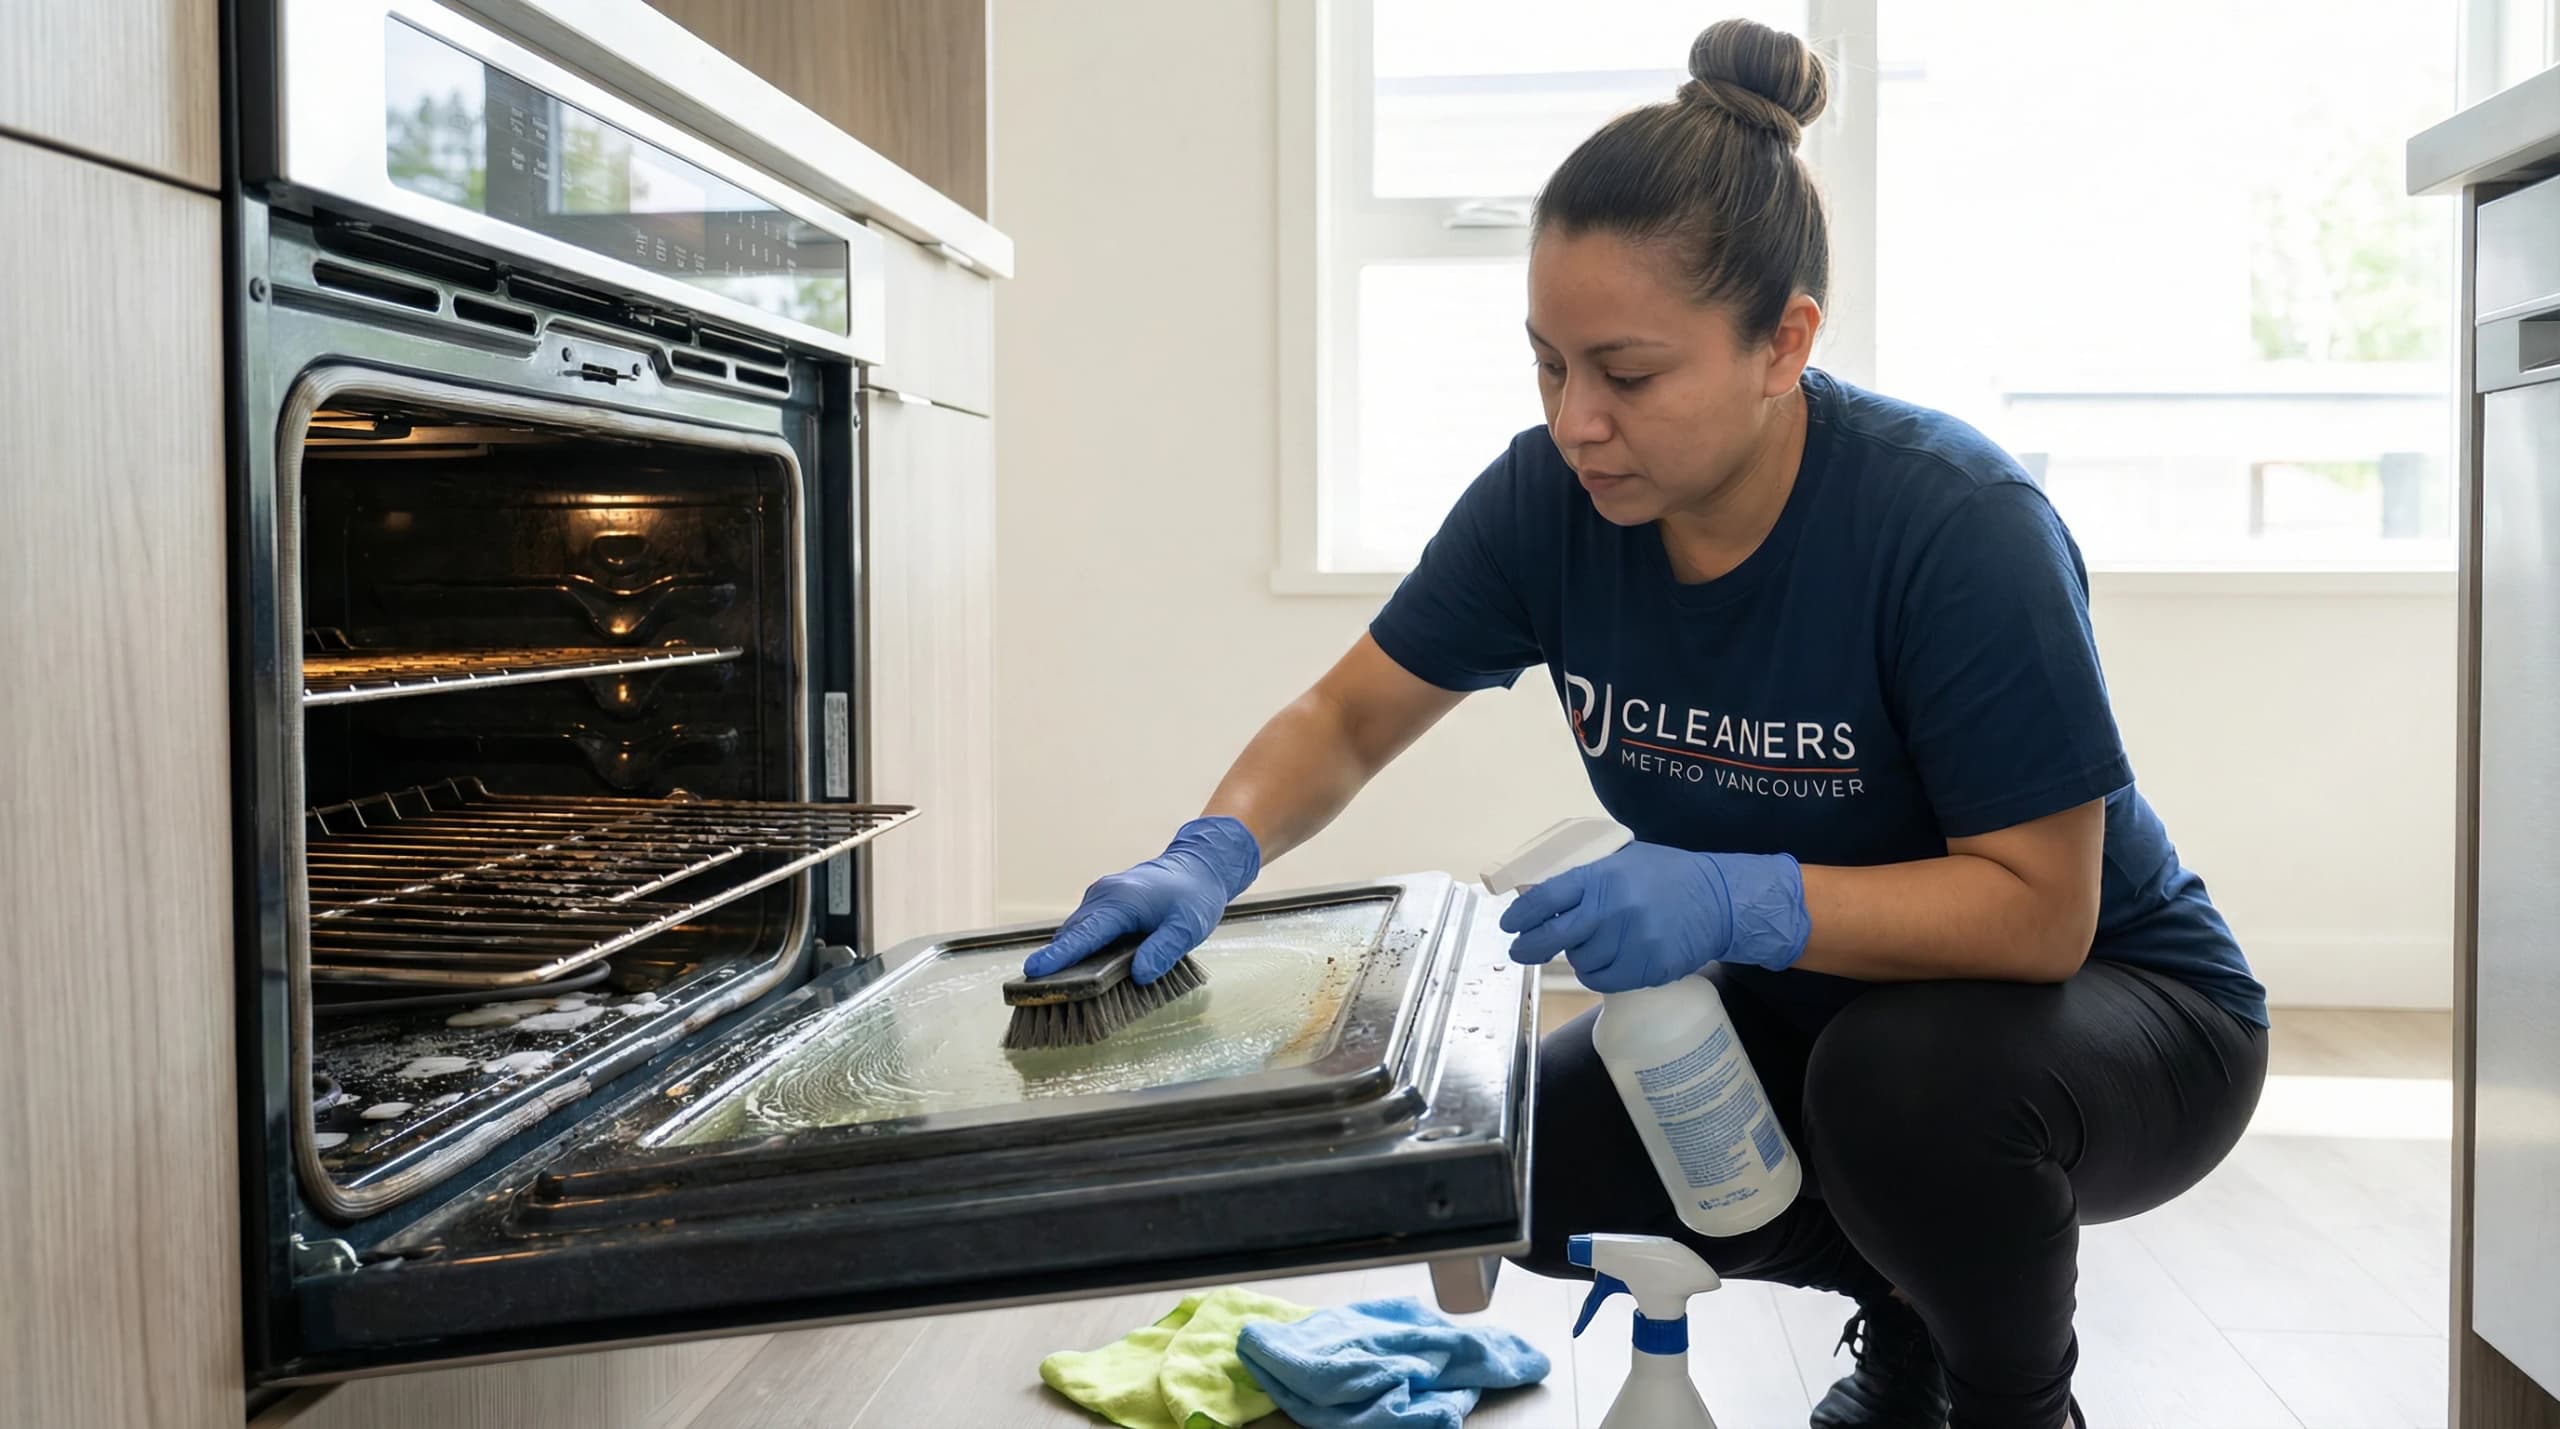
Your oven is one of the hardest-working appliances in your kitchen and deserves regular deep cleaning for safe, efficient performance. Start by gathering baking soda, water, vinegar, a spray bottle, a sponge, and a scrubbing brush. Remove all oven racks and soak them in warm, soapy water for at least four hours or overnight. Create a cleaning paste by mixing half a cup of baking soda with enough water to form a thick, spreadable consistency. Apply this paste generously across the entire oven interior, avoiding heating elements. Let it sit for 12 hours or overnight — the alkaline baking soda slowly breaks down carbonized grease and food residue through chemical reaction rather than abrasive force.
After the overnight soak, use a damp cloth to remove the baking soda paste, then spray white vinegar over any remaining residue. The vinegar reacts with leftover baking soda to create gentle foaming that lifts stubborn spots. Wipe clean with a damp microfiber cloth, rinsing frequently. For persistent areas, apply fresh paste, wait 15 minutes, then spray and wipe again. Scrub the soaked oven racks with a non-abrasive brush, rinse thoroughly, dry completely, and replace them. Give the oven one final wipe-down with vinegar solution for a streak-free finish. Run the empty oven at 200°C for 15 minutes to evaporate remaining moisture.
For stovetops, cleaning techniques vary by type. Gas burner owners should remove grates and burner caps, soak them in warm soapy water, scrub with a brush, and wipe down the stovetop surface with a vinegar-water mixture. Electric stovetop users should ensure the surface is completely cool, remove coil burners if applicable, and wipe down with a lightly damp cloth. Glass and ceramic stovetops require a scraper designed specifically for smooth surfaces to remove baked-on residue, followed by a dedicated glass-top cleaner. Never use abrasive pads on glass surfaces as they create permanent scratches.
Maintaining a clean cooking surface requires consistent daily habits. After every cooking session, wipe down your stovetop with a damp cloth once it has cooled to remove spills before they harden. Perform a more thorough weekly cleaning to address any accumulated buildup. Consider using stovetop mats or liners to catch spills and make cleanup simpler. Always use the kitchen hood or exhaust fan while cooking to reduce grease buildup on surfaces and nearby cabinets. These preventive practices keep your stove and oven in optimal condition between deep cleaning sessions.
- Create an overnight baking soda paste for the oven — 12 hours of contact time eliminates 95% of baked-on grease
- Soak oven racks for minimum 4 hours in hot soapy water before scrubbing with non-abrasive brushes
- Use the vinegar spray method to lift remaining residue through gentle foaming chemical reaction
- Match your stovetop cleaning method to the surface type — gas, electric, or glass/ceramic each require different approaches
- Daily wipe-downs after cooking prevent food from carbonizing and becoming significantly harder to remove later
Related resources
Small Appliances Care
Blenders, toasters, and coffee makers harbour hidden grime and bacteria that regular cleaning prevents.
Small kitchen appliances see daily use but are often overlooked during routine cleaning. Blenders and food processors should be fully disassembled after each use, with removable blades, jars, and lids soaked in warm soapy water before scrubbing with a brush to remove stuck food particles. Rinse all components thoroughly and dry before reassembly. The base unit should never be submerged — simply wipe it down with a damp cloth. For lingering odours in blender jars, blend warm water with a tablespoon of baking soda and a squeeze of lemon juice, then rinse clean.
Toasters accumulate crumbs that become fire hazards if not addressed regularly. Always unplug the toaster before cleaning. Tip it upside down over the sink and gently shake out accumulated crumbs. Remove and wash the crumb tray with soap and water, drying it completely before replacing. Use a small pastry brush or dedicated appliance brush to clean the interior slots without damaging heating elements. Wipe the exterior with a damp cloth. For stainless steel toasters, use a dedicated stainless cleaner applied in the direction of the grain to prevent streaking.
Coffee makers require monthly descaling to remove mineral deposits that affect taste and machine performance. Run a full cycle using equal parts white vinegar and water, then follow with two cycles of plain water to flush out all vinegar residue. Wash the carafe, filter basket, and any removable parts with warm soapy water. Wipe down the exterior, warming plate, and water reservoir area with a damp cloth. For single-serve machines, descaling is even more important due to the narrow water lines that clog more easily with mineral buildup. Vancouver's water supply contains moderate mineral content that accelerates deposit formation in all coffee equipment.
Regular maintenance prevents unexpected malfunctions and keeps all small appliances operating efficiently. Periodically inspect appliances for signs of wear, frayed cords, or loose components. Ensure appliances are completely dry before storage to prevent rust and electrical damage. Store small appliances in a dry, cool location away from the stove's heat. Follow manufacturer instructions for specific cleaning and maintenance recommendations. A quick wipe-down after each use prevents residue from hardening and makes deep cleaning sessions much easier.
Pro Tip
Keep a dedicated small appliance cleaning kit near your coffee station — a descaling solution, small brush, and microfiber cloth make maintenance every 4 weeks quick and convenient.
Kitchen Sink and Surfaces
The kitchen sink harbours more bacteria than a toilet seat — regular deep cleaning and disinfecting is essential for food safety.
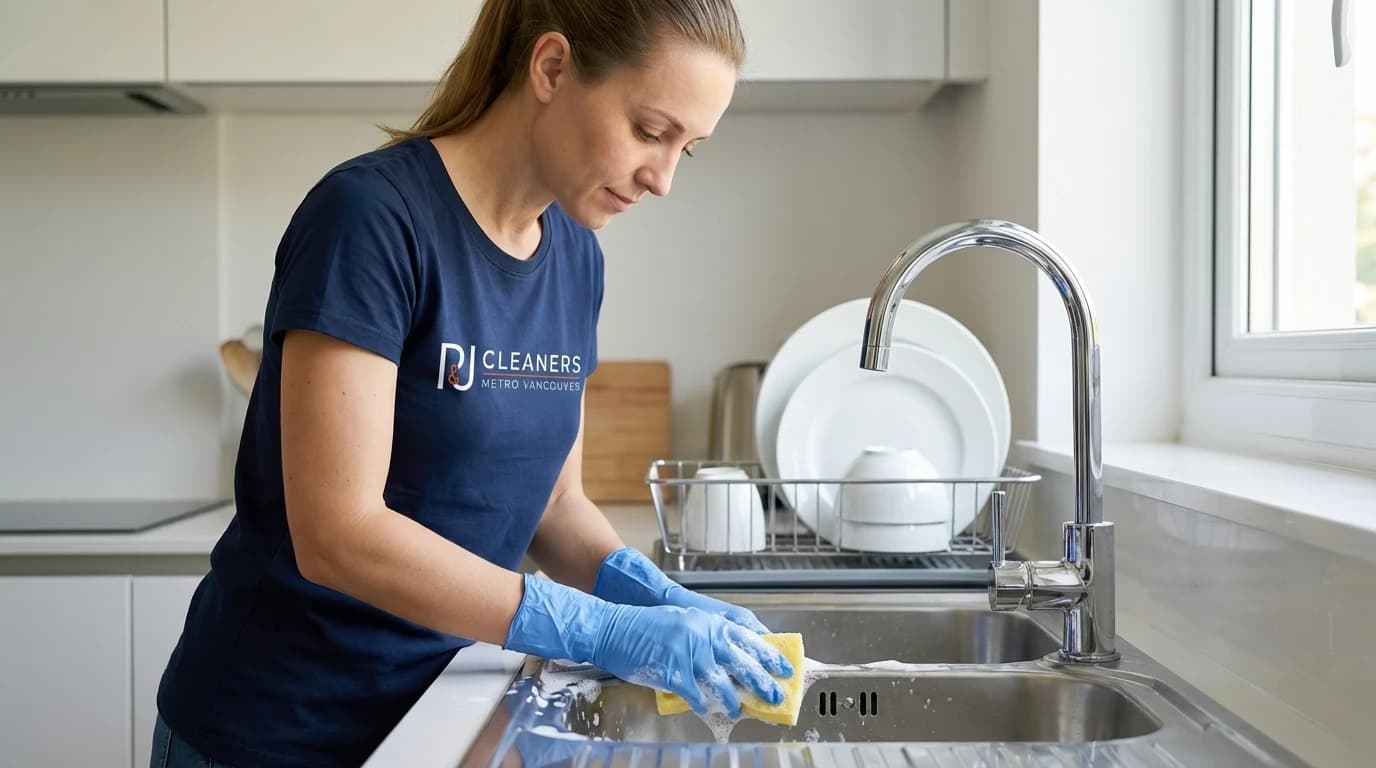
A sparkling kitchen sink is crucial for maintaining a clean and hygienic kitchen environment. The NSF International found that kitchen sinks are among the germiest spots in the home, harbouring more bacteria per square inch than many bathroom surfaces. Begin by clearing any dishes and debris from the sink. Apply a mild abrasive cleaner or a paste of baking soda and water, scrubbing the entire surface with a sponge while paying special attention to stained or greasy areas. For an eco-friendly approach, sprinkle baking soda across the sink surface, spray with vinegar, and scrub as it fizzes — this combination lifts dirt and grime effectively while deodorizing simultaneously.
Don't neglect the drain, which is a primary source of kitchen odours. Pour half a cup of baking soda directly into the drain, followed by half a cup of vinegar. Allow the fizzing reaction to work for 15 minutes, breaking down grease and food residue trapped in the pipe. Flush with boiling water to clear loosened debris. This natural method deodorizes the drain and helps prevent slow-draining sinks without the environmental impact of chemical drain cleaners.
Countertops are high-traffic surfaces that quickly become breeding grounds for bacteria during food preparation. Remove all items and wipe away loose crumbs and debris before cleaning. For routine daily cleaning, use a mix of mild dish soap and warm water. For deeper disinfecting, apply a solution of equal parts water and vinegar, let it sit for 2-3 minutes, then rinse thoroughly and dry with a clean cloth. Granite and natural stone countertops require pH-neutral cleaners specifically designed for those surfaces, as vinegar's acidity can etch natural stone over time. Regularly disinfecting countertops ensures a hygienic environment for food preparation.
Maintaining overall kitchen hygiene requires a consistent schedule. Wipe countertops and the sink basin daily after meal preparation. Perform thorough sink scrubbing and drain cleaning weekly. Address countertop disinfection with appropriate products for your surface material. Always clean spills immediately and use separate sponges or cloths for different areas to prevent cross-contamination between raw meat surfaces and other preparation areas.
Eco-Friendly and DIY Cleaning Methods
Common household ingredients create effective, non-toxic cleaning solutions that rival commercial products without environmental impact.
Reducing your environmental footprint while maintaining a spotless kitchen is entirely achievable with ingredients you likely already have at home. White vinegar mixed with equal parts water creates an effective all-purpose cleaner that kills bacteria, cuts through grease, and deodorizes surfaces. Spray it on countertops, refrigerator interiors, microwave walls, and stovetops for effective sanitization. Baking soda serves as a gentle yet powerful abrasive — sprinkle it on a damp sponge to scrub sinks and cooktops, or combine it with water to create a paste for tackling tough stains on oven interiors and baking sheets. When vinegar and baking soda are combined, the fizzing reaction lifts embedded dirt and food residues, making them easy to wipe away.
Steam cleaning is another highly effective chemical-free method for kitchen appliances. Handheld steam cleaners penetrate hard-to-reach areas and break down grime using only high-temperature steam that kills 99.9% of bacteria and mould on contact. They're perfect for deep cleaning ovens, microwaves, dishwasher interiors, and even refrigerator shelves. Move the steam cleaner slowly over surfaces to maximize effectiveness, and wipe down afterward to remove loosened dirt and moisture. For a budget-friendly version without special equipment, the microwave steam bowl method (water with lemon or vinegar) demonstrates the same principle on a smaller scale.
Creating homemade cleaning solutions is simple and cost-effective. Mix one cup of water, one cup of vinegar, and a few drops of essential oils like lemon or tea tree in a spray bottle for a versatile all-purpose cleaner. For a powerful scrub, cut a lemon in half, dip it in coarse salt, and use it to clean cutting boards, stovetops, and stained surfaces — the citric acid disinfects while the salt provides gentle abrasion. Castile soap diluted in water creates an excellent surface cleaner for any kitchen surface. These homemade solutions cost pennies per use compared to commercial products and eliminate the environmental impact of plastic packaging and chemical manufacturing. At P&J Cleaners, we promote eco-friendly solutions across all our services, ensuring homes are cleaned effectively and responsibly.
- Vinegar and water (1:1 ratio) — effective all-purpose cleaner that kills 99% of bacteria on kitchen surfaces
- Baking soda paste — gentle abrasive that scrubs tough stains without scratching enamel or stainless steel
- Lemon and salt scrub — natural degreaser and disinfectant for cutting boards and stained surfaces
- Steam cleaning — chemical-free sanitization that kills 99.9% of bacteria using only heated water
- Castile soap — biodegradable, versatile cleaner safe for all kitchen surfaces including natural stone
Routine Maintenance and Cleaning Schedules
A structured cleaning schedule prevents heavy buildup and reduces the time and effort needed for each cleaning session.
Consistency is the key to maintaining a clean kitchen without overwhelming deep cleaning sessions. Establishing a structured routine distributes the work across daily, weekly, monthly, and seasonal intervals so no single task feels burdensome. Daily tasks should include wiping down countertops and stovetops after cooking, cleaning dishes promptly, and sweeping or spot-cleaning the floor. These 5-10 minute daily habits prevent food particles from hardening and bacteria from establishing colonies on your kitchen surfaces. A clean-as-you-go approach during cooking also reduces post-meal cleanup time significantly.
Weekly tasks expand to include a thorough microwave cleaning using the steam method, checking the refrigerator for expired items and wiping visible spills, mopping the kitchen floor, and cleaning the exterior of major appliances. Monthly deep cleaning should cover the dishwasher (filter cleaning and vinegar cycle), coffee maker descaling, and thorough countertop and sink disinfection including drain cleaning. Seasonal deep cleaning — once every three to four months — should encompass full refrigerator emptying and interior cleaning, oven deep cleaning with the baking soda paste method, defrosting the freezer if applicable, and inspecting all appliances for maintenance needs.
Preventive measures further reduce cleaning effort and maintain long-term cleanliness. Use splatter guards when cooking to prevent grease buildup on your stovetop and microwave interior. Regularly check and empty the dishwasher filter after heavy-load days. Keep an open box of baking soda in the refrigerator and replace it every three months. Clean spills immediately wherever they occur — the 30-second wipe-down saves 30 minutes of scrubbing later. Line oven bottoms with foil or silicone mats to catch drips. These simple habits effectively reduce the need for intensive deep cleans while maintaining a sanitary kitchen environment year-round.
Efficient appliance maintenance also saves energy and money. Keep your refrigerator well-stocked to retain cold air more efficiently, and ensure door seals are intact to prevent energy loss. Run dishwashers with full loads to maximize water and energy efficiency, using eco mode when available. Keep oven interiors clean for even heat distribution that reduces cooking time. Clean microwave interiors for optimal energy transfer during heating. Maintain clean stovetop burners for even heat distribution and reduced energy consumption. These efficiency practices complement your cleaning routine by lowering utility bills while extending appliance lifespans.
- Daily — wipe countertops and stovetops, clean dishes, sweep floor (5-10 minutes total)
- Weekly — clean microwave interior, check refrigerator for expired items, mop floor, wipe appliance exteriors
- Monthly — deep clean dishwasher filter and run vinegar cycle, descale coffee maker, deep clean sink and drain
- Seasonally — full refrigerator deep clean, oven baking soda treatment, freezer defrost, appliance inspection
Pro Tip
Keep a small spray bottle of vinegar-water solution and a microfiber cloth permanently stationed on your countertop. Having cleaning supplies instantly accessible makes daily wipe-downs effortless and habitual.
Related resources
Services mentioned in this article
Ready for help?
4.9 · 800+ Google reviewsLet Our Team Deep Clean Your Kitchen
Save time with a P&J Cleaners deep clean: inside the microwave, the stovetop, range hood, backsplash, sink and every appliance front, done with eco-friendly products and backed by our satisfaction guarantee. Inside-oven cleaning is available as an add-on.
778-720-2224Common Questions About Deep Cleaning Kitchen Appliances
Why is deep cleaning kitchen appliances important?
Deep cleaning kitchen appliances ensures they function efficiently and last longer. Accumulated grease, grime, and food particles affect appliance performance and pose health risks through bacterial and mould growth. Regular deep cleaning maintains a sanitary cooking environment, prevents costly repairs, and can extend appliance lifespan by 3-5 years. Most manufacturers recommend regular deep cleans to maintain warranty coverage and ensure optimal performance.
How often should I deep clean my kitchen appliances?
The frequency depends on the appliance and usage. Deep clean your refrigerator every three to four months, your oven every three to six months depending on usage, your dishwasher monthly, and your microwave weekly or every 2, 3 or 4 weeks. Small appliances like coffee makers should be descaled monthly. Households that cook daily should lean toward more frequent cleaning. A consistent schedule prevents heavy buildup that requires intensive effort.
What are the best eco-friendly cleaning solutions for kitchen appliances?
The most effective eco-friendly solutions include white vinegar mixed with equal parts water for an all-purpose cleaner, baking soda paste (mixed with water) for scrubbing tough stains, lemon juice for cutting through grease and deodorizing, and castile soap for general cleaning. These natural ingredients are non-toxic, biodegradable, and safe for use around children and pets. At P&J Cleaners, we prioritize eco-friendly solutions that are effective without harmful chemicals.
What tools do I need for deep cleaning kitchen appliances?
Essential tools include microfiber cloths for streak-free wiping, sponges in various textures for different surfaces, scrub brushes in multiple sizes for hard-to-reach areas, a spray bottle for cleaning solutions, rubber gloves for hand protection, and a bucket for mixing solutions. You'll also need baking soda, white vinegar, dish soap, and optionally lemon juice and essential oils. These common household items cost under $20 total at Vancouver grocery stores.
How do I deep clean my microwave quickly?
Fill a microwave-safe bowl with water and a few slices of lemon or a tablespoon of vinegar. Microwave on high for 3-5 minutes until steam coats the interior walls. Let it sit for 2 minutes with the door closed, then carefully remove the bowl and wipe the softened grime with a damp cloth. Remove and wash the turntable separately with warm soapy water. For stubborn spots, apply a baking soda paste, let it sit briefly, then scrub with a sponge.
What's the best way to clean an oven naturally?
Remove oven racks and soak them in hot soapy water. Create a paste of half a cup of baking soda mixed with water, spread it across the oven interior avoiding heating elements, and let it sit overnight for 12 hours. The next day, spray white vinegar over the dried paste to create a foaming reaction that lifts grime. Wipe clean with damp microfiber cloths and rinse thoroughly. This method removes 95% of baked-on grease without toxic fumes.
How can I keep my refrigerator odour-free?
Place an open box of baking soda inside the refrigerator to absorb odours, replacing it every three months. Regularly check for and discard expired food items. Wipe spills immediately to prevent bacterial growth. Clean shelves and drawers quarterly with a solution of one cup water and one tablespoon baking soda. Use clear containers and label items with dates to reduce food waste. Keep fruits and vegetables in separate drawers to maintain optimal humidity levels.
How do I maintain my dishwasher's efficiency?
Remove and clean the filter weekly under running water. Run an empty cycle with two cups of white vinegar on the top rack monthly to remove buildup and odours. Check and clear spray arm holes with a toothpick to ensure water flows freely. Wipe down door seals every 2 weeks to prevent mould growth. Scrape food from dishes before loading, run full loads to maximize water and energy efficiency, and use quality detergent. These steps extend dishwasher lifespan by 3-5 years.
What common mistakes should I avoid when cleaning kitchen appliances?
Avoid using harsh chemicals that can damage appliance finishes and leave toxic residue. Never forget to unplug electrical appliances before cleaning to prevent electric shocks. Don't use abrasive steel wool on stainless steel or enamel surfaces as it causes permanent scratches. Avoid mixing cleaning products that can create dangerous fumes. Always test cleaning solutions on small, inconspicuous areas first. Follow manufacturer instructions for specific cleaning recommendations.
How can P&J Cleaners help with deep cleaning kitchen appliances?
A P&J Cleaners deep clean covers the kitchen from top to bottom: inside the microwave, the stovetop and range hood, the backsplash and tiles, the sink and faucet, cabinet fronts, and the fronts and handles of every appliance, including the outside of the dishwasher. Cleaning inside the oven and racks is available as an add-on, and is included in move-in and move-out cleans. Our trained team uses eco-friendly products, every clean is backed by our satisfaction guarantee, and we serve all of Metro Vancouver.

Meet the Author
Pamela
Co-Founder
Pamela leads residential quality standards at P&J Cleaners, refining safe, detail-driven cleaning systems for Vancouver homes, condos, and move-out projects.
Keep Exploring